Solid hardwood flooring is an excellent choice for your home. It looks good and brings style to your adobe. On top of that it is also easy to clean, not allergenic, adds value to your home, and is durable and long-lasting. More good reasons than not to choose it to update the second level flooring in our home.
Hello there!
I kept dreaming about this moment for years, and it's finally here.
The moment to replace that old carpet on most of our home's second level with solid hardwood floors.
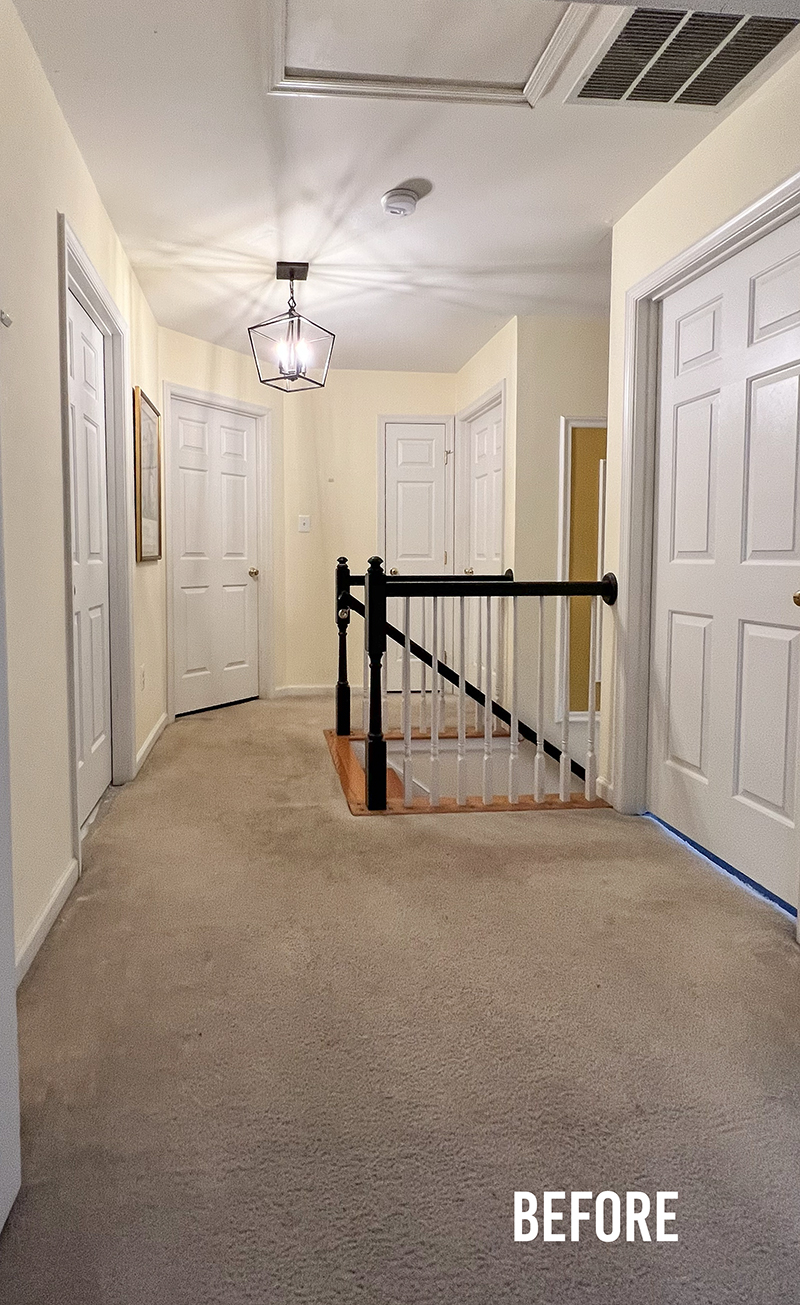
The following picture shows how badly that carpet looked. The night-time picture doesn't hide all the abuse this carpet received during all those years of use.
It looked dirty; it was gross.
*This post contains affiliate links for your convenience. Click here to read my full disclosure policy.
It didn't look as bad with all the light coming in during the day. But oh, dear, I couldn't wait to say goodbye to that carpet.
I was bringing change to our home's second level. It all started with the update to the main bathroom. Then, the linen closet got a makeover, and soon after, I continued patching and painting the walls and ceilings in two bedrooms, the hallway, and the staircase.
Pff, it was lots of work, but it was starting to look better.
The next step was to take care of those floors!
I hired out this task given that this was a big job—900 sq feet and a staircase—and my skill level and stamina weren't up to that task. I couldn't remove those two hardwood planks at the top of the old staircase. I didn't have the necessary strength to pull them out. :/
I didn't see myself doing precise cuts on all those solid hardwood planks to fit them around doors and tight spaces. Much less on updating the staircase.
However, I went ahead and removed the carpet, adequately disposed of all that material, and had the subfloor and rooms ready for the solid hardwood flooring installation.
For this entire project, I acted as a general contractor, hiring the people for the job and preparing the materials and tools for when the workers would arrive to complete it.
The carpet and pad were cut up and removed in sections. Then, they were rolled up for easy transport and disposal.
Then, the subfloor was cleaned from the innumerable staples holding the carpet in place.
My sure way to remove those pesky staples was by bringing them up a bit with the help of a flat screwdriver and then using end-nipping pliers to get rid of them.
The baseboards were removed before painting the walls. Here, you can see how sad it all looked without flooring: the hallway, the "girl room," the "boy bedroom" with the plywood flooring being removed, and the guest room with the painted subfloor. The master bedroom is missing in this collage.
A SOLID HARDWOOD FLOORING
I searched high and low for the type of 3/4" hardwood flooring I wanted to install. I got many samples from big stores, small shops, online, and around the area.
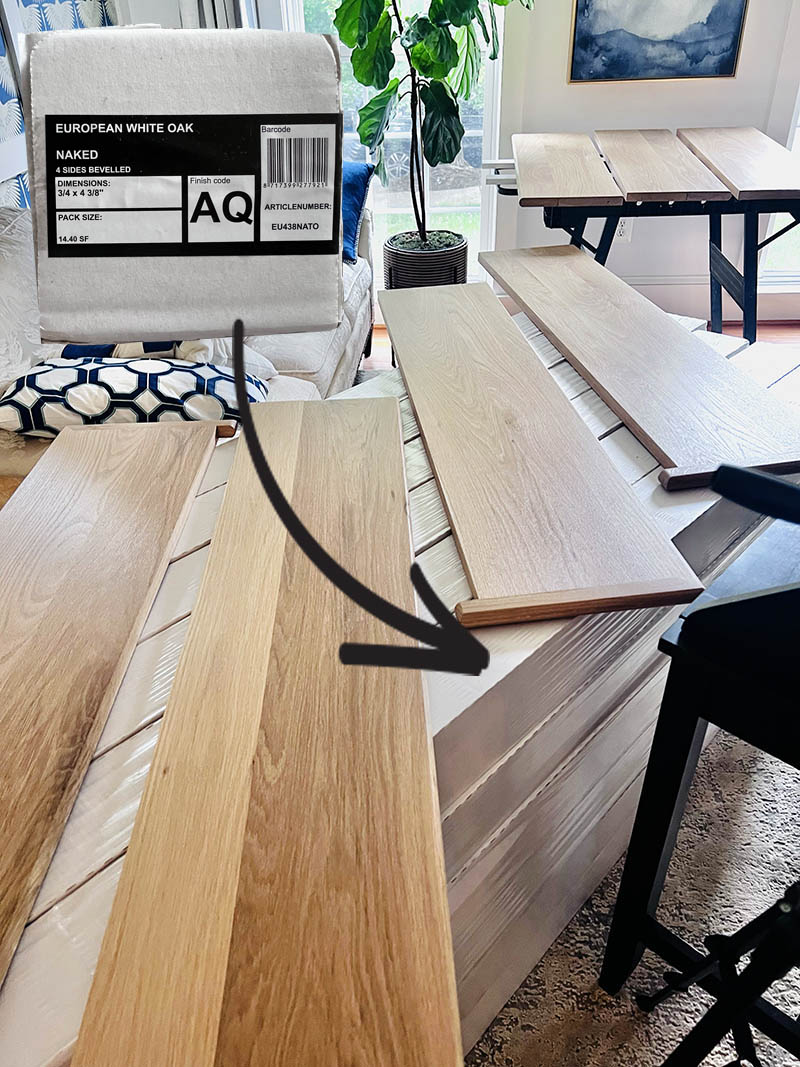
Ultimately, I settled for 3/4 x 4 3/8" European White Oak solid hardwood flooring that I bought locally at Lynn Wholesale Flooring Gaithersburg, MD. They called it "naked" or raw," meaning it doesn't have a visible finish. Although it is treated, it repels water and is easy to clean.
All those boxes containing the planks were parked in the middle of our living room and my office for a few months. The staircase treads were topping off that pile.
The main tools used for installing the solid hardwood flooring were:
- Pneumatic flooring nailer
- Air compressor
- Nail set
- Drill
- Drill bits
- Miter Saw
- Table Saw
- Hammer
The main materials:
- 3/4" Hardwood ( Lynn Wholesale Flooring: White oak - $3.99 sqft)
- White silicone underlayment paper
- Nails
- Floor Transitions
- Flush Mount Vent w/damper - ( Size used: 4" x 10")
- Baseboard (optional - I also bought it @Lynn WF - prime pine 11/16" x 7-1/4" x 16' - $52.45 each)
- Shoe molding (optional - @Lynn WF - 1/2" x 3/4 white oak unfinished - $0.55 lf)
I took seriously the task of learning all the ins and outs of installing solid hardwood flooring if I wanted to do an excellent job as a general contractor. I was hoping to save some cash while also achieving a good job. Knowing my own flaws made me hire out all the labor for:
-Install hardwood planks in four bedrooms and the hallway.
-Baseboard and shoe molding installation in the same rooms.
-Complete staircase update, including removing the hardwood on the steps.
When the workers arrived to tackle this job, I was responsible for having all the materials and tools necessary for this hardwood installation.
Once they arrived, they moved fast, given that, other than moving beds and a few other furnishings, all the prep work was done.
The following is a general breakdown of this installation.
Preparation:
- Acclimatization: Solid hardwood must adjust to your home's humidity levels before installation. Let the planks sit unopened in the room for several days.
- Subfloor Check: Ensure your subfloor is level, clean, and moisture-free. Unevenness can lead to creaking and damage later. Repair any imperfections beforehand.
- Planning and Layout: Decide your starting point, usually the longest wall. Sketch a layout plan to minimize waste and achieve the desired pattern.
Installation:
- First Row: Snap a chalk line to maintain a straight starting edge. Position the first plank with the groove facing the wall.
- Fastening the First Row: For nail-down installation, pre-drill nail holes and countersink the nails in the first row to avoid splitting the wood. Secure them with nails or staples along the edge.
- Locking and Nailing Subsequent Rows: Connect planks using the groove-and-tongue system. Tap them together with a tapping block and mallet. Secure the connected rows by nailing or stapling through the tongue at an angle.
- Cutting and Fitting: Measure and cut planks to fit around obstacles like vents or doorways. Use a jigsaw for precise cuts.
- Staggering Joints: Stagger the end joints of the planks throughout the installation to maintain a random pattern. Aim for at least 6 inches of offset between joints in consecutive rows.
Finishing Touches:
- Last Row: When the nailer can't reach the final row, use blind nails or face nails along the tongue carefully.
- Trimming and Edging: Cut and install shoe molding or quarter round along the baseboards to cover the expansion gap and provide a finished look. However, we had to install the new and improved baseboards first.
- Sanding and Finishing: Once the floor is fully installed, sand any imperfections and apply the chosen stain or sealant if it isn't a prefinished plank type.
Additional Tips:
- Wear safety glasses and gloves while working with power tools and fasteners.
- Rent a flooring nailer for a faster and more professional installation process.
- Use a tapping block to protect the planks while tapping them together.
- Mix planks from different boxes to achieve a more even distribution of color variations.
Remember, this is a general guide. You should consult the specific installation instructions provided by your chosen hardwood flooring manufacturer.
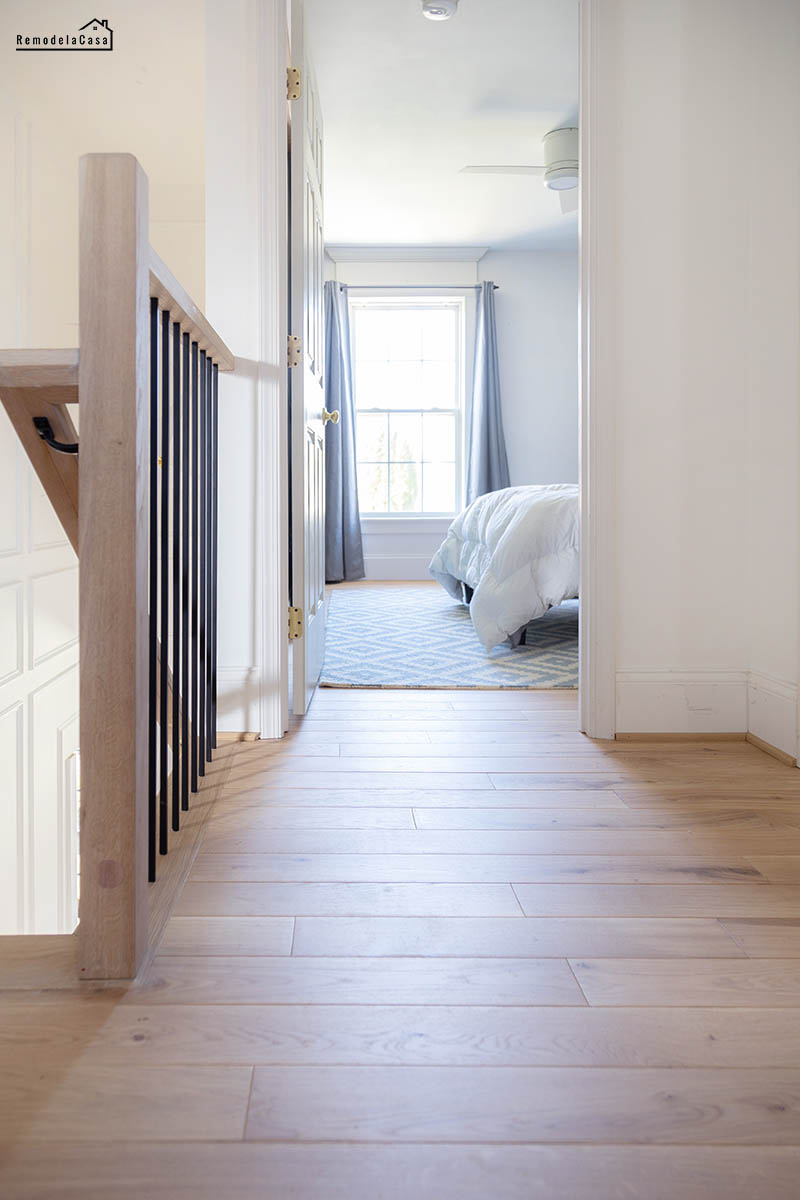
Let's take a look at how this space looks now!
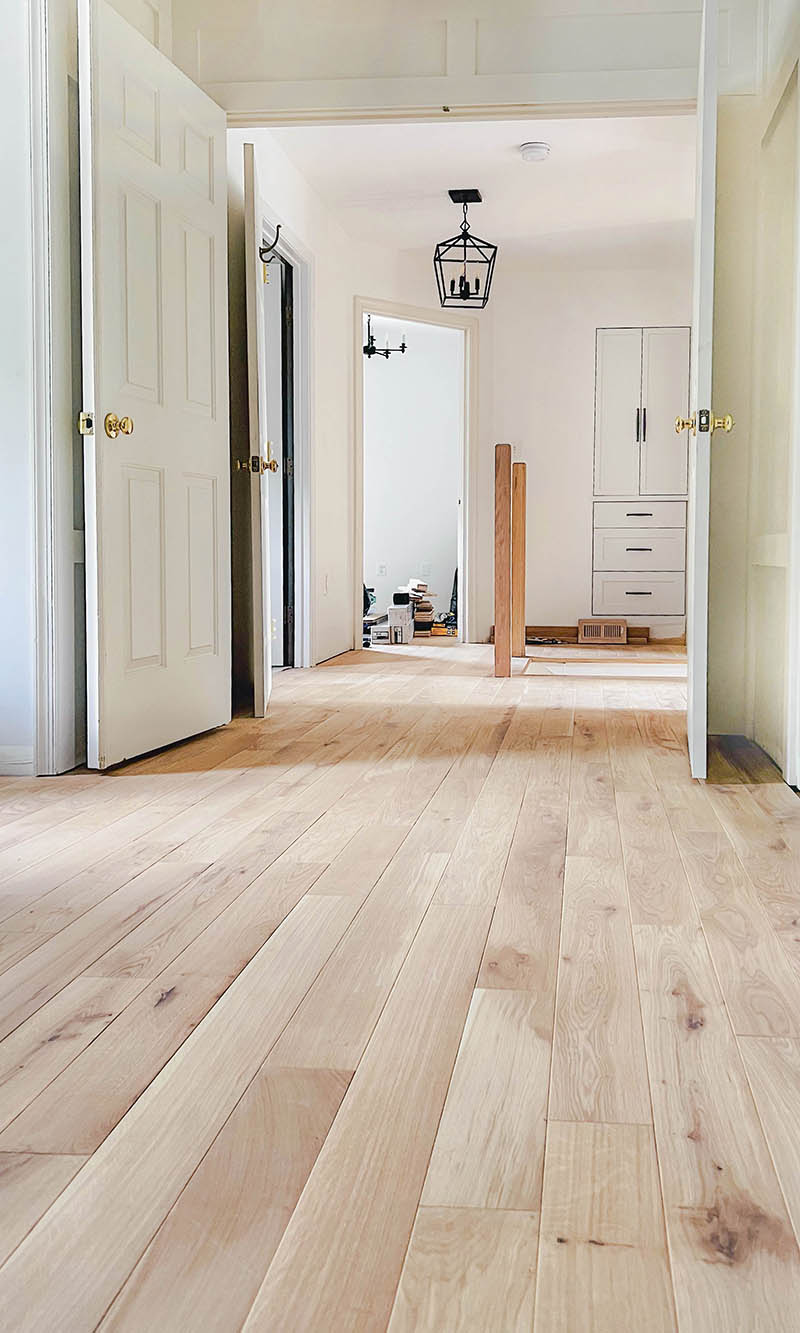
The hallway with the linen closet and guest bedroom in the background.
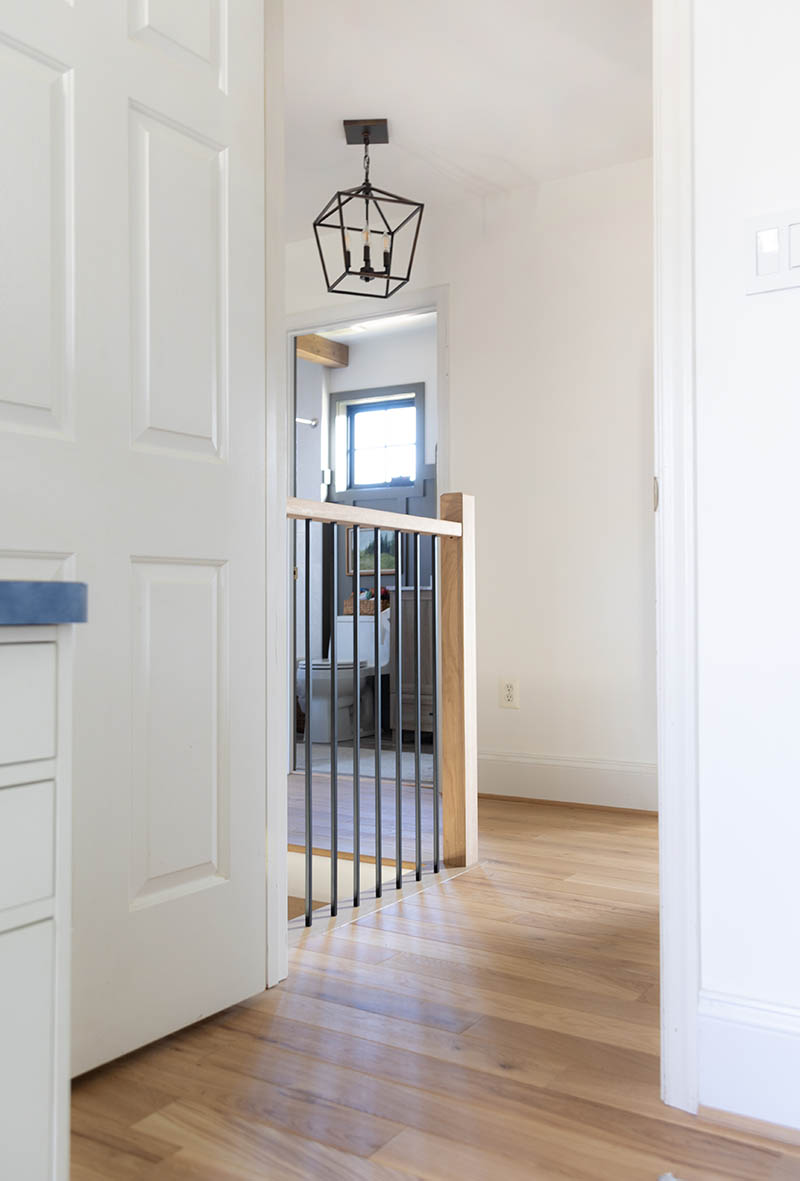
I didn't add any details about the staircase because that will be the subject of one of my upcoming posts.
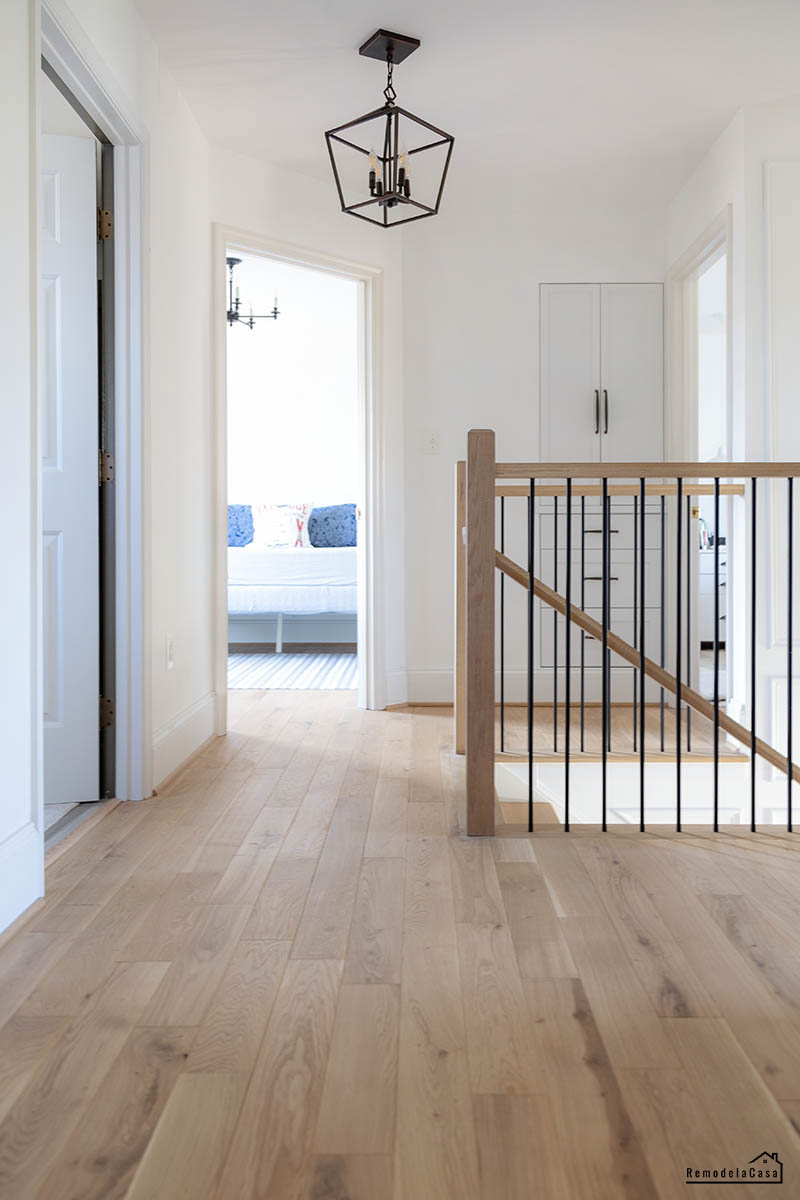
The following picture looks the other way towards the master bedroom.
I love the floor's dullness; it looks and feels like bare wood planks.
This is the transition to the kids' bathroom. The bath tile doesn't match the wooden planks well, but that doesn't bother me.
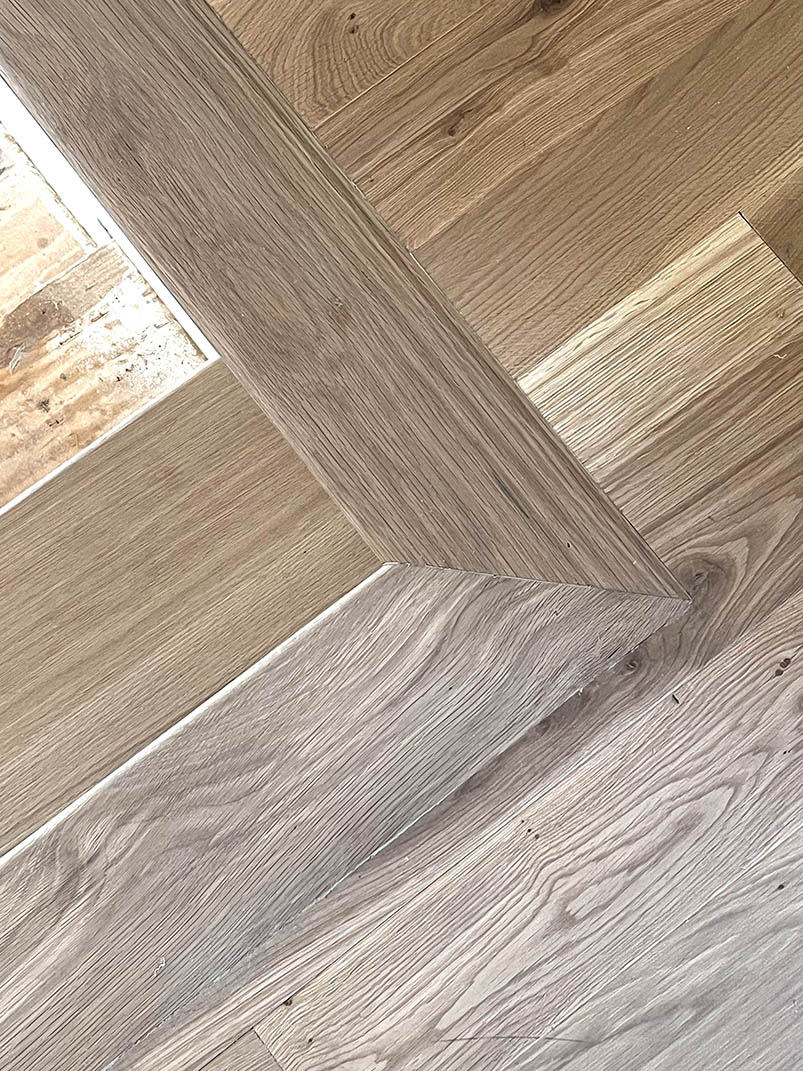
The other transition is here, getting to the master bathroom. The elevation difference was 1/2 inch. They somehow worked their magic to transform one of the wooden planks into this transition.
Ugh, that frame needs paint.
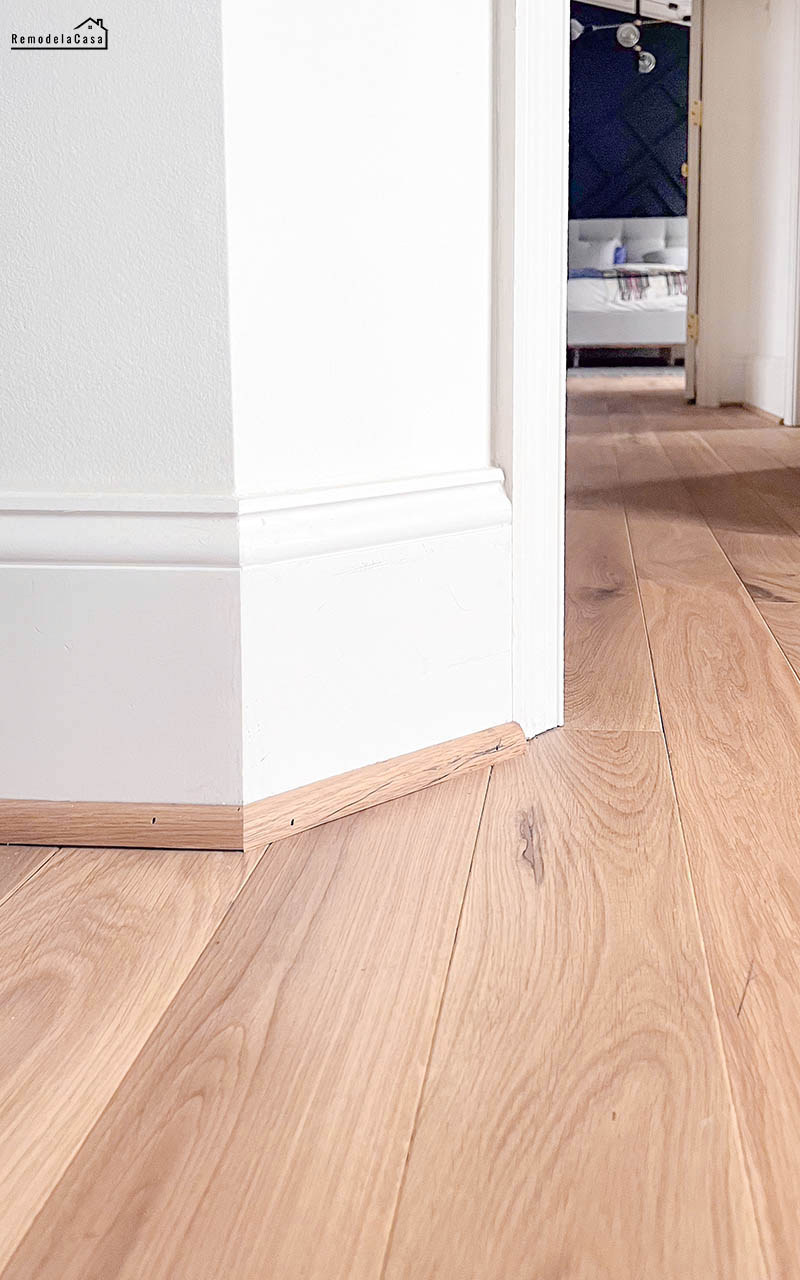
The baseboards were finally installed!
Here's a new shot of that linen closet. By the way, I might need to repaint it because the type of paint it sports doesn't go well with the BM-Chantilly Lace on the walls.
Inside the guest room...
No more painted subfloor! 😅
After dusting and cleaning most surfaces, I brought in some of my old area rugs.
Here's a close-up shot of those 7-1/4" baseboards. I must mentally prepare to paint them and all the trim and doors.
The boy's bedroom sported a dark DIY plywood floor I installed about 10 years ago. The plywood floor still looked very OK, but it had to go for a flawless transition from room to room throughout this entire level of our home.
The new floor brightened up this room even more.
Looking towards the closet. Here again, those baseboards need paint.
The wooden vents are lovely! They have a damper, which is hard to see in this picture, that you maneuver to keep them open or closed. I adore the flush-mount design.
The following picture is while standing in the girl's bedroom, looking in the same direction.
This entire upper level looks more cohesive, spacious, and much brighter.
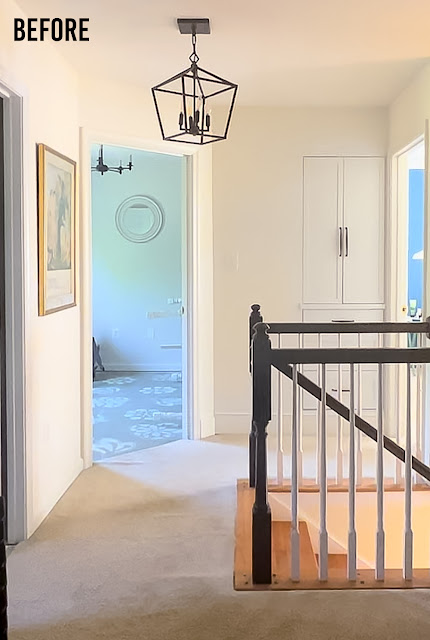
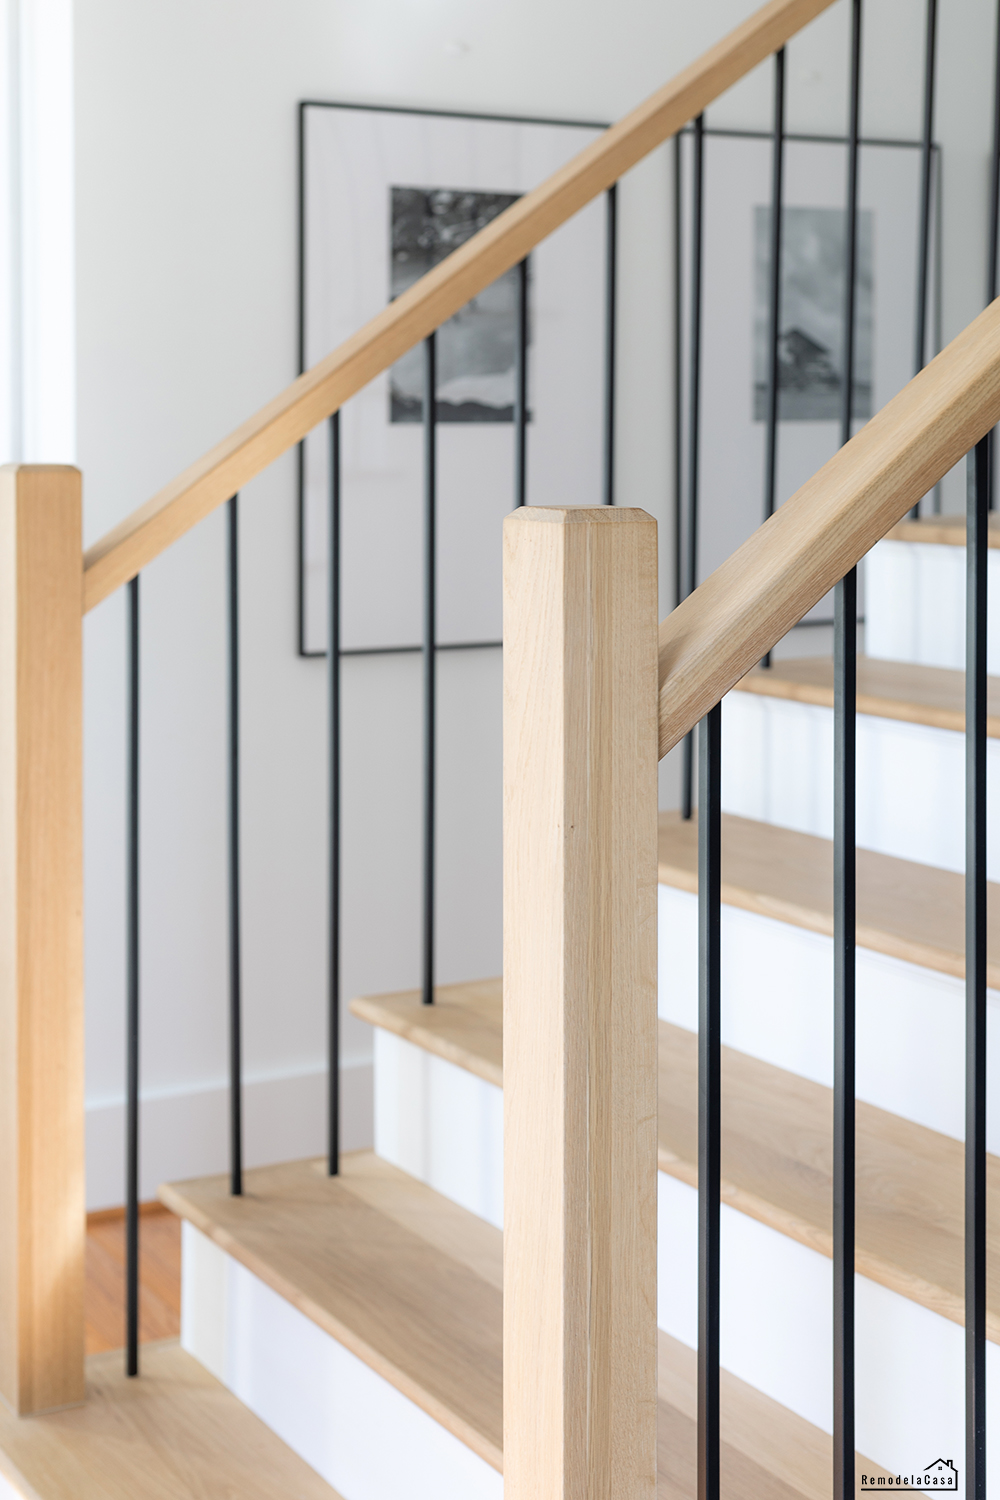
Look at the before...
LOVE IT!! 💕
Thanks for stopping by!













Floors are beautiful! Love the color.
ReplyDeleteThanks Melinda! We are enchanted with this floor. :)
DeleteBeautiful work as usual!!
ReplyDeleteThanks!
DeleteYour floors are beautiful! What a pretty color/finish. The new staircase-railing looks so good with it. I've never seen the flush vent covers! What an improvement over the type we have that stick up above the floor.
ReplyDeleteThanks, Sue! We're very happy with all our selections on this project. The light wood tone might be my favorite element, as it reflects light and is warm. Those flush vent covers were high on the list for this project since I saw my Brother-In-Law installing them in his house. They're so sleek!
DeleteLooks fantastic! Do you have dogs though?
ReplyDeleteHi Deb, thanks! Yes, we do have a Yorshire Terrier. He stands guard by a window on our living room. The floor there, by the window, is well scratched. :D Other than that, no more troubles with him.
DeleteAt the moment, we are keeping him away from the staircase/upstairs, not because we think he might damage those floors, but because he underwent surgery to repair a torn ligament. We're still restricting him from using any type of stair.