Step 1: Clear the Canvas
- Furniture movers: Remove as much furniture as possible. For immovable pieces, use furniture sliders to easily move them around the room.
- Declutter your walls: Take down artwork, mirrors, shelves, and anything else that could obstruct your painting path. Label hardware and store it safely.
- Drop cloth defense: Protect your floors and remaining furniture with drop cloths. Opt for plastic sheeting for heavy-duty protection or canvas drop cloths for better breathability. Secure them with painter's tape for a seamless barrier.
Step 2: Inspect and Repair
- Become a wall detective: Scrutinize your walls for cracks, holes, loose paint, or any imperfections. A good flashlight can help reveal hidden flaws.
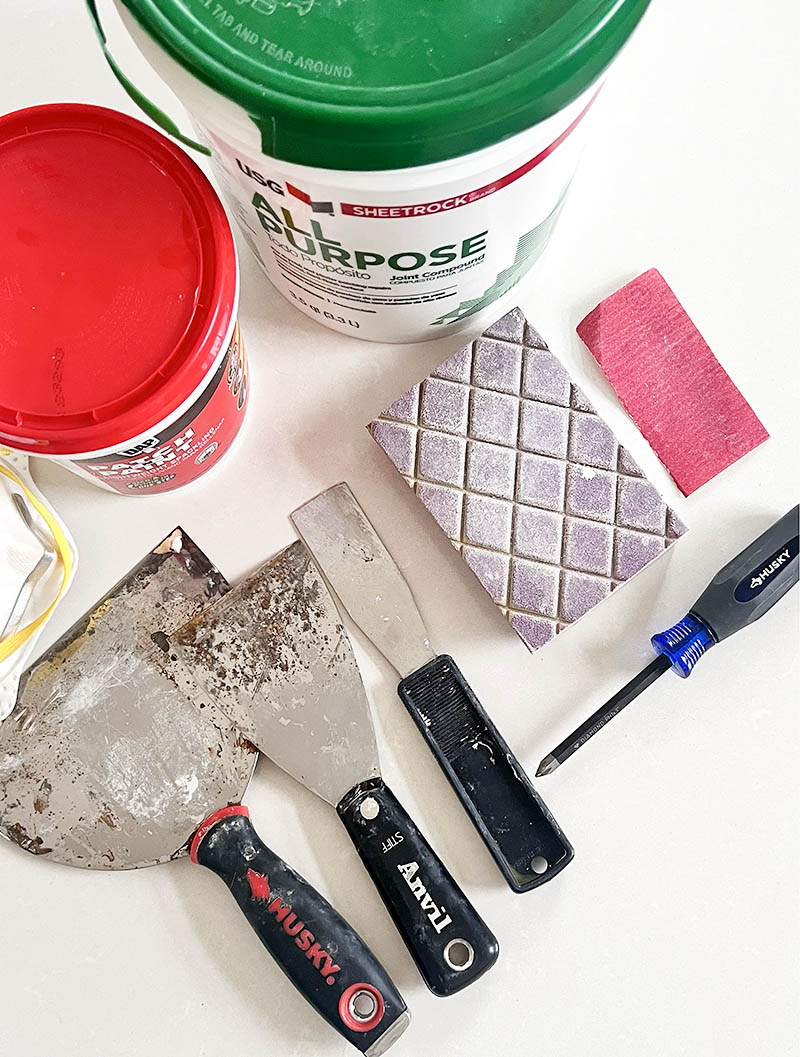
- Patch it up: For small cracks, use spackling compound. For larger holes, use drywall patching kits, following the manufacturer's instructions. Let the repairs dry completely and sand smooth.
- Trim talk: Check your trim for peeling paint or chipping. If necessary, scrape off loose paint and lightly sand the surface for better adhesion.
Step 3: Cleaning Crusade
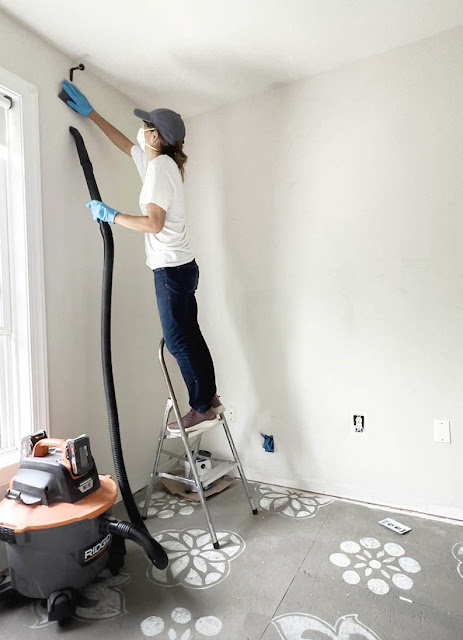
- Dust bunnies beware: Use a vacuum cleaner with a soft brush attachment to remove dust, cobwebs, and debris from walls, ceilings, baseboards, and trim. Don't forget light fixtures and corners!
- Wash away the grime: For greasy or grimy surfaces (especially in kitchens and bathrooms), mix a mild detergent or trisodium phosphate solution with water and wipe down the walls. Rinse thoroughly and allow to dry completely.
- Spot-check champions: Address any stains like crayon marks or fingerprints with appropriate cleaning solutions. Test them in an inconspicuous area first to ensure compatibility with your paint.
Step 4: Taping Time
- Sharp lines, happy you: Use painter's tape to create crisp lines along baseboards, trim, doors, and windows. Press firmly to prevent paint bleeds.
- Don't forget the fixtures: Cover outlet and switch plate covers with painter's tape or remove them if possible.
- Pro tip: For extra protection, apply painter's tape slightly wider than the trim and then fold the excess onto the drop cloth, creating a double barrier.
Step 5: Priming Power (optional)
- Uneven surfaces, rejoice!: If your walls have different textures or paint types, primer helps create a uniform surface for better paint adhesion and coverage.
- Stain sealers: For stains that bleed through paint, apply a stain-blocking primer to prevent them from reappearing.
- Follow the label: Choose a primer compatible with your paint and surface type, and apply it according to the manufacturer's instructions. Let it dry completely before painting.
Bonus Tip: After prepping, take a final walk around the room to ensure you haven't missed any spots. Double-check that everything is covered, patched, and clean. Now you're ready to paint with confidence and transform your space!
Remember, thorough preparation is an investment that pays off with a professional-looking and long-lasting paint job.
After going through all the areas, and prepping them well, I was ready for the painting job!
All about the painting of those rooms in an upcoming post.


Great
ReplyDelete