

Hallways, often overlooked and underutilized, hold immense potential to elevate the overall aesthetic of your home. A blank canvas waiting to be adorned, hallways provide a perfect space to showcase your creativity and personal touch.
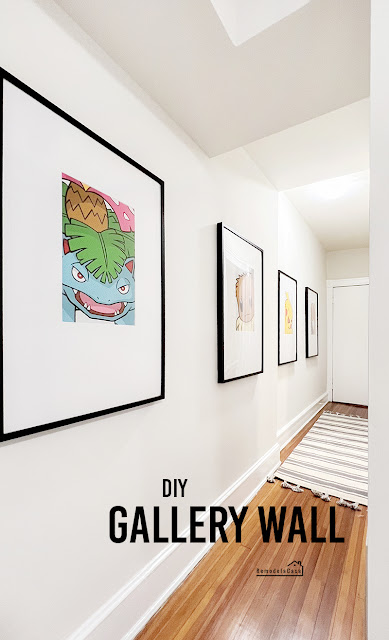
Today, we'll delve into transforming a dated hallway into a modern marvel using a black and white gallery wall complete with a festive holiday touch.
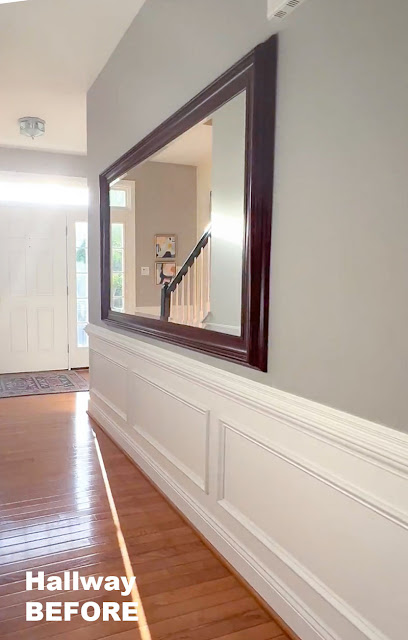
Look at that! This hallway from the foyer to our kitchen kept that outfit for over 12 years. Don't get me wrong, I love moldings and was very proud of the wainscoting look I gave this area then. It was one of my very first DIY projects. On the contrary, I wasn't too fond of the mirror's frame, but at the time, it worked, and it stayed in the same spot ever since.
*This post contains affiliate links for your convenience. Click here to read my full disclosure policy.

The Essence of Black and White
It was time to say goodbye to the mirror and the moldings and bring on a classic and timeless combination with a black and white gallery wall.

Black and white exudes elegance and sophistication. It's a versatile pairing that seamlessly blends with various decor styles. In my case, it would've helped to elevate and modernize my traditional take on my decor.
Curating Your Gallery Wall
Gathering a collection of black and white photographs, prints, or artwork is the first step in creating your stunning gallery wall. Opt for pieces that resonate with your personal style and evoke cherished memories. If you're working on a large gallery wall, consider incorporating a mix of portraiture, landscapes, architectural shots, or abstract art to add visual interest and depth.
I chose photographs from our family's summer vacation in Colombia almost two years ago. The photos were enlarged at Walmart. I uploaded the files online, set the size to 11 x 14, and set the color to black and white - matte. Everything was done in the comforts of my own home. They also delivered the pictures a few days later for a small fee.
Creating and Arranging Your Masterpiece
Earlier this year, I created a gallery wall in a long hallway in my daughter's apartment. I almost used the exact same materials and methods to create my gallery wall.
This time, the frames I used are the Lomviken, which are thinner but similar to the ones in my daughter's apartment.
The only difference I encountered was that the mat had to be cut 1/8" on the top because it didn't fit in the frame. The final picture opening was left at 8 x 10.
Hanging with Precision
The mirror and the moldings were removed, and the wall and ceiling were painted BM Chantilly Lace. The baseboard was also replaced with a chunkier one.
The frames were hung utilizing the hardware they come with. I had to find and install anchors and screws to set them on the wall. I used a laser level to ensure the frames were hung straight and level.

Adding a Festive Touch
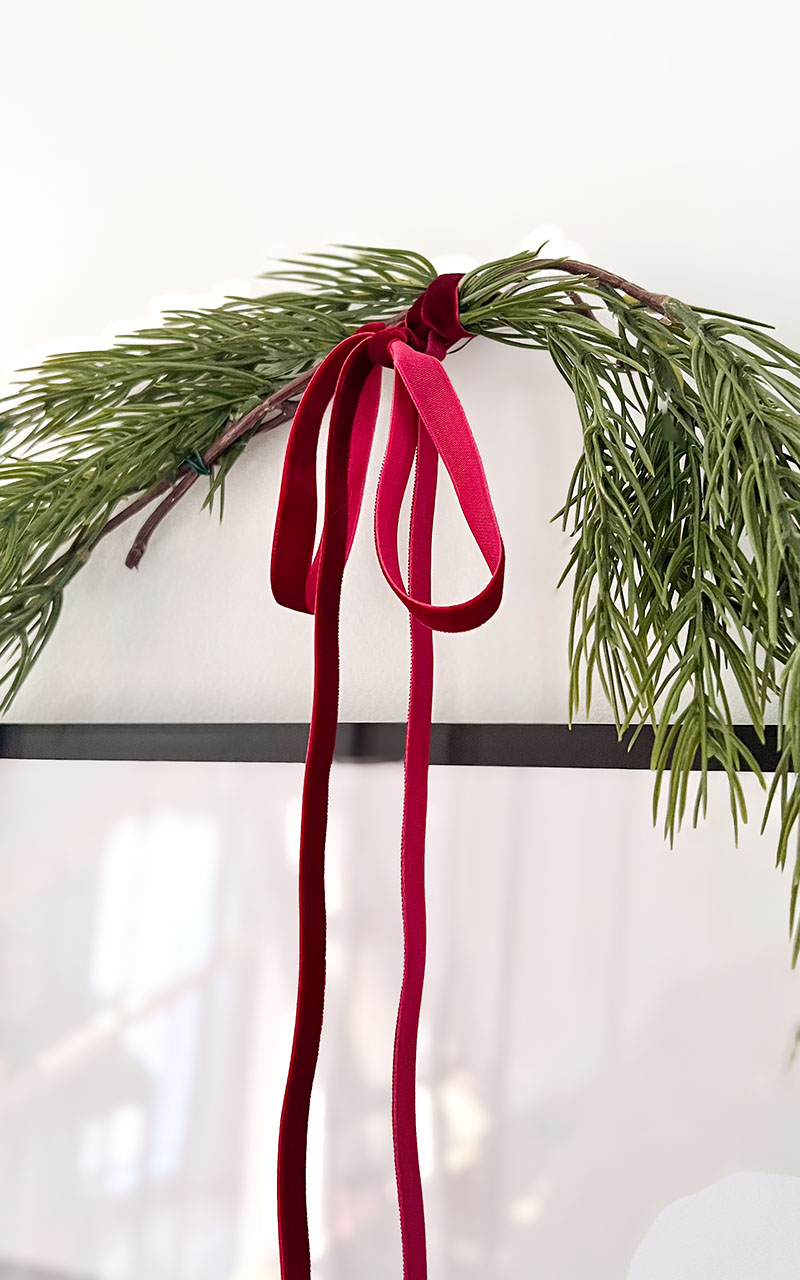
With the holidays approaching, transform your gallery wall or any picture frame adorning your home into a seasonal spectacle! Drape a simple greenery swag adorned with a striking velvety ribbon above the gallery wall. This festive touch will instantly elevate the ambiance of your hallway, creating a warm and inviting atmosphere.
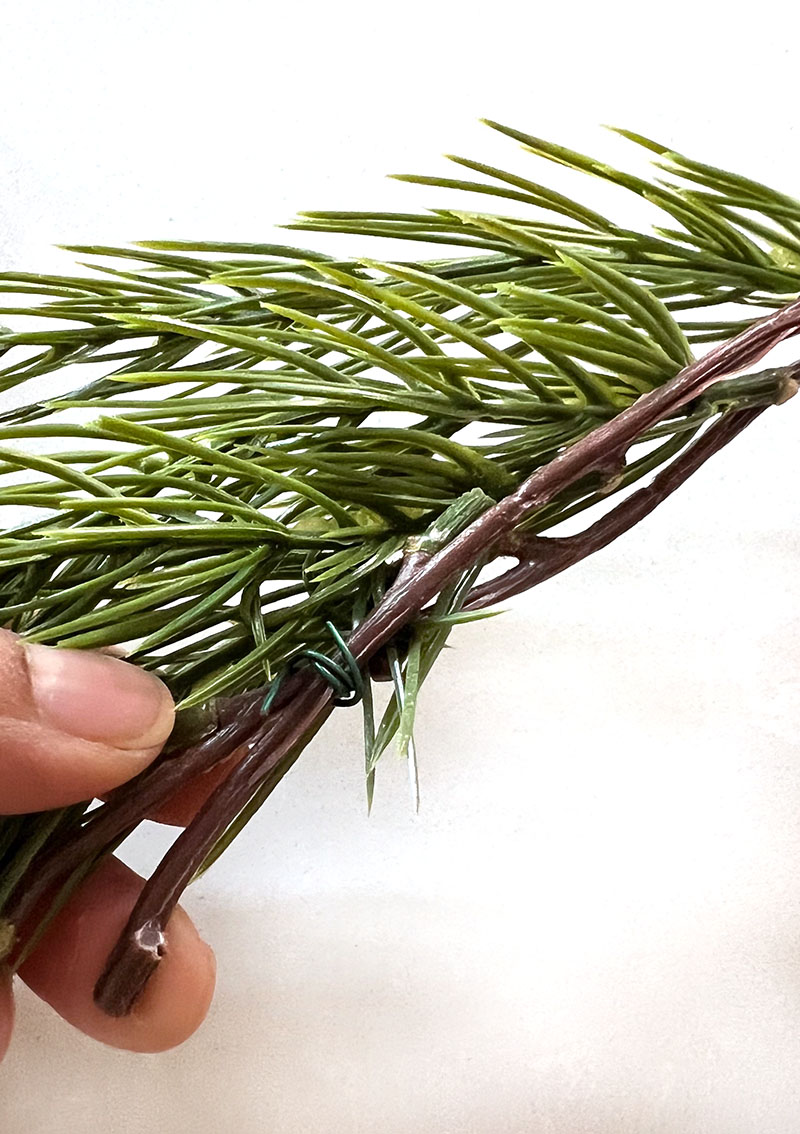
These little swags are a simple DIY project utilizing materials you usually have at home.
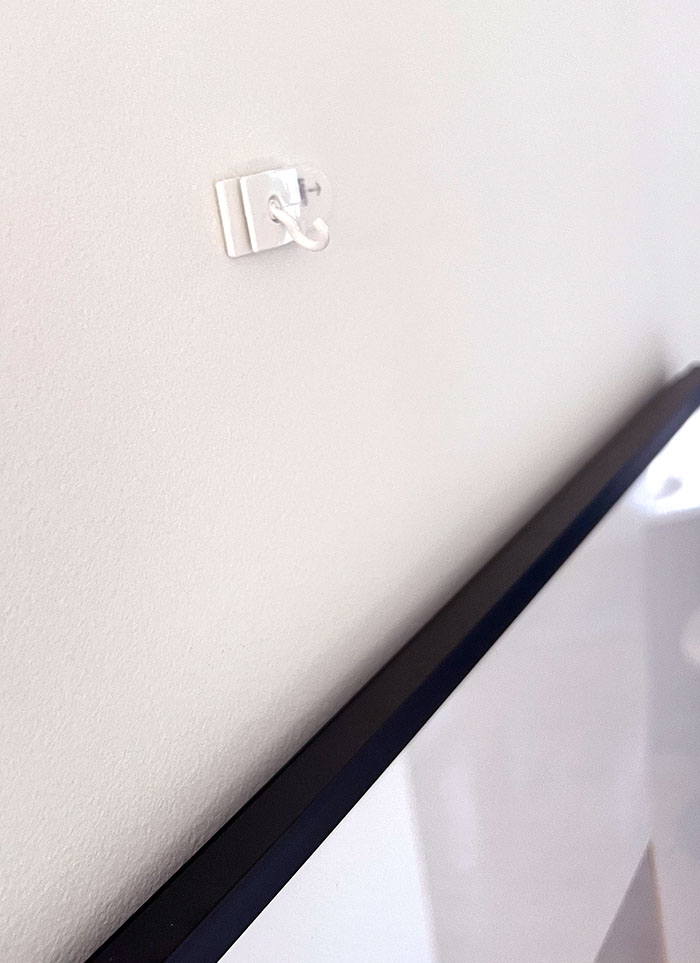
Command hooks - I used ceiling hooks. That's what I had.
Burgundy Velvet ribbon (5 feet of ribbon for each bow)
Wire - You can also use twist ties from the grocery store

Then, the velvet ribbon was wound up a couple of times in the center of both branches and tied in a bow.
I love LOVE them!! ❤️❤️
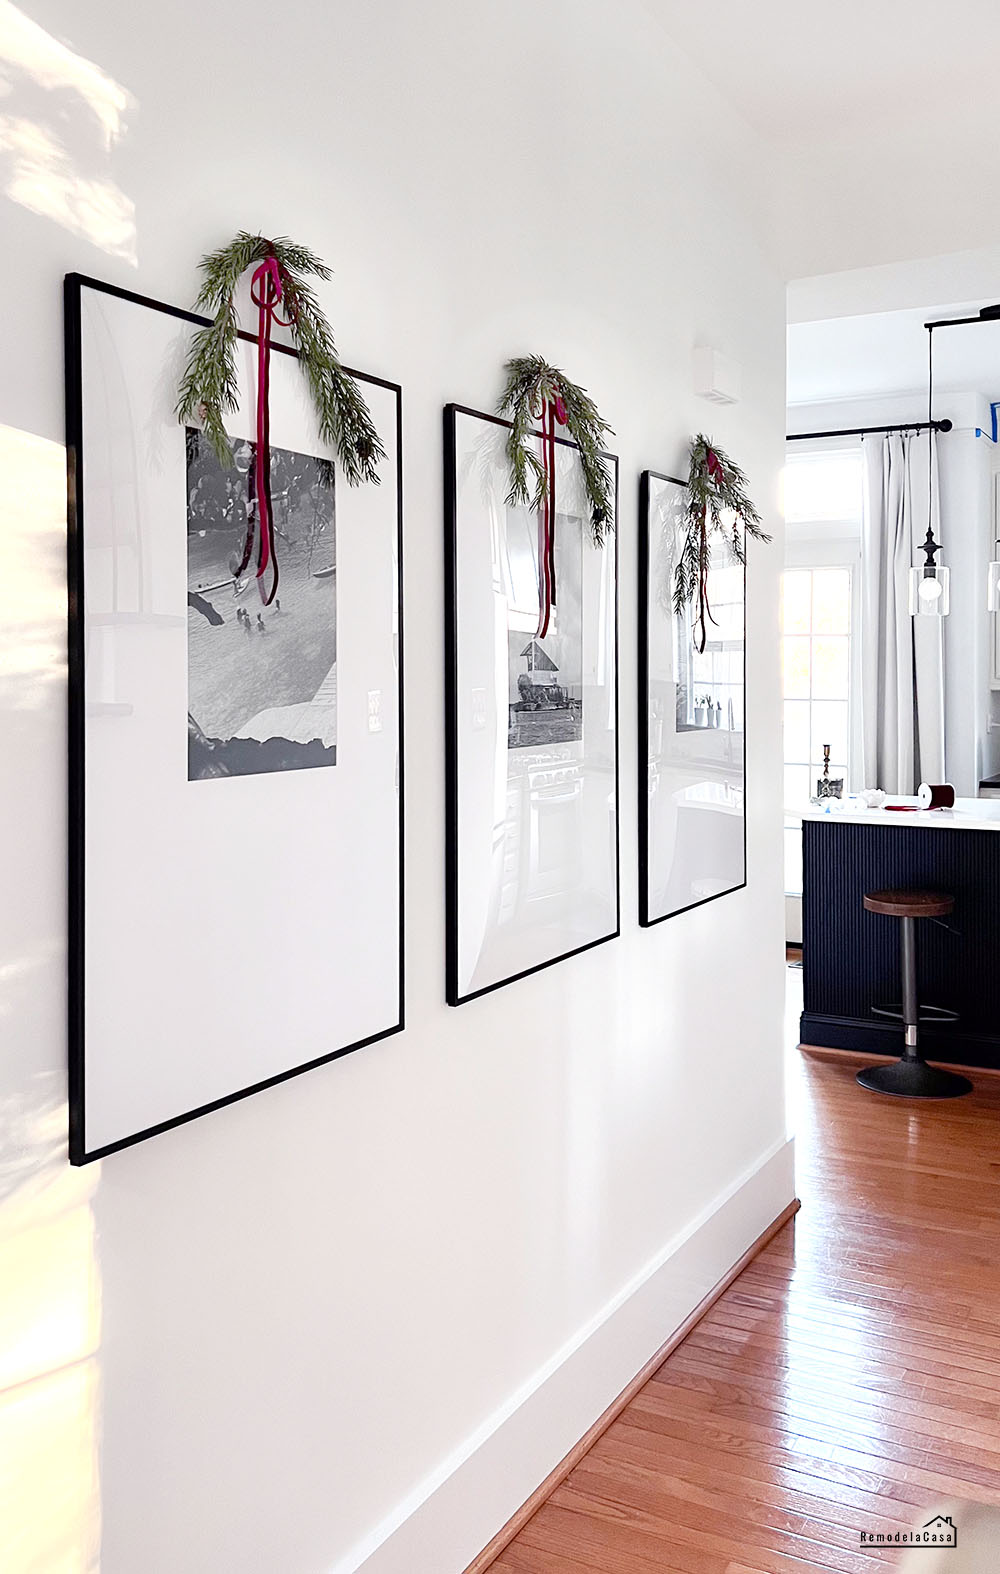
And here is the cute after!

For hanging them on the wall, I used little Command hooks. The ones I used were ceiling hooks, which I had at hand.
Hey, they worked perfectly. ;)
| Command Hooks |
The last part is to hang the little swag in place.


Look at the drabby before. 😝

I replaced the ceiling light and rug for a complete makeover. ;)

All that's left is to step back and admire that masterpiece. 😃
This black and white gallery wall modernized our hallway and serves as a cherished repository of memories with a festive flair for the holidays.
Thanks so much for stopping by.
Happy Thanksgiving!

Again, as lovely as ever! I keep thinking I am projected out on this house and now I see a few pics I need to change out! Thanks again for the inspiration !
ReplyDeleteHi Beck, I remember when you just moved in, it was a year full of big and small projects. You were so efficient that everything is done! :D Well, you're a doer I know you'll find your way into DIYing something.
DeleteDid you make these mats as well? I'm curious about that because in the Ikea photos it shows the mat opening to be centered and yours are more to the top of the frame and you reference the mat being cut at the top because it didn't fit in the frame. Also, you ordered an 11x14 photo but the mat opening is only 8 x 10. Is that so the edges of the photo aren't seen in the mat opening? Thanks for being patient and answering my questions. I've been wanting to do something like this in our hallway so any clarification you can give is greatly appreciated.
ReplyDeleteHi Rebecca, you are correct, those picture frames come with a mat that's centered. I bought new mat-boards at Michaels, and cut them bottom-weighted. All the instructions on how to cut the mats and set them in place are in a previous post where I did a very similar gallery in my daughter's apartment. This is the link to those instructions: https://www.remodelandolacasa.com/2023/02/a-long-hallway-gallery-wall.html
DeleteYou're also correct about the sizing of the photographs. The pictures need to be at least a quarter inch larger than the opening. I even went further in picture size to have more wiggle room with the photograph. I could moved it up, down, or sideways according to what I wanted to show.