
This headboard coat rack shelf is a little different because the headboard is kind of oddly shaped. It's a long story, but this was actually made into a sign years ago. Then it almost became part of a chair bench, finally it's a headboard coat rack shelf!
Actually, this project was made from the foot board. The headboard was made into a pretty bench. Wow! This bed has a lot of history here on My Repurposed Life! Would you believe, I was able to locate the project where I used that long spindle? It was made into a double pedestal table! I'm sure I used the top of the foot board legs for something, but I can't locate that project.
Old Headboard New Coat Rack Shelf
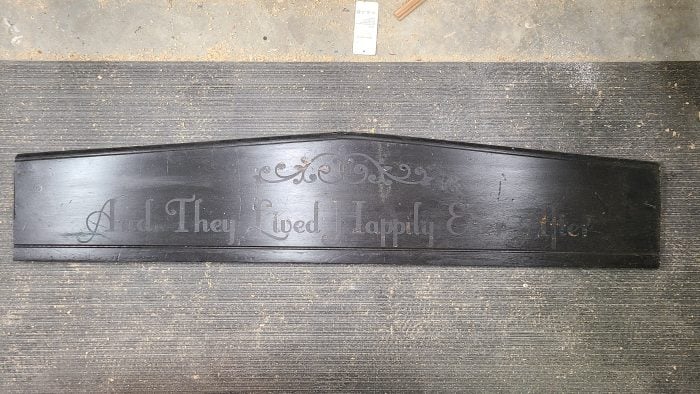
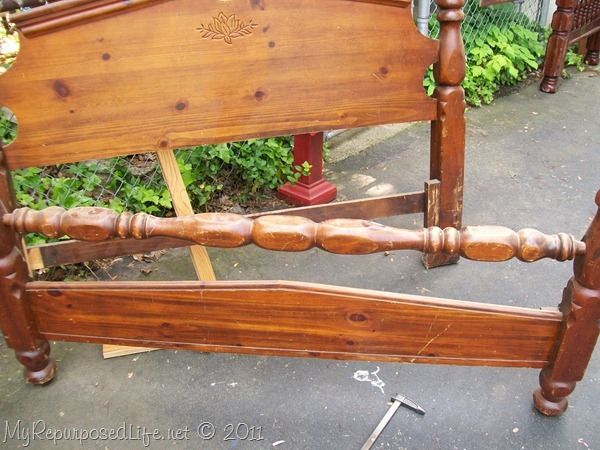
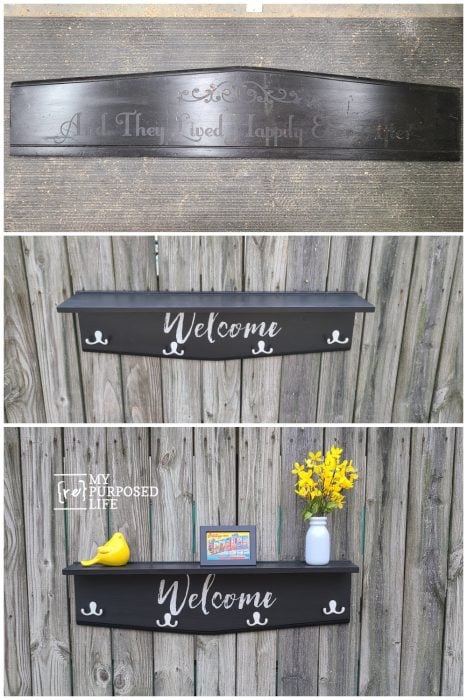
So, here's the old headboard (foot board) as I found it in the basement shop recently. The vinyl had been removed but you can still see the remnants of the old sign.
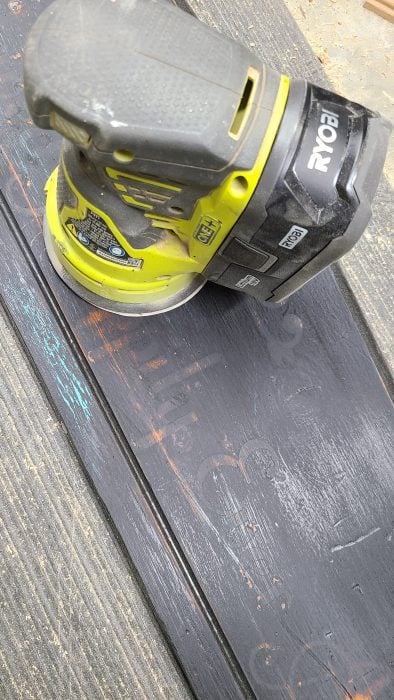
I did quite a bit of sanding to even out the finish, so the original words would not be visible.
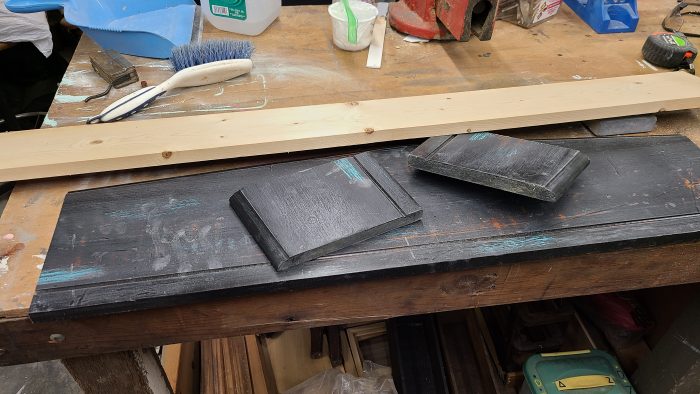
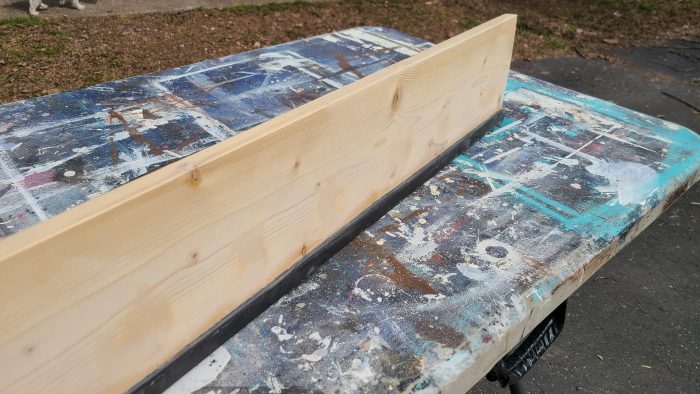
This project was started while it was still very cold, that's why you see I'm working on it in the basement shop. I had limited lumber, so I trimmed the foot board by cutting off each end on the miter saw.
Add Shelf With Pocket Holes
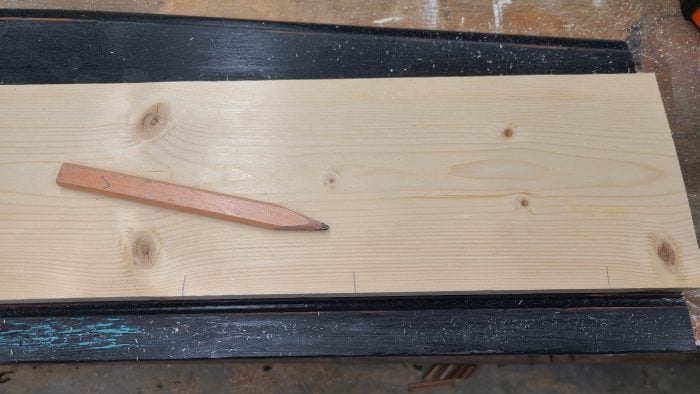
I used a pencil to mark where I wanted to drill the pocket holes.
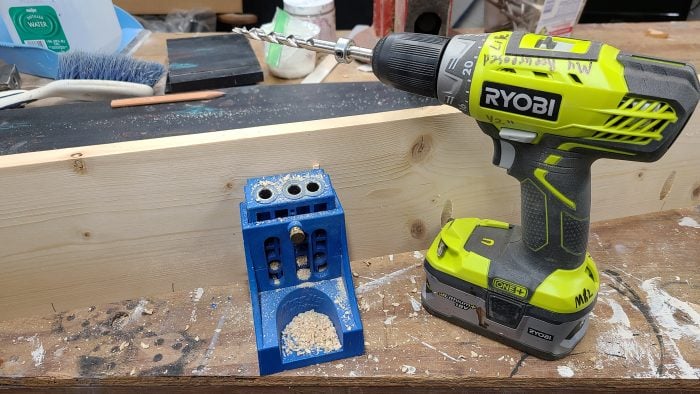
To do that, I used my Kreg Jig.
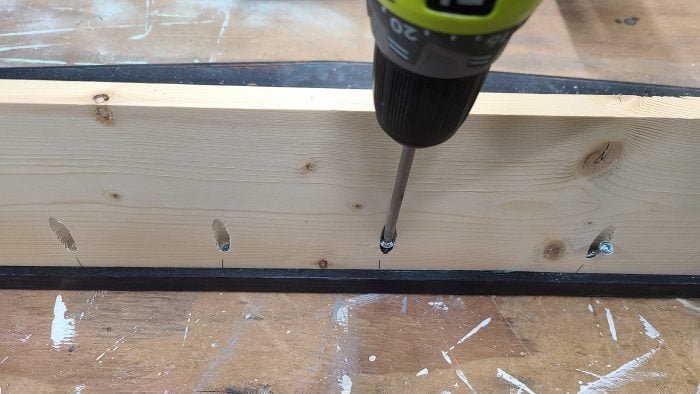
Then, the shelf was added to the headboard (foot board) with pocket hole screws
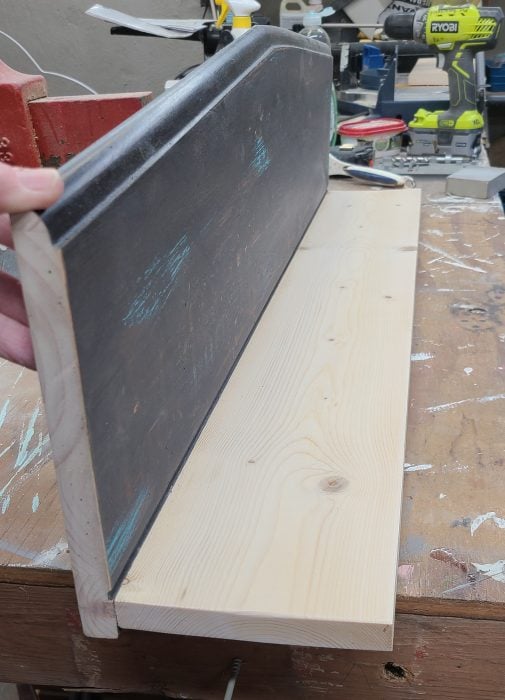
At this point, I was struggling with which way the headboard coat rack shelf should hang.
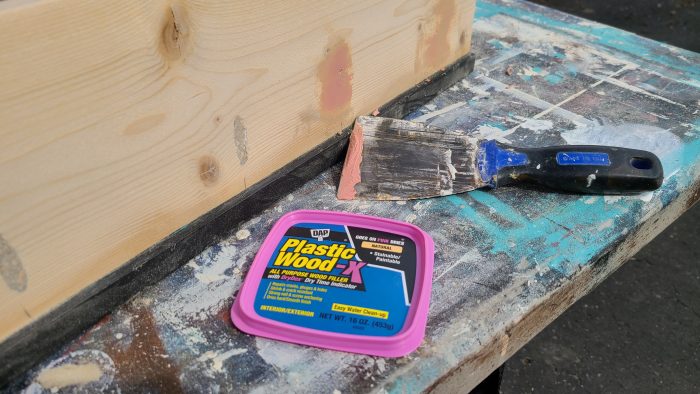
Spring has sprung, and now I'm working on this headboard coat rack shelf outside. I had filled the pocket holes with wood glue and wood chips. Yeah, that didn't work so well. So, I sanded and sanded until they were mostly smooth. Then I patched them with Plastic Wood. This stuff is awesome. Generally I use drywall mud, but I left it in the garage over the winter--it froze.
Don't the filled pocket holes look great now?
PAINT HEADBOARD COAT RACK SHELF
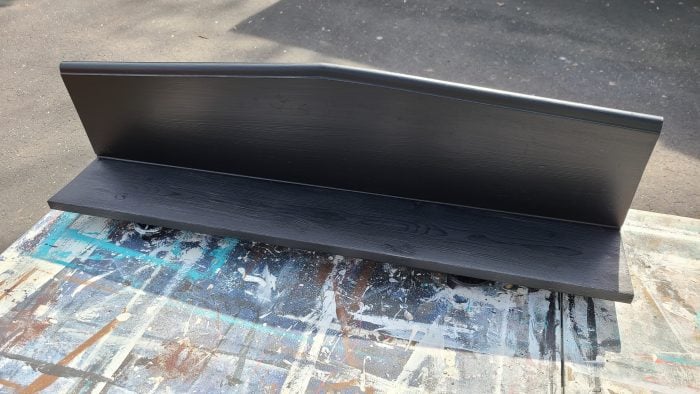
I used my favorite Iron Gate from All In One Paint by Heirloom Traditions. The project is resting on Bench Cookies or paint pyramids. They allow me to be a very impatient diy'er.
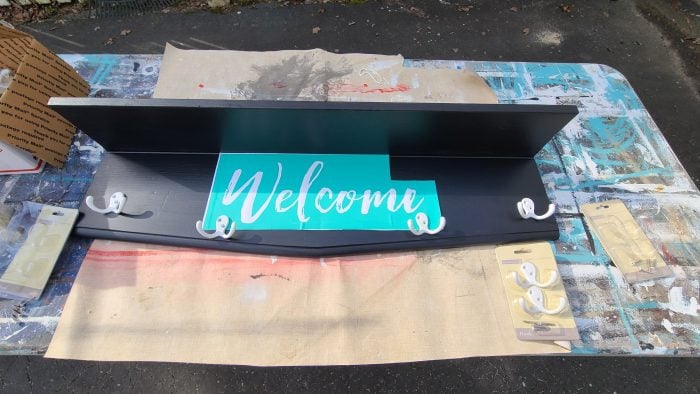
I wanted to add the word welcome, so I used a transfer from The Junky Chalker Shop. I was trying to figure out the placement of the word and the hooks. Ideally, I would have preferred to put larger hooks on the left and right side, but I didn't have any.
HOW TO INSTALL COAT HOOKS ON SHELF
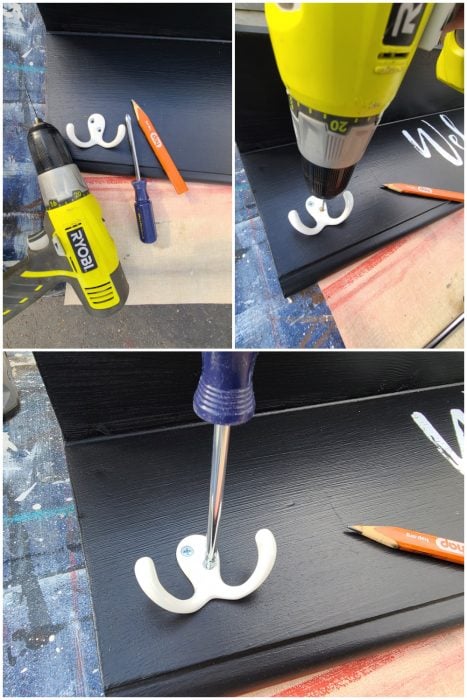
- Measure and find placement of hooks
- Mark one hole with pencil
- Remove hook and drill pilot hole
- Secure one screw by hand (do not use a drill)
- Insure hook is straight
- Drill second pilot hole
- Install second screw
Repeat for each coat hook. Because the original screws were too long, I replaced them with shorter screws. Then I painted the silver screws so they would blend better with the white coat hooks.
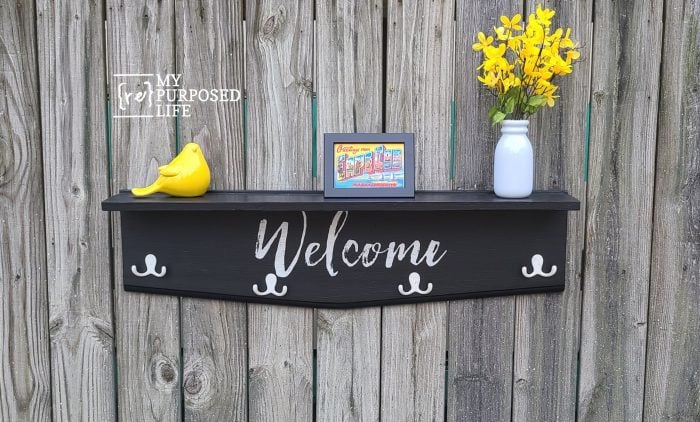
Because this project is large and heavy, I didn't have a place to hang it, so on the fence it went. 🙂
I think this hook shelf would be perfect for coats, hats, or backpacks. I love it when beauty and function come together!
The pretty yellow pieces make me smile!
gail
update! I recently opened a new booth, and THIS project sold within the first hour on the day I added it to my inventory. 🙂
Gail Wilson is the author and mastermind behind My Repurposed Life. She is obsessed with finding potential in unexpected places and believes that with a little hard work and imagination, any old thing can be made useful again, including herself!
Gail reinvented herself during a midlife crisis and has found purpose again. She hopes you will find new ideas for old things and pick up a few tools along the way.
Debbie N
Love how you flipped that footboard on its "head"! It turned out super nice.
Gail Wilson
hahaha Thank you Debbie!!
gail
girlfromwva
this is so cool! i would use it for jackets or hats! love the color!