It's such a silly little thing, but I'm so excited to share this yardstick business card holder with you. I have some fun tips for you to make it an easy project. Change it up a little, add a thin plywood bottom, and you can make yourself a small yardstick tray!
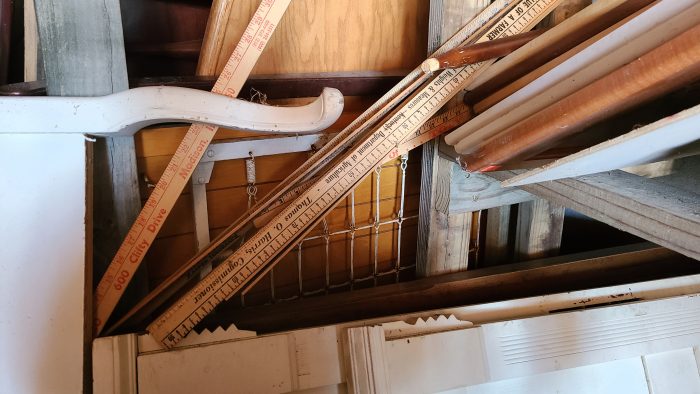
Because I really don't have a place to store yardsticks, they were stuck in the cabinet door and bed department in my storage garage.
Vintage Yardsticks
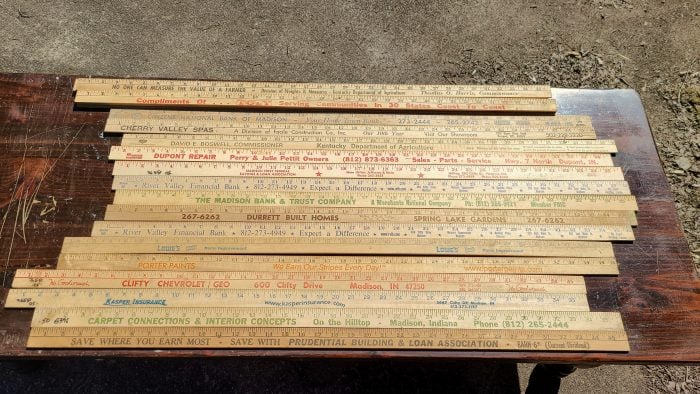
I pulled out all of the yardsticks and organized them on a coffee table I was getting ready to work on. The duplicates were stacked on top of each other. Not really having a plan of what I was going to do, I chose one that I had duplicates in case I messed something up.
Cut on Miter Saw
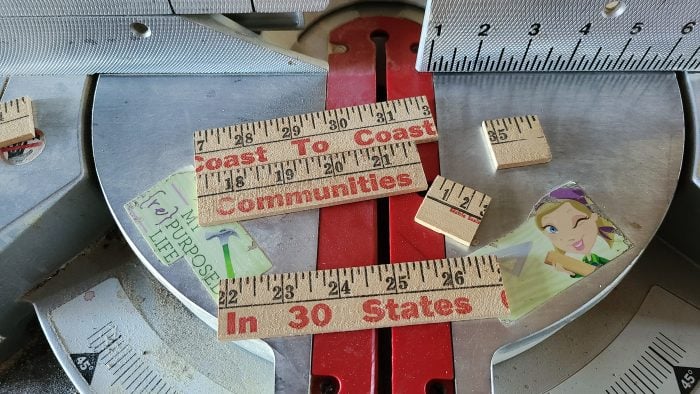
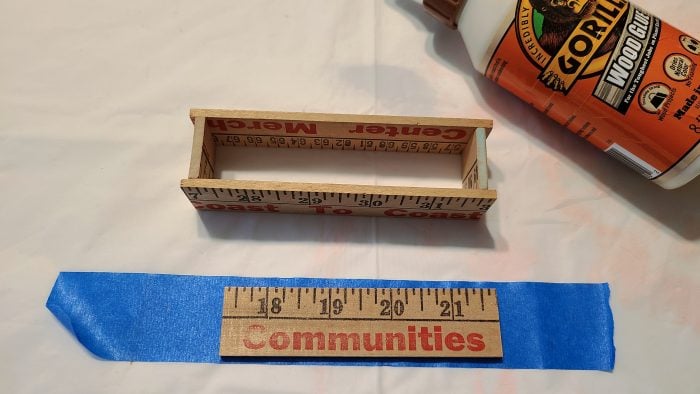
It's really NOT a good idea to cut small pieces from a small piece of wood. So, for that reason, I chose to cut each end off of the right and left side of the yardstick to make the ends of my box. Each side is about 5" long, with the bottom of the box being slightly smaller.
If you don't have a miter saw, you could easily use a Miter Box for this.
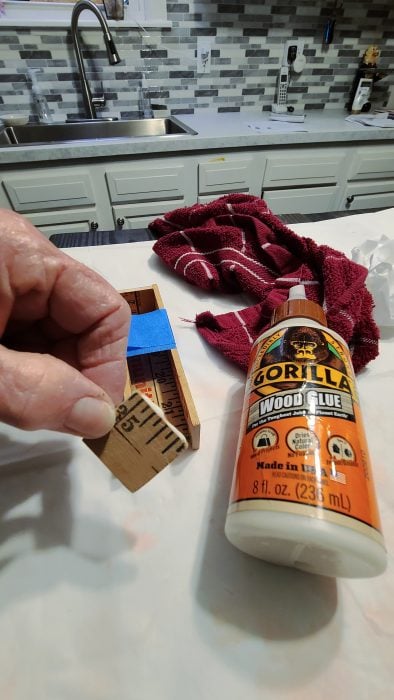
Only a small amount of Gorilla Wood Glue is necessary. Notice how I have the painter's tape holding the long sides together--here I am only gluing the two small end pieces.

I let the glue set up overnight because it was late when I did this step.
So, the frame is set up, now it's time to glue the bottom. I find that when you use painter's tape, your project is less likely to get glued to your work surface.
Directions for Easy Assembly Yardstick Business Card Holder
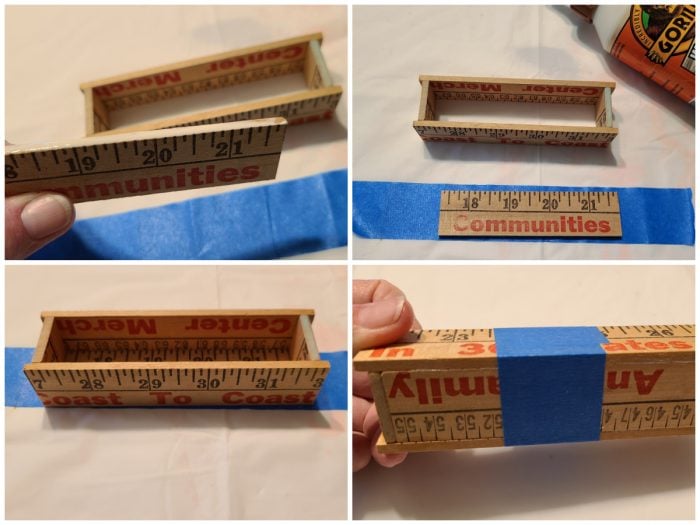
- Spread a thin bead of wood glue around all four edges.
- Place bottom of box on painter's tape.
- Set box in place
- Carefully wipe away excess glue and apply painters tape as a "clamp" until glue sets up.
Seal Yardstick Project with Clear Nail Polish Test
Say, what? Clear nail polish? Yep! Mickey recently left this comment on the Painted Acorns Project Post
I love painting acorns too. My son has a bur oak tree that drops huge acorns which I like to paint little faces on because the tops look like fairy caps. Also, I buy clear nail polish at Dollar Tree to glaze.
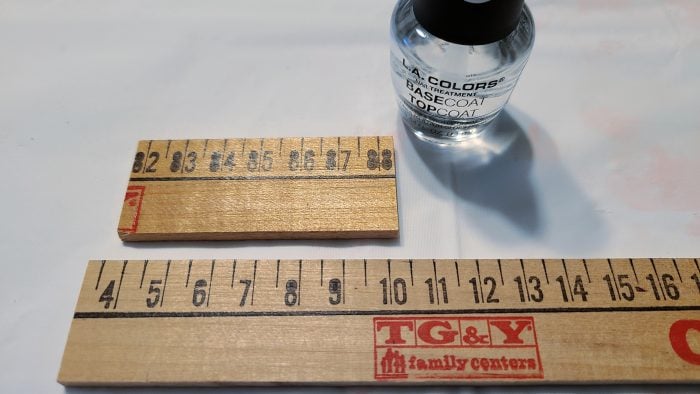
I was in awe! So, I picked some up at the dollar tree to give it a try. You can see in the image the original yardstick was raw wood, never having been stained or sealed.
The short portion has been brushed with the clear nail polish.
Why Not Use Mod Podge?
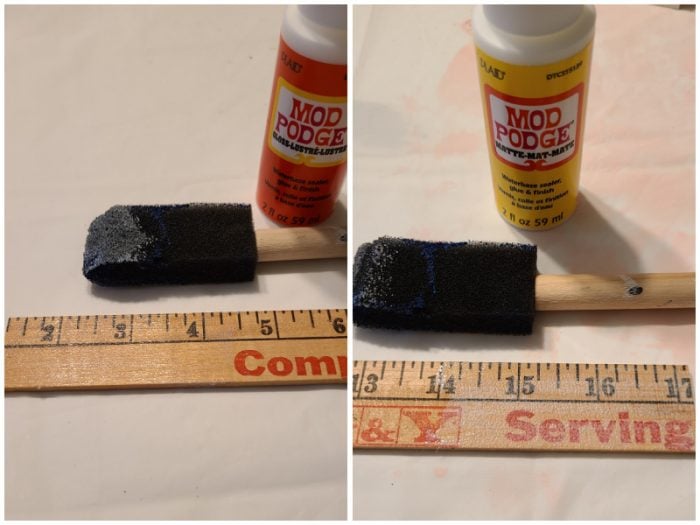
On the leftover piece of yardstick, I tested gloss Mod Podge on the left, and matte Mod Podge on the right. The gloss did okay, but the matte seemed to raise the roughness of the yardstick. Neither really changed the tone of the wood much.
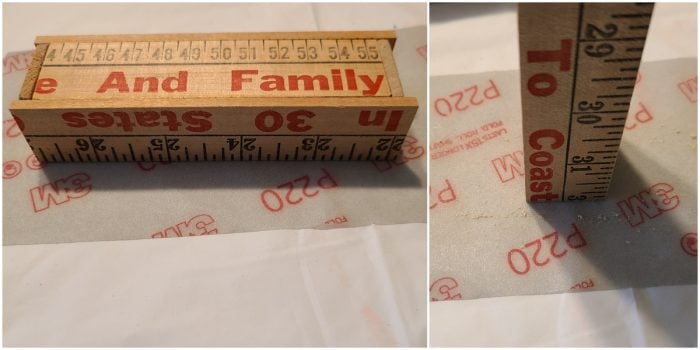
To get the edges to match and look better, I sanded the top edge by sliding it back and forth on 220 grit sandpaper, Then I stood it on end and did the same thing.
It's Time to Seal the Yardstick Project
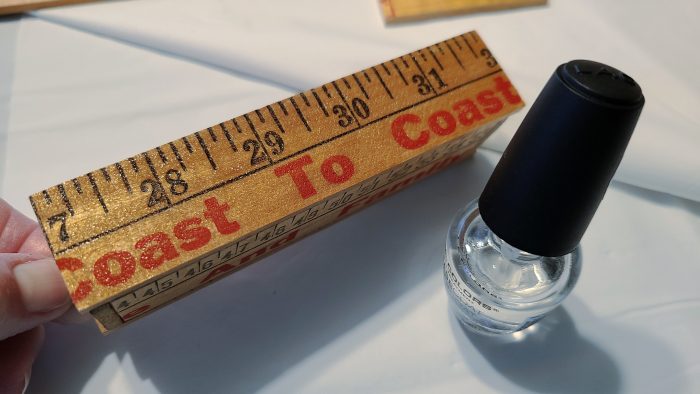
So, it may not be the best way to seal a yardstick business card holder, but it may inspire you to think outside the box. We don't always have what we need on hand. If it were summer time, I probably would take this outside and hit it with Spray Poly
I really love how much better the edges look after applying the clear nail polish.
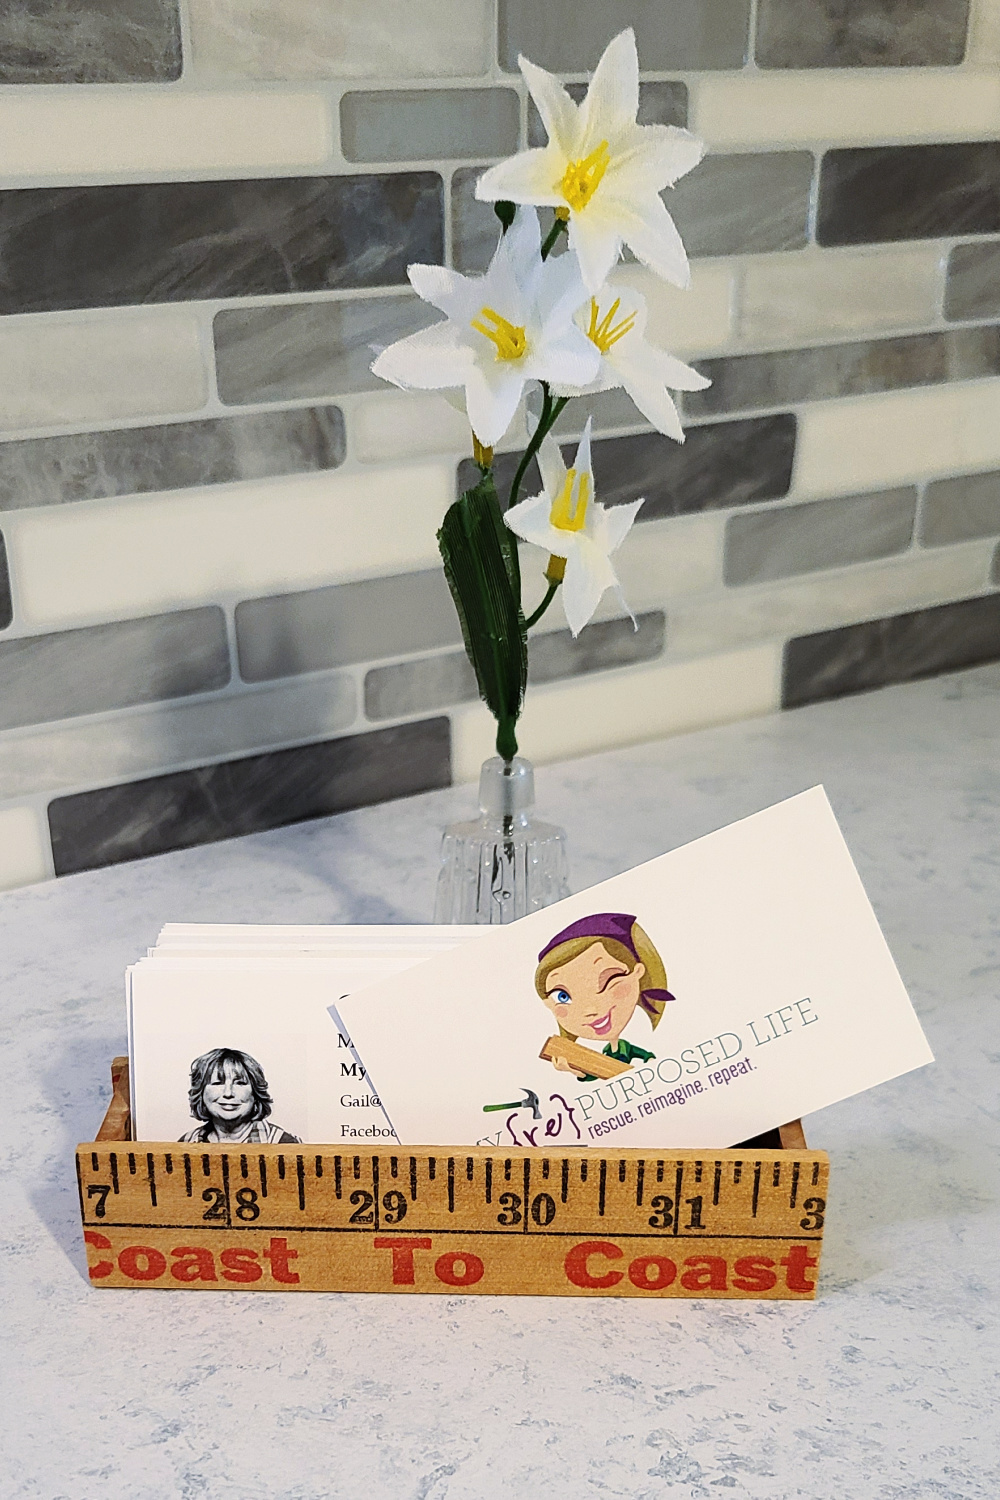
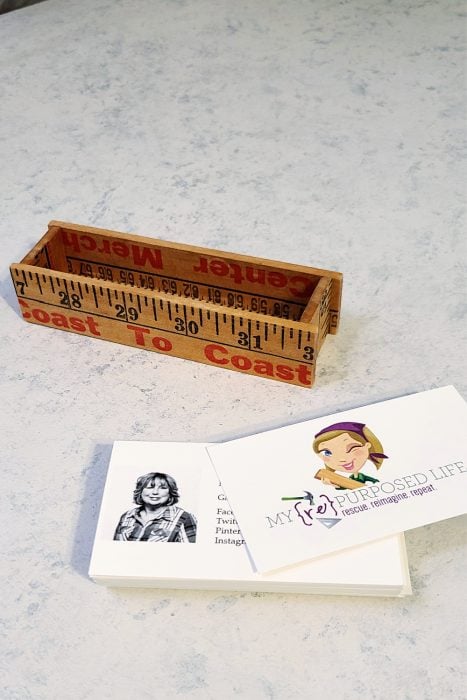
Yardstick Business Card Holder
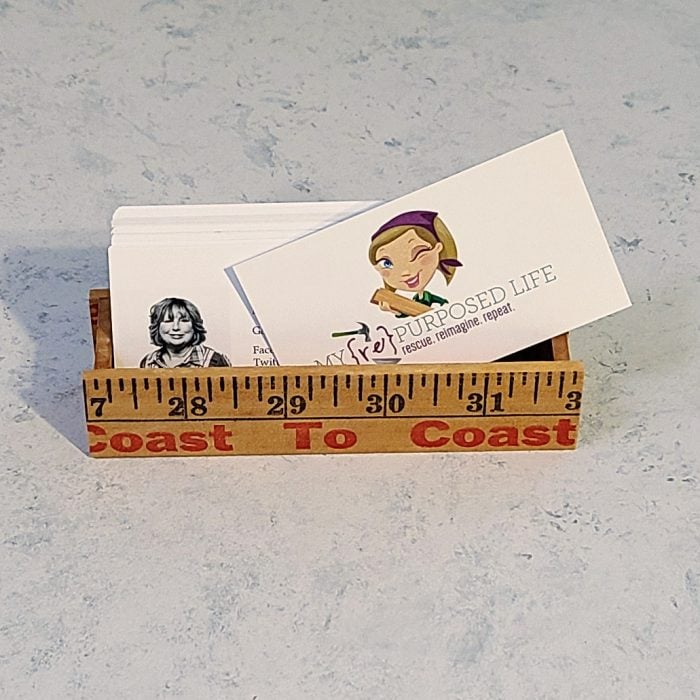

That's My Repurposed Life-- Coast to Coast! 🙂 I took the pictures in my new kitchen! I still have a lot of yardsticks left, what should I do?
gail
Related Content:
Easy DIY Star - Pretty Handy Girl
Yardstick Table Refresh Restyle
Gail Wilson is the author and mastermind behind My Repurposed Life. She is obsessed with finding potential in unexpected places and believes that with a little hard work and imagination, any old thing can be made useful again, including herself!
Gail reinvented herself during a midlife crisis and has found purpose again. She hopes you will find new ideas for old things and pick up a few tools along the way.
girlfromwva
so cute. i remember seeing that store name when i was little. thanks for the clear nail polish stip.
Mandy Williams
Great post! I love, love yardsticks. I have a few & always on the hunt for more. I can't wait to try this.
Gail Wilson
Mandy,
I'm so happy you found this project. We share the love of yardsticks for sure!
gail
Nancy
I have a flag project waiting in the wings with my yardstick collection.
https://www.blesserhouse.com/diy-yardstick-american-flag-wall-art/
Cannot wait to make it.
Gail Wilson
Awesome! That's a LOT of yardsticks. I wonder if I have enough .....
thanks for stopping by and sharing an idea!
gail
Patty
This is adorable! I don't have business cards, but this reminded me of something: I visited a quilt shop in Rapid City, South Dakota, a few years ago. They had yardsticks with their names on them, and they also made bobbin holders from those same yardsticks. They are similar to your business card holders, just a little longer. I picked up one as a souvenir, and now I'm thinking I should make a few more out of some of my stash of vintage yard sticks 🙂
Sara
Hi Gail,
The business card holder is really cute and I will add it to my Pinterest boards as I love repurposing things. If you should ever need a quantity of numbers for a calendar, the yard sticks come in very practical if cut on the half inch marks which center the numbers.. I've been making all my kids and oldest grand Advent calendars using chair webbing for pockets with added trims and yes, yardstick numbers! Red or black numbers work best for me. I got tickled to see the old TG&Y yardstick. Man, that was a cool bargain store back when I was raising my girls. Not that this would make a great holder for a quantity of yardsticks but the one or two I use in the house have a long holder out of chair webbing with an open ended seam at the top to run jute cording to hang it. Home Depot yard sticks have orange numbers so I'm thinking a Halloween/Fall calendar with different colored ring to circle the days in the month.
Thanks for sharing,
Sara