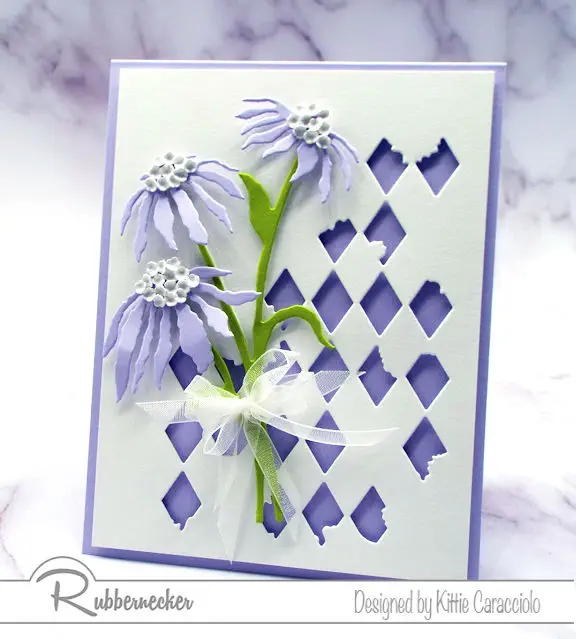
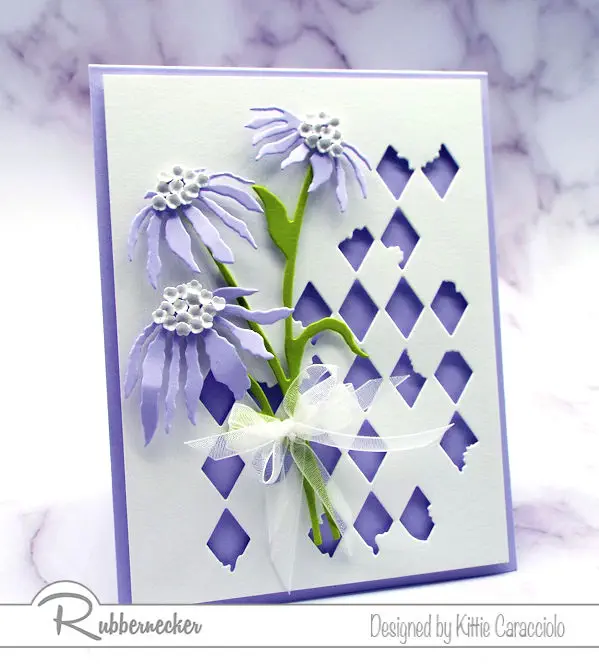
Rubbernecker is releasing some new die cut patterns and, lucky me, I got first dibs at playing around with them. I just LOVE how die cut patterns can add a TON of textural and visual interest to a card with just one roll through your die cut machine. I used the same die cut flowers as I did in this project on yesterday’s blog post but this time left them one color and added some tiny flower buds to the centers for a totally different look.
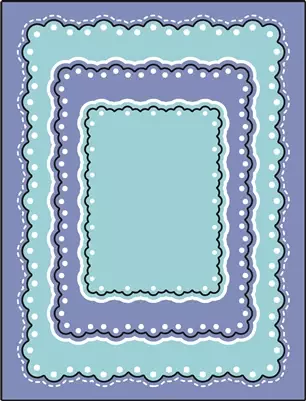
Before I start my project description I w ant to show the new Rubbernecker nested dies and shaped pattern dies. I will be sharing more projects using these dies in the coming week.
|
For today’s project I used the Diamonds Tattered Die, Flowers #3 and Tiny Flower Buds.
The Diamond Tattered Die Cut Pattern
- Cut a piece of white cardstock 5.25″ x 4.00″.
- Place the cardstock on the cutting platform and line up the Diamond Tattered die where you want it to cut.
- Run through the die cutting machine.
- Apply strips of mounting tape around the outer back edges of the cardstock and place a few small pieces in key places in the center of the diamond cuts. Note: mounting tape in the center of the diamond cuts will hold the paper up from collapsing.
- Attach the die cut layer to the card base.
The Flowers
- Cut the large flowers using purple cardstock and the tiny flowers using white cardstock.
- Use green cardstock to cut the flower stems.
- Form the large flowers using a large round stylus and molding pad and form the tiny flowers using a small tipped stylus and molding pad.
- Apply glossy accents to the back of the tiny flower and attach them to the top portion of the large flowers.
- Use glossy accents to attach the flowers to the stems.
- Apply strips of mounting tape to the back of the stems and square pieces of mounting tape to the back of each flower.
- Attach the stem and flowers to the card base.
- Finish by attaching a white organdy multi loop bow using glue dots.
What die cut patterns do you have and how can you use them to add some extra interest to your projects – try it out a few times and you will be hooked! Check out this Pinterest link to see more die cut patterned backgrounds. Thank you for coming by and I hope you have a wonderful Sunday.
Here are the dies used for my project.
|
Here are the tools and supplies.
|
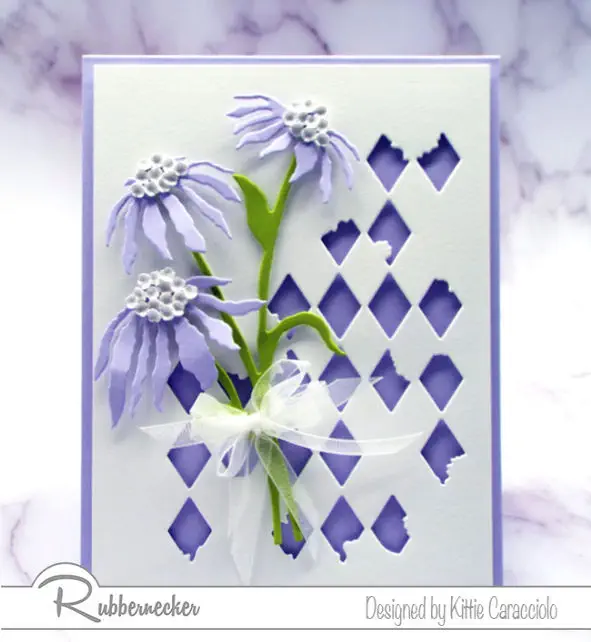
Use die cut patterns to add interest and extra dimension to your project.




Kittie, this is SO INTERESTING LOOKING! You did a WONDERFUL JOB with this! I LOVE IT!!! LUCKY YOU getting “first dibs!” LOL You did them WELL!!! 😉 AND BIG INKY HUGS for all your comments over on my blog!!! SO SWEET!!! ;)<3
ok, I have to be honest here.
I have seen this die used in several dif applications for cards. I have to say, no matter how pretty the paper is or what colors are used, they still look like flowers that are dying and on their way out.
Maybe they would be good for a Halloween card, but in some kind of greeting card, it is hard to say you could pull off a sweet sentiment with it.
To me, it would be like someone sending a card that had a nice sentiment, but really stated in the flower ‘hey, I’m sending you this card w half dead flowers on it, hope you are feeling better’ or something to that effect. I understand the effect that the designer was going for, but the follow-through just does not make it. Sorry, everyone…
I do have to say this particular card is very pretty and I like the background die a lot! Well executed as far as how the card was done… execution of the card is lovely… and nothing against you Kittie… you did a fantastic job with the card…. but the die itself (the flowers) …. they just don’t carry it off for you. I think this particular die is one for the graveyard…
Hi Samantha, thank you for taking the time to comment. I am always happy to hear honest opinions of my projects and the products I use. And with that said….I realize that not all products are for all people. I wonder if you have ever seen cone flowers. Check out this link and I think you will see where the illustrator of the die came up with the shape of the flowers and stems. https://www.google.com/search?q=coneflower+photos&tbm=isch&source=univ&sa=X&ved=2ahUKEwjpoePjl9nnAhVjnuAKHRI1A1QQsAR6BAgFEAE&biw=1408&bih=642
Thanks again for commenting and thank you for checking out my post.
Wow I love how you can make them look totally different, great background too!
oh yes, very familiar w those flowers! have them in my garden! 🙂
i understand where the designer was ‘trying’ to go w them but if you look at the flowers, you’ll see that the petals are smooth and not raggedy looking.
that is the part that to me makes it look like they are on the verge of death!
but as i said… i think you did a great job w what you were working with.
I always enjoy your posts and get lots of ideas from you!
Thanks for sharing!