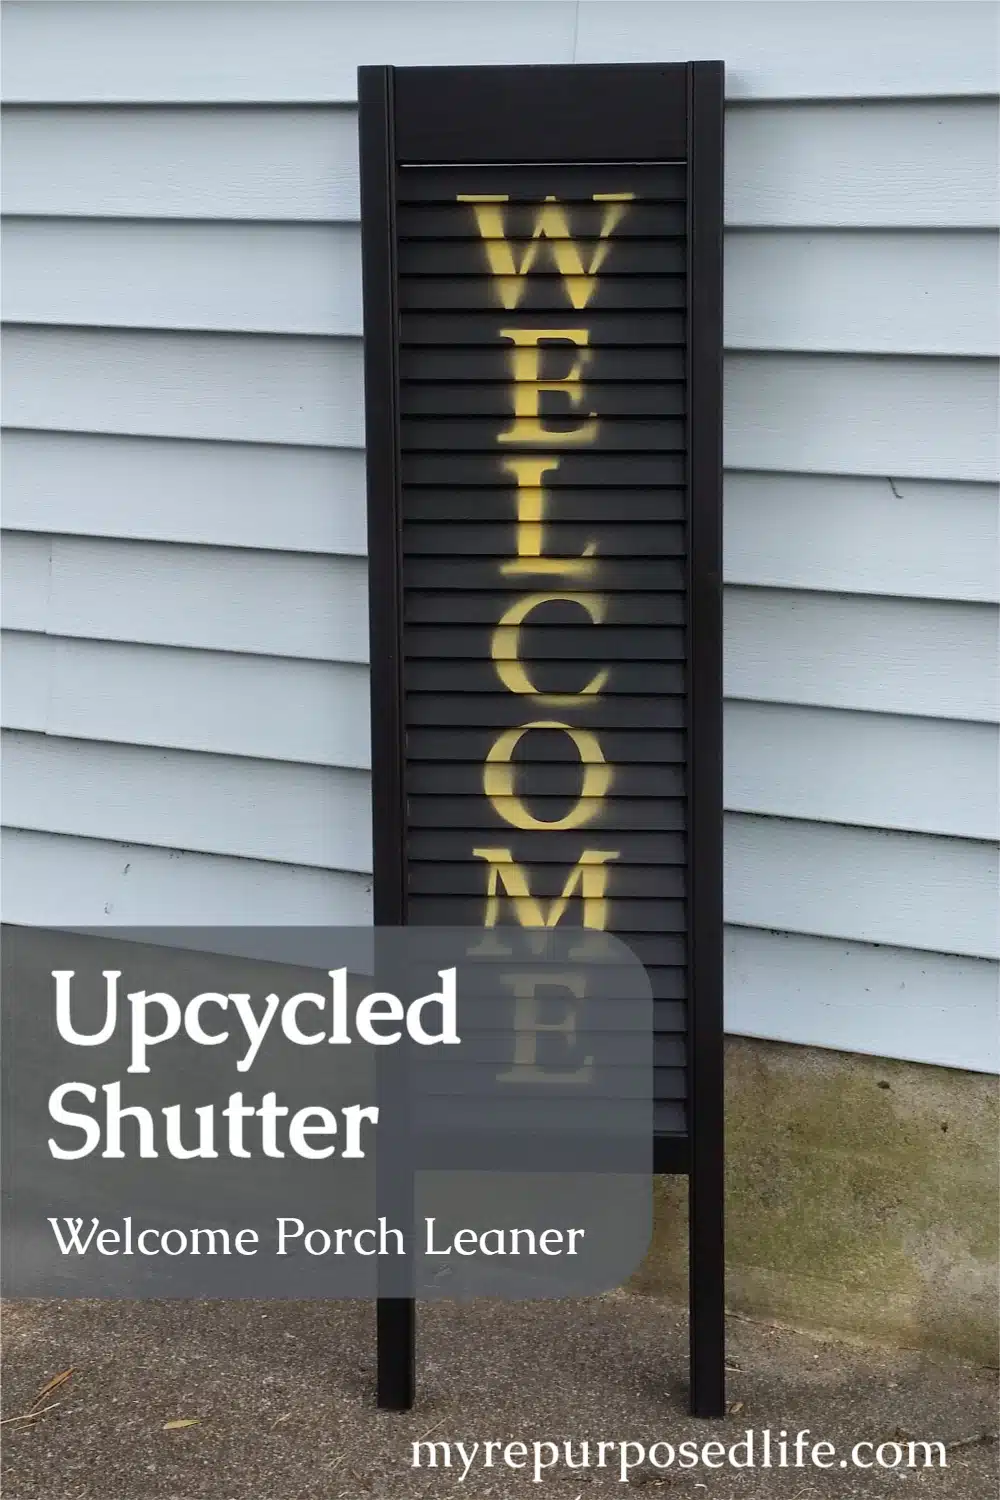
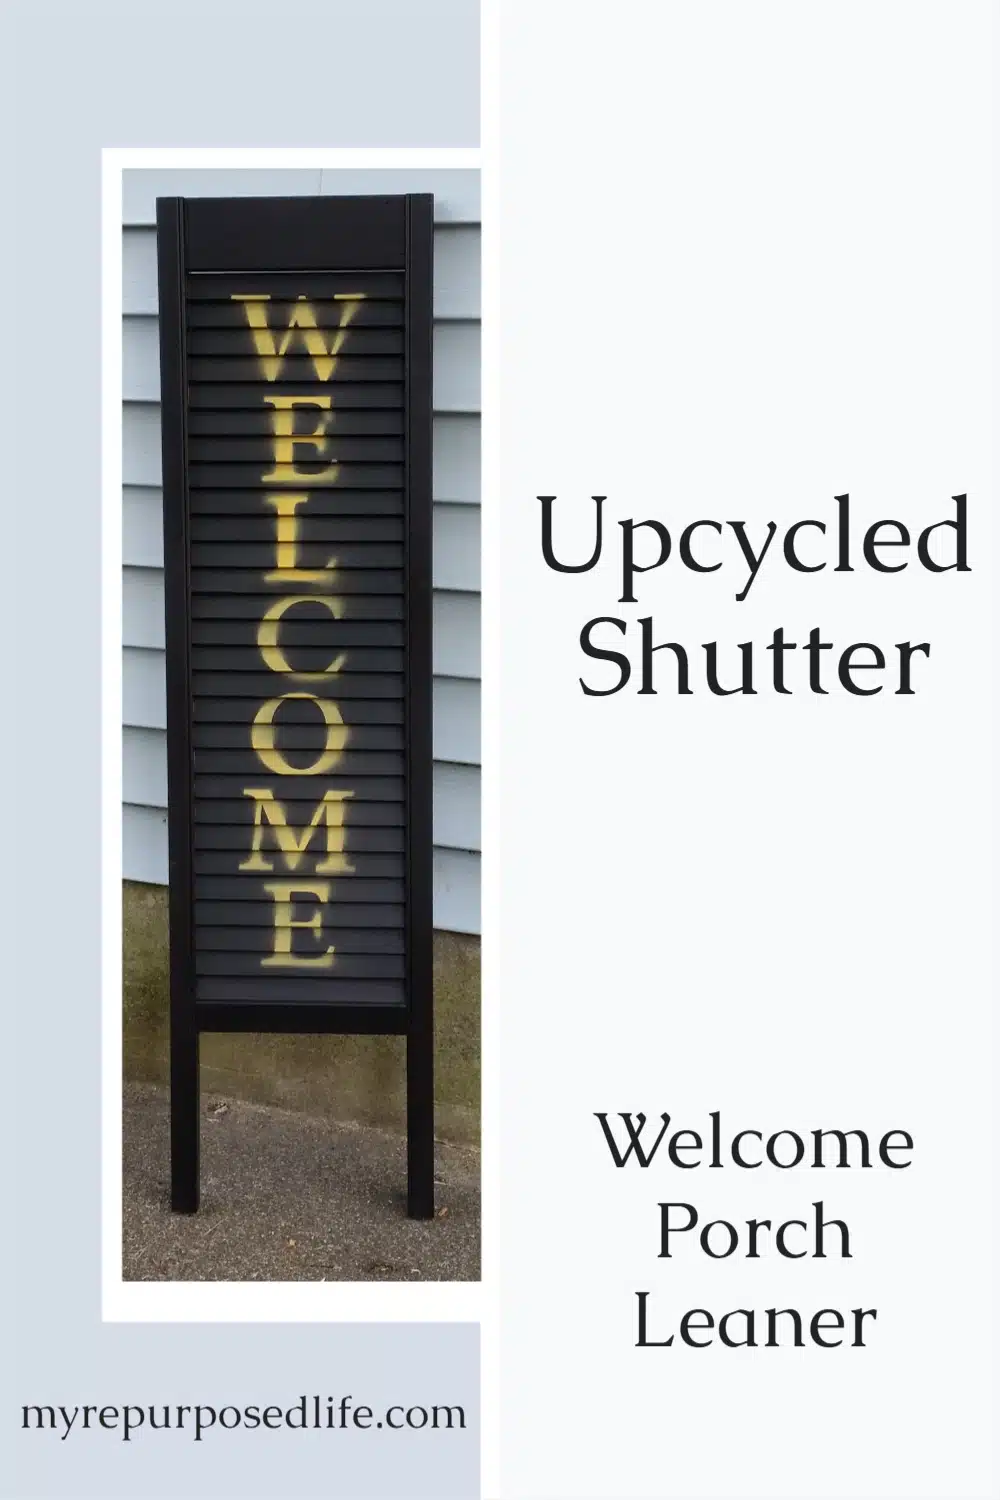
This easy porch decor and a stenciled welcome sign are great to greet your guests on your fall porch by your front door.


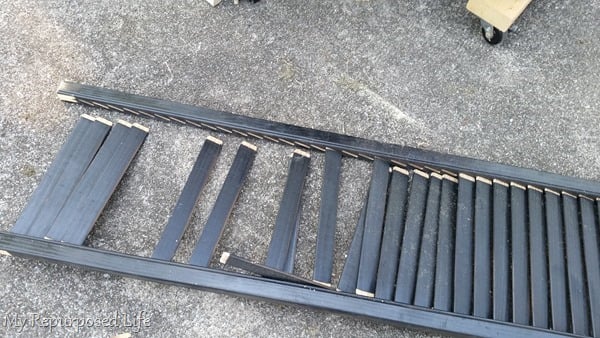
While I was cutting some shutter (bi-fold door) door projects on my compound miter saw, this piece fell off the saw and busted. I picked up the pieces and started putting it back together, one.slat.at.a.time. It was very tedious. As I neared the bottom, I decided that it was long enough and proceeded to put the larger piece in place with my Ryobi nail gun and Gorilla Wood glue. That sort of left some ends hanging off. I took it to the saw to cut off the end pieces. But just as I got to the saw, I stopped—took another look and decided that the end pieces resembled legs…
Materials to Make a Welcome Sign for your Front Door
- Shutter (I used ½ of a bi-folding door)
- Welcome Stencil (I made mine on my electronic cutter, but you would buy one at a craft store or online)
Supplies For Welcome Sign
- Paint
- Spray Paint
- Press-n-Seal
Tools
- Paint Sprayer Finish Max You could spray paint the shutter welcome sign.
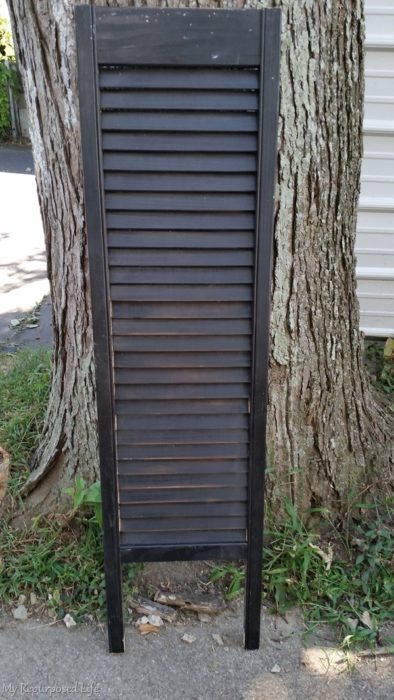
You can see that I still had about 8-10 slats to go when I stopped. I had enough of trying to get those slats back in place. Just as I was going to the saw, I had second thoughts.
Design the welcome sign in Silhouette
 I made a stencil for the welcome sign in my Silhouette program. You can see the font is Adobe Thai and it’s about 518 pt. I cut it out of contact paper to save on using vinyl.
Paint the shutter that will become the welcome sign
 I used my Homeright Finish Max to give the shutter a couple of light coats of diy chalky paint primer with a couple of light coats of semi-gloss over it. If you've ever painted a slatted project by hand with a brush, I'm sure you can relate to how much easier it it with a sprayer.
The Finish Max Fine Finish Sprayer by Homeright will not give you runs, or drips on the back side of your project. I've had that happen to me a LOT when I was using a brush on the slats. Not only do you get drips, it takes a LOT longer to get your shutter or bi-fold door painted.
Apply the welcome sign contact paper stencil
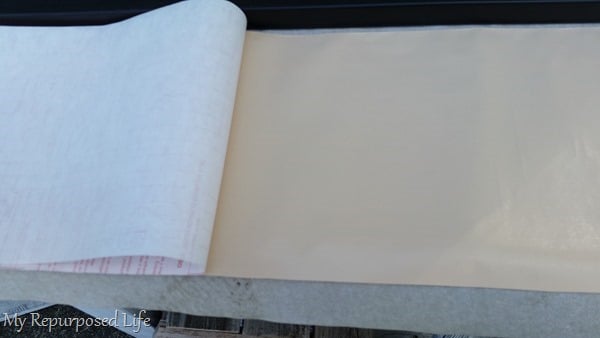
When I stencil with contact paper, I remove the contact paper backing from the entire piece, place the stencil on my project, then weed out the letters.
Using Press N Seal to protect spray painted project
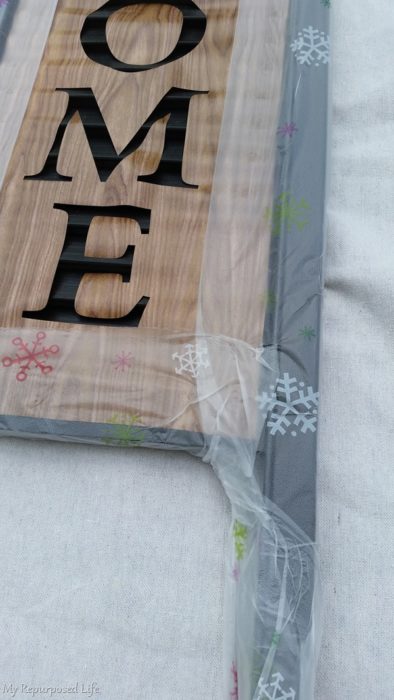
After placing the stencil on my welcome, then weeding the letters, I used some Glad Press-n-Seal to protect the rest of the shutter from over spray. This is a much easier process than using painter’s tape. It really did work like a charm.
Pin this idea of using Press-N-Seal!

While removing the press-n-seal you can see that my shutter was protected from the overspray. It’s resting on my potting bench-a great outdoor work station that I use a lot.
Welcome sign made out of a shutter for your front porch
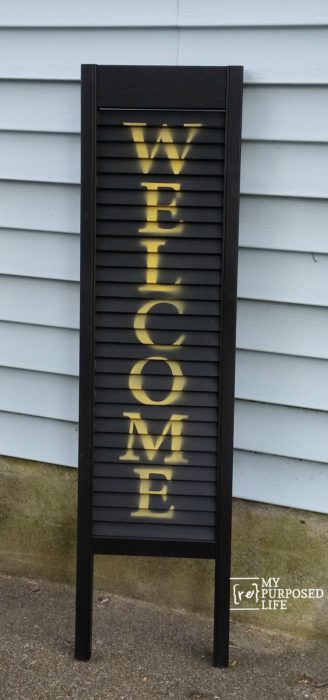
You can see the paint sort of got under the stencil, but I LOVE how the repurposed shutter welcome sign turned out. Perfect projects are soooo overrated, don’t you think? The Press-n-Seal did a perfect job keeping the rest of the shutter paint free. Have you tried this trick yet? Notice how pretty the slats are because I used the Finish Max.

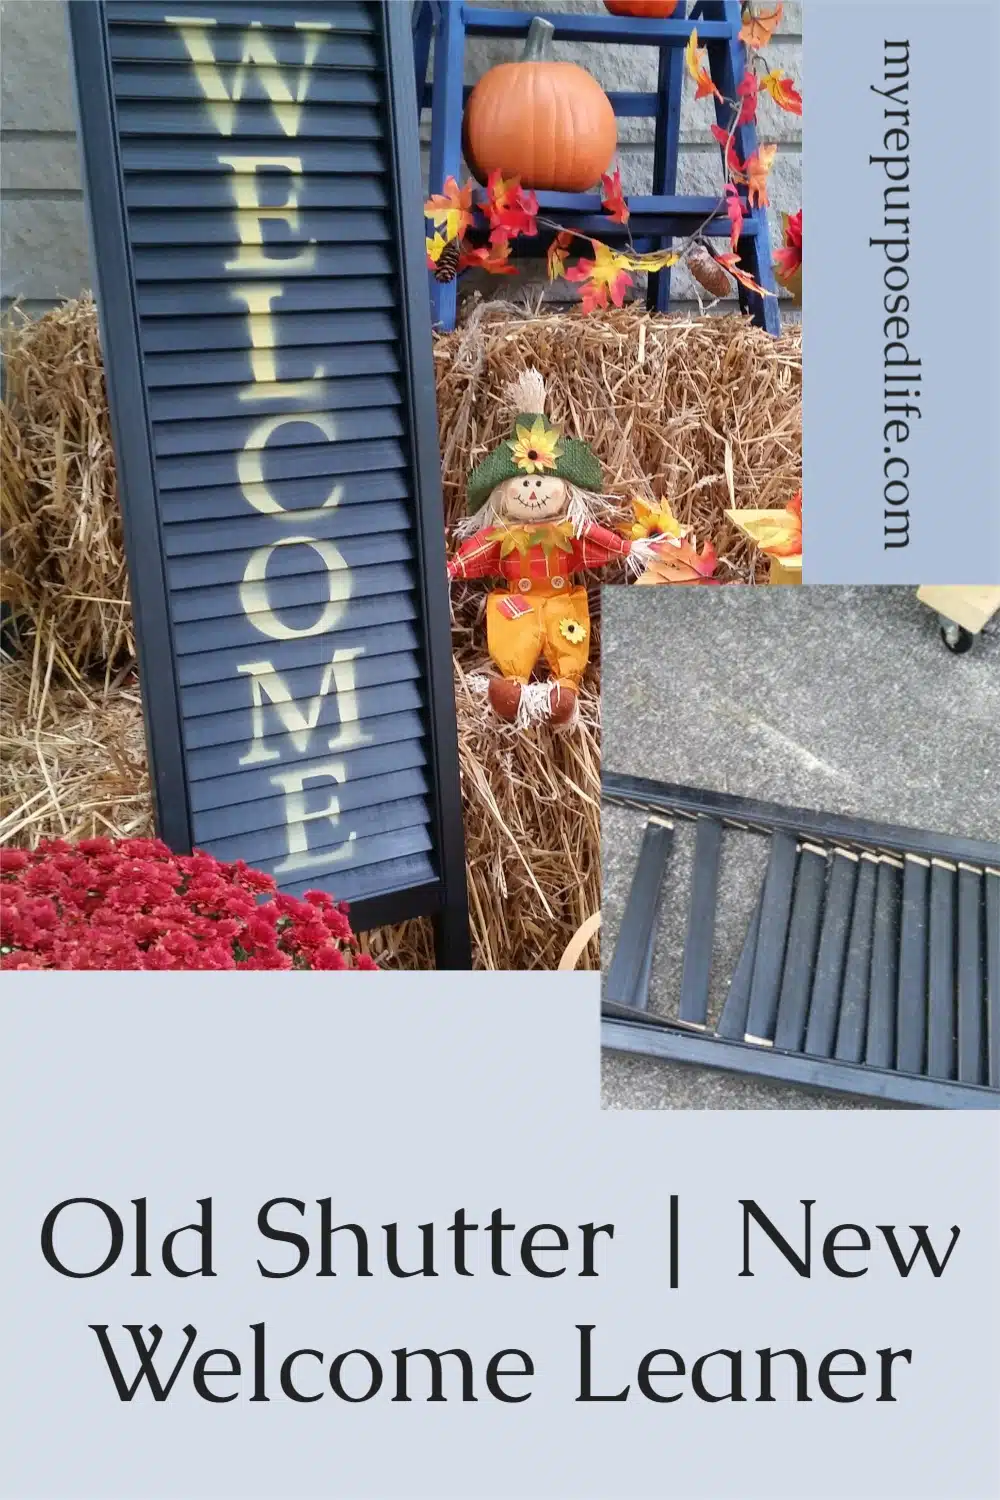
Isn’t this stenciled welcome sign the perfect addition to my fall porch or any entryway? Since fall will be well on it’s way soon…. I think it will head to Glendale with me. I have lots more shutters—I can always make another one because it was so easy.
You can see how this all came together in my post, Easy Fall Porch Decor.
gail
Gail Wilson is the author and mastermind behind My Repurposed Life. She is obsessed with finding potential in unexpected places and believes that with a little hard work and imagination, any old thing can be made useful again, including herself!
Gail reinvented herself during a midlife crisis and has found purpose again. She hopes you will find new ideas for old things and pick up a few tools along the way.
Patricia
I loved hearing about your thought process on this shutter.
...how the end pieces resembled legs'! Perfect.
I often wonder how others come up with their projects.
I usually come here for ideas... or Pinterest...but you just have them pop into your head! You're genius!
Cute sign... I also like the contact paper trick.
girlfromwva
that looks so good! it's always good when something good happens out of something bad.
Laurie
I adore this shutter welcome sign! For some reason, it just speaks to me - actually, it's YELLING at me - "go make one just like it?" So happy that I won't have to do the tedious gluing of the shutter pieces that you did, however 🙂 Thank you so much for sharing this. I just love it!
gail@myrepurposedlife.com
Laurie,
I totally get what you're saying. Sometimes I see something and I just HAVE to make it. That happened recently to me with the easy frames I saw a friend make.
gail
Donna Skees
Do u know where ur booth will be at Glendale? I'm assuming u meant Crossing Festival at Glendale,ky if u can tell me where I will definitely stop by!
gail@myrepurposedlife.com
Donna,
I will be in FRONT of Bennies Barn. If you were to stand on their porch and look out, I'm in the second booth space. The first booth space is my niece. We are on the double row, not the single row. I have two spots. Hope you stop by to say hi!
gail
Mindi
Press and Seal? Yet another genius tip!! Yay! Perfect is SOOO overrated, and if you expect everything to be perfect you won't be DIYing very long...just the way it is, we embrace the imperfections! 🙂 Love your pretty fall porch Gail!!
Sandi
Looks great! And thanks for the tip on using the press-n-seal. Will definitely be using that in the future!
Terry
I love all the porch decor and can't wait to see all the projects. Amazing work as always!
Bliss
Heck yeah perfect is over rated. Great tip too using the press n seal.
Tammy (Pa,)
Very nice..!! If that is your front porch, it's AWESOME..I love it..!!!
gail@myrepurposedlife.com
Tammy
It is my home's original front porch, but now it's on the side of the house and the door has been closed off. So, it's basically a porch to nowhere. But because I live on a corner, it's very visible from both streets.
gail