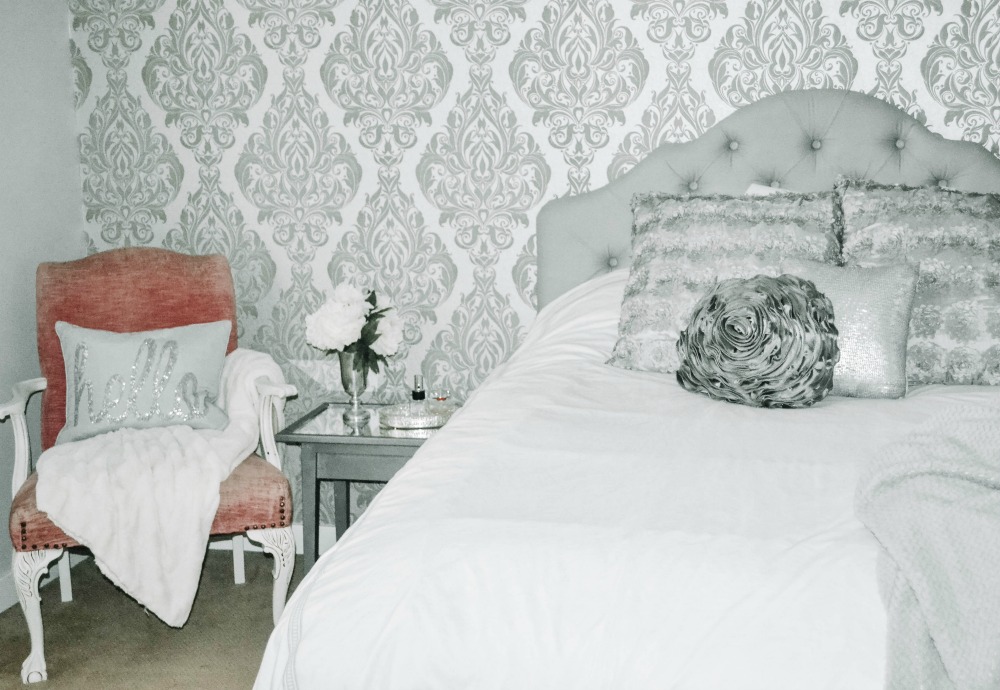
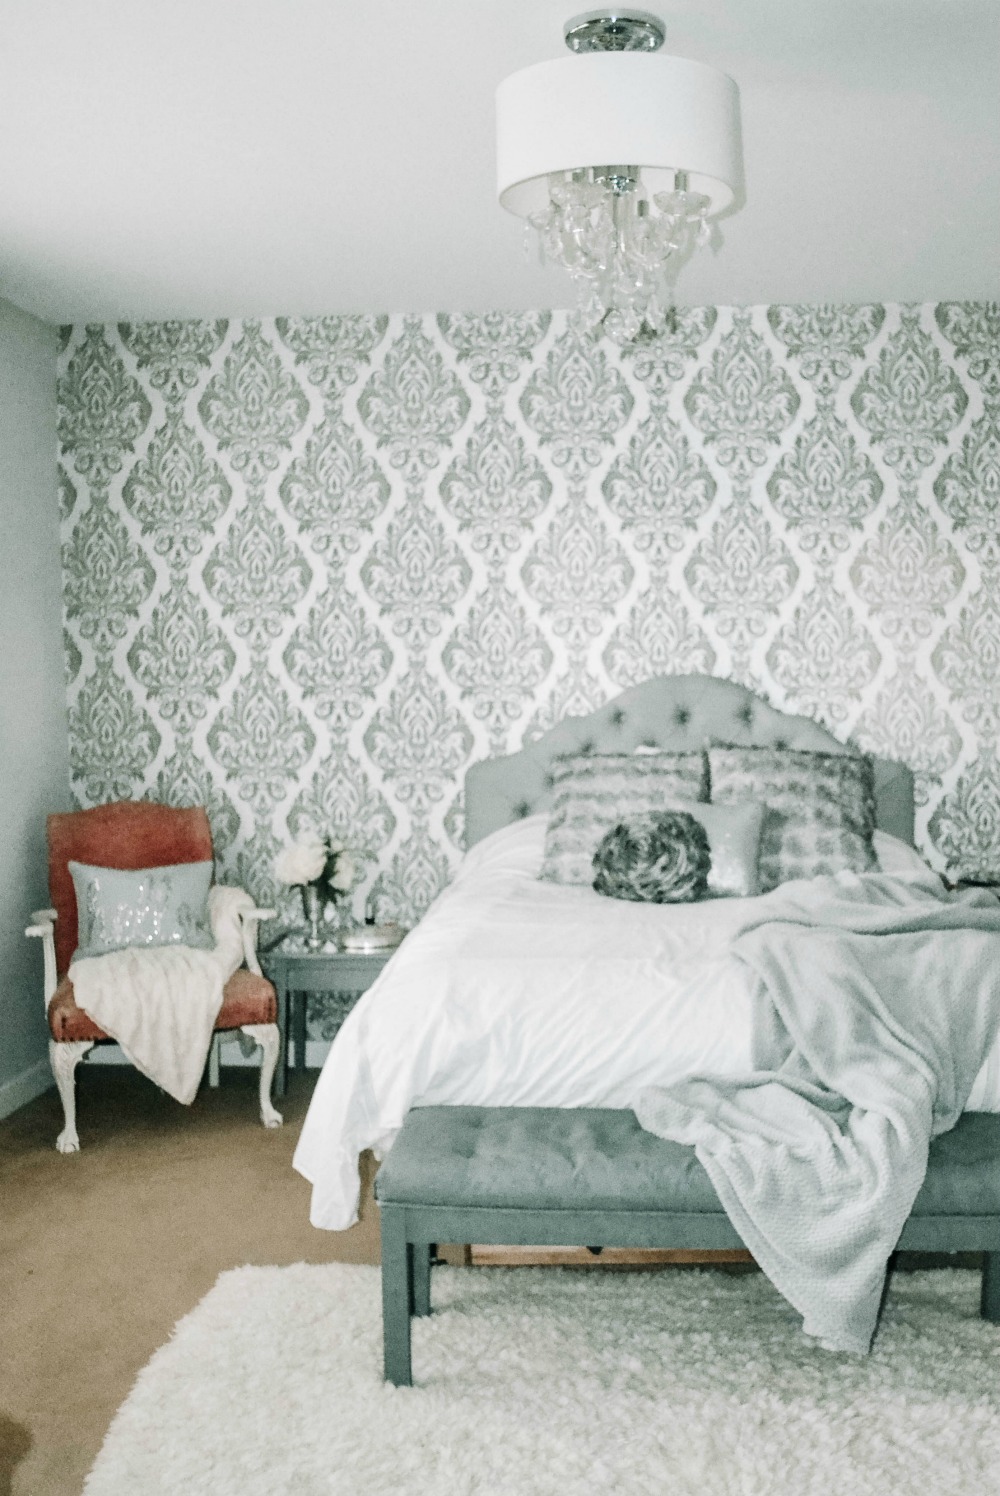
I've been slowly putting together my teen daughters room. She loves metallics and silver and all things glam. I've shared several DIY projects from the room from the wallpaper to the tufted headboard to the painted bench at the end of her bed, but now I'm going to show you the metallic mirrored inlay end table I just made this week. She's been loving all of the mirrored dressers and tables we see but they are a little out of the budget. I finally found a solution and managed to make a similar mirrored table for a fraction of the price {under $20 to be exact!}. It was an easy DIY project that I completed in a day and you can too! Come check out how I did it!
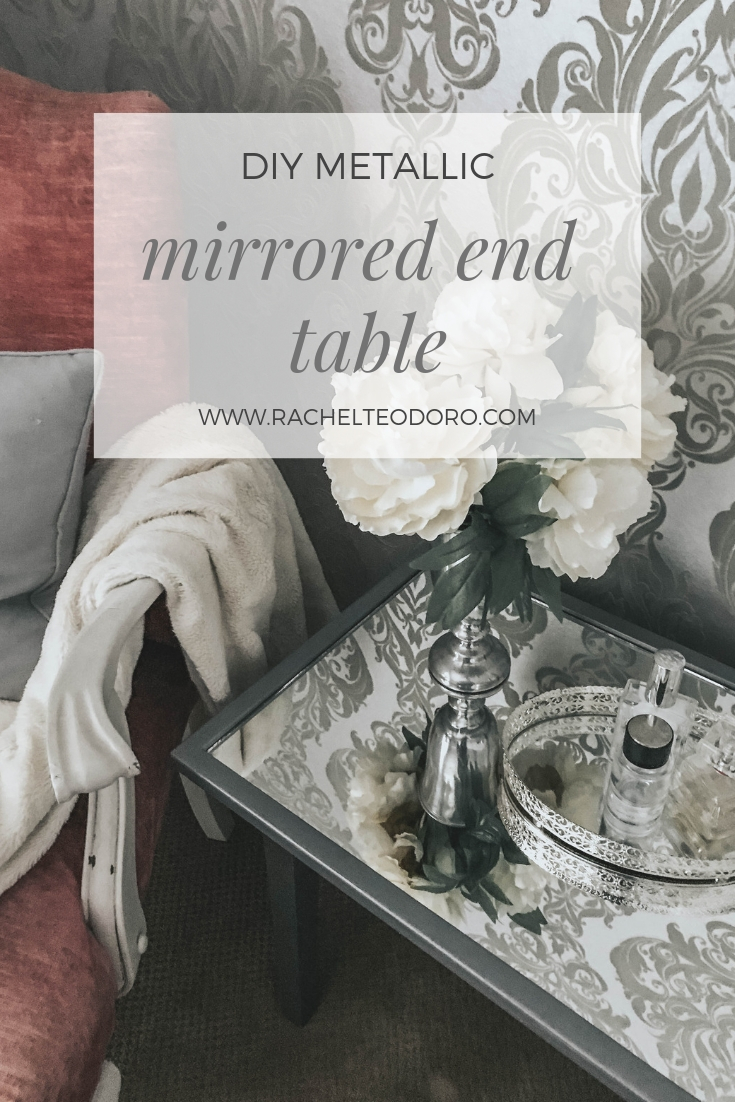
DIY Metallic Mirrored End Table
You've seen them I know you have. Mirrored tables and dressers are popping up all over and they usually have a beautiful metallic finish on them. They are also generally out of our budget! I had a few ideas for how I could DIY my own and I think it turned out pretty great for a fraction of the price.
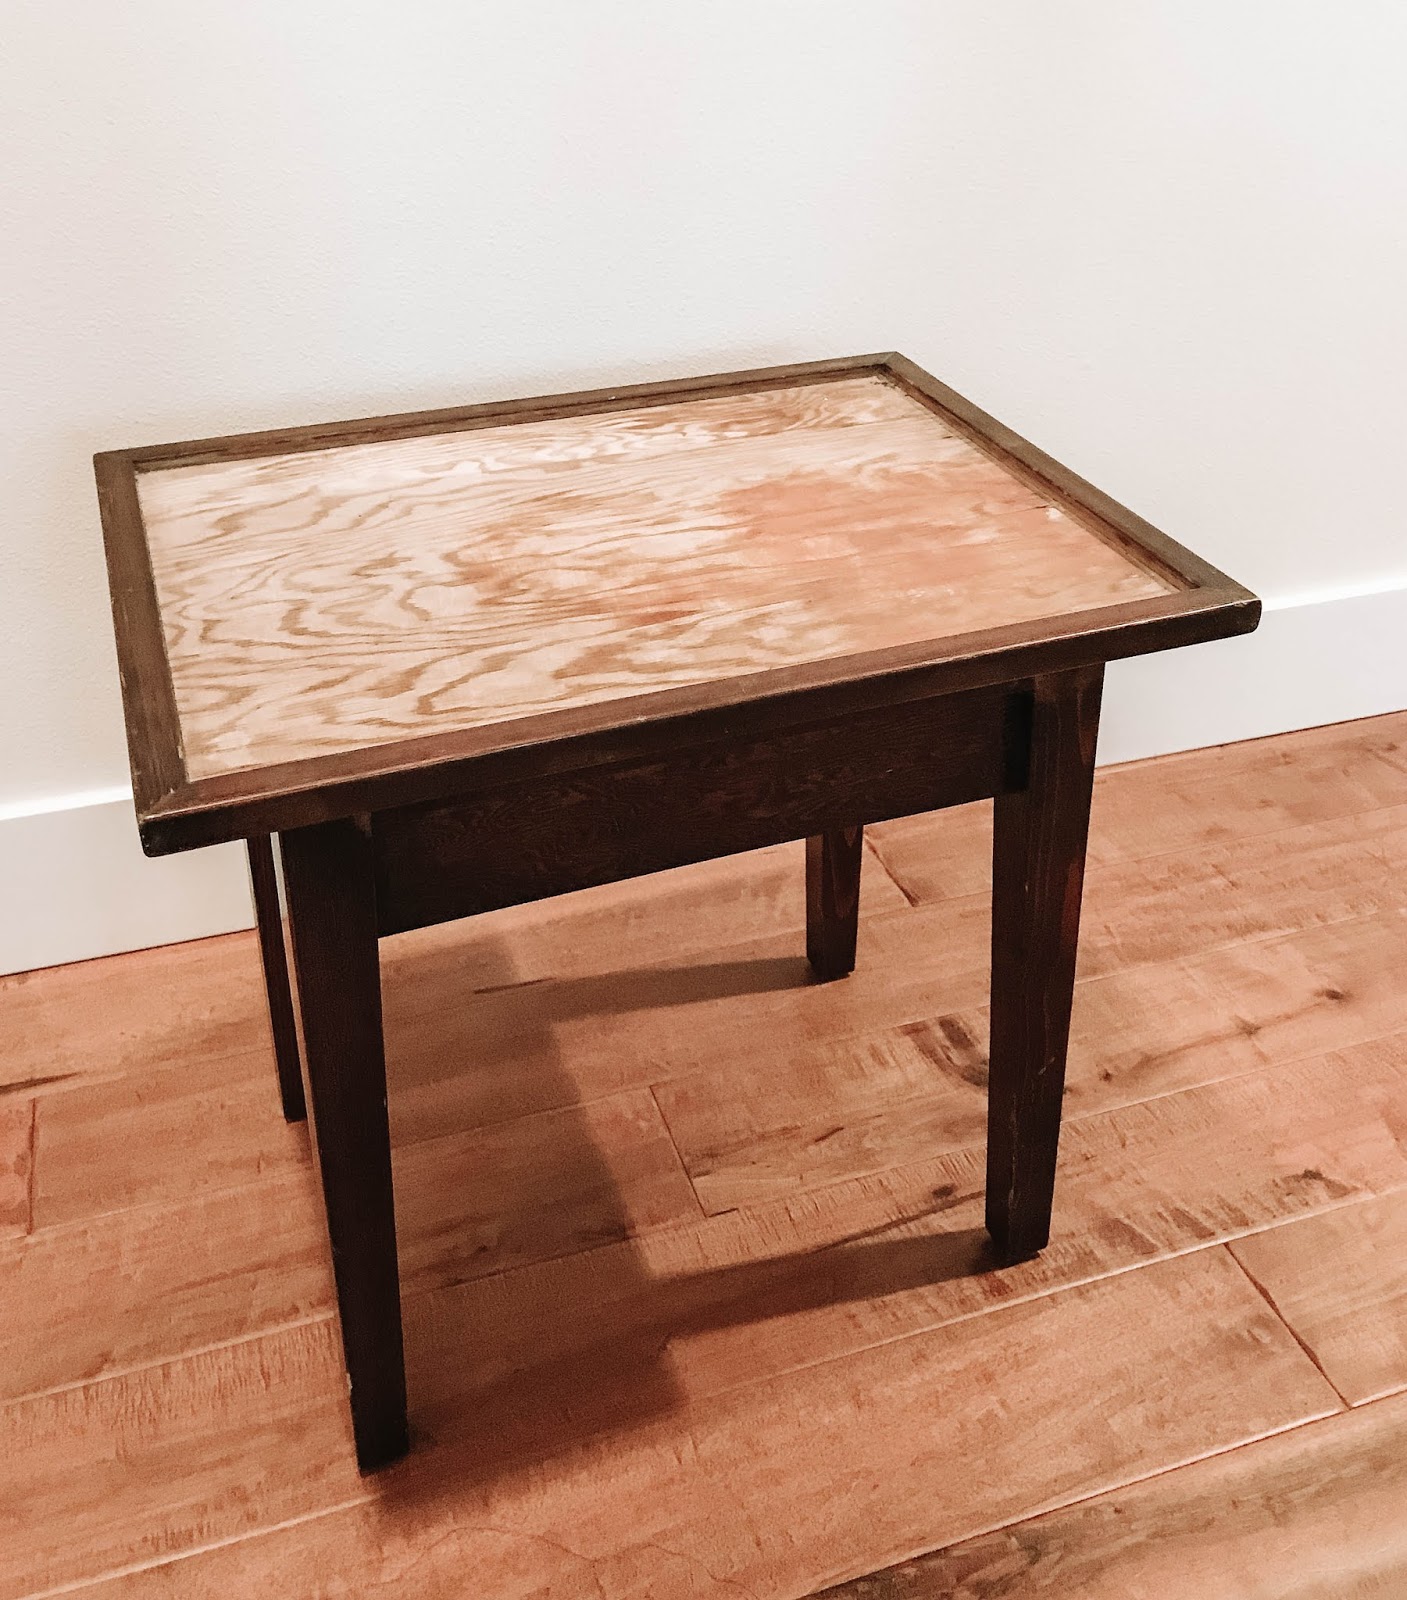
End tables are usually pretty darn cheap at your local thrift shop, Goodwill Outlet or at garage sales. I picked this one up for $2. Actually, it was $1 and a bunch of change because it was an end of season garage sale and I didn't have any cash on me, only the change I could wrangle up from the bottom of my purse.
Want to know how to shop at Goodwill Outlet? It's a totally different experience than shopping at a regular Goodwill.
My absolute favorite metallic paint for furniture projects is this Pewter one from Modern Masters. I used it on another transformation project a few years ago and have been dying to use it again.
For best results, the back of the paint jar tells you to use 3 coats of paint.
You guys, you know how time-consuming each coat of paint is. No one has time for that! BUT, the three coats is imperative if you want to get that metallic look versus just a dull grey, so this is a non-negotiable.
Cue my favorite HomeRight FinishMax products to save me all of the time!
First off, the HomeRight Spray Shelter is saving my life for DIYs in the rainy season. I'm telling you, I'd never be able to get creative with large projects if I didn't have it because I am forced to work in my garage. I love the small spray shelter because it's pretty much the perfect size for most projects. And it folds up into basically nothing so it doesn't take up coveted storage space.
You can even use the HomeRight Turn Table if it's a really small project {like this antler jewelry tree or these painted cold cup tumblers}.
I used my Super Finish Max Paint Sprayer because it's pretty much the only way to paint anything. Remember how I told you this paint is a three coat minimum? That would take FOREVER the old fashioned way, but not with the Finish Max. The paint goes on so smoothly, but it covers so well. And it's made to work with specialty paints like chalk paint, milk paint, and metallic paint.When you are painting furniture, always start with your piece upside down. I'm telling you, that is the real key to making sure you get good coverage.
Each coat dries fairly quickly when you are using the HomeRight Finish Max paint sprayer so it shouldn't take you more than an hour to put on three coats of paint.
When the painting was done, I was left trying to figure out how to get a mirror in the top. I went to my local home improvement store and saw that they had a glass cutting station, but it was out of order.
Story of my life!
I ended up heading over to my local glass store and took a chance. I'm glad I did. For under $15, I had a mirror cut to fit the exact dimensions of the top of my end table.
I wasn't quite sure how expensive the mirror was going to be, so I was pleasantly surprised. It's why I didn't stop in at the glass shop to start off with. I assumed it was going to be too expensive.
-a piece of metal sheeting cut to size
-a mirror from the dollar store {possibly two tiled inside depending on the size}
-a flexible mirrored sheet
-chrome mirror adhesive
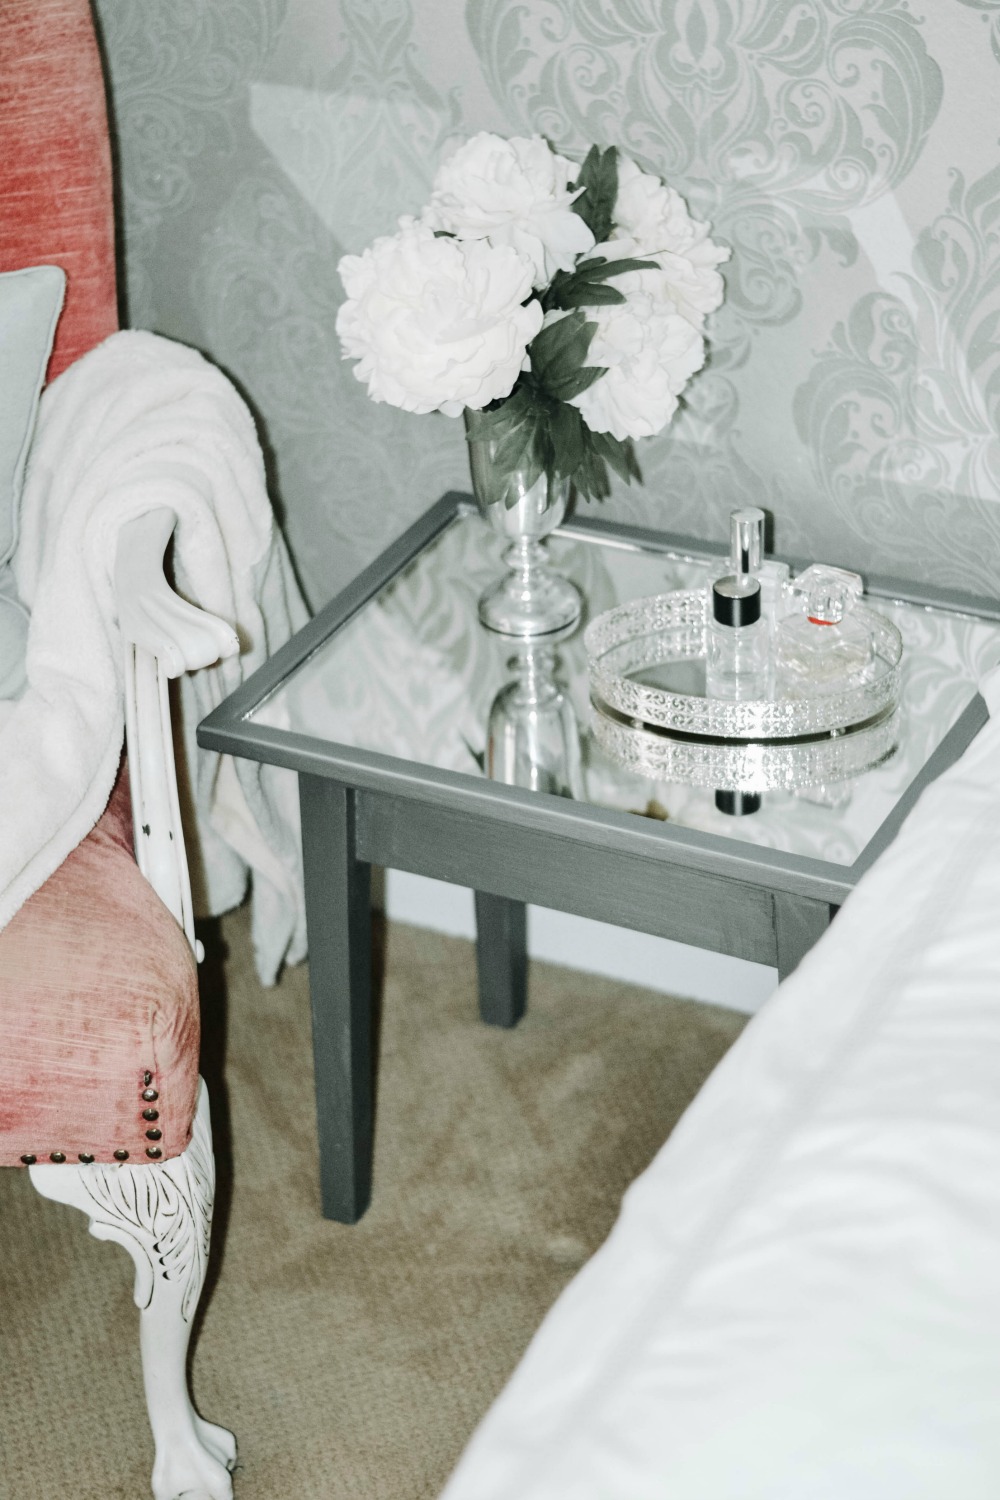
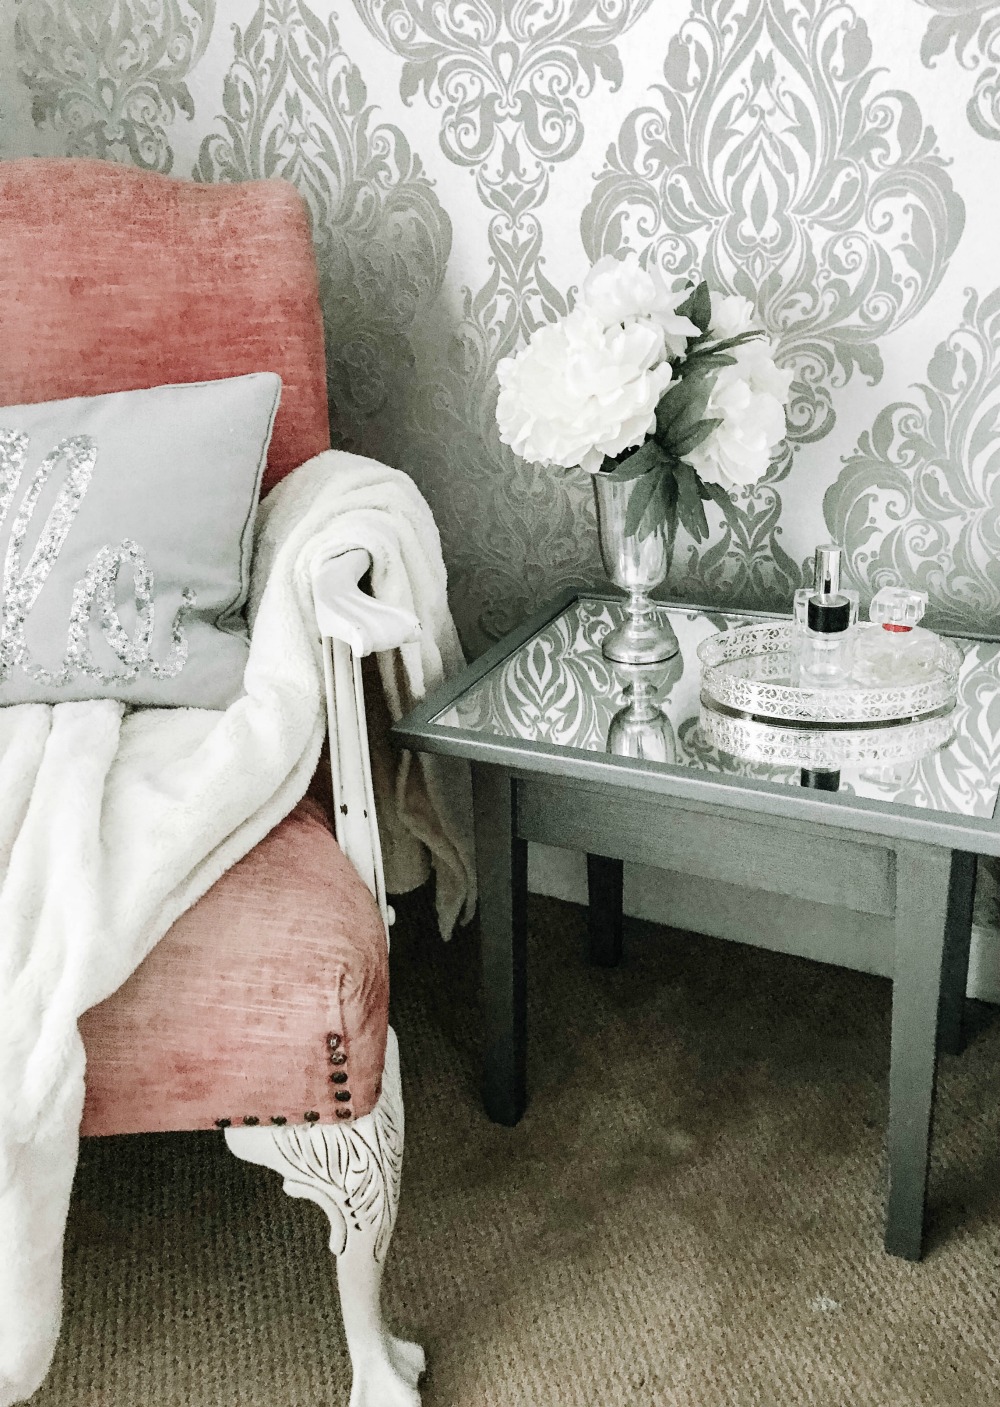
So glad I took a chance because I think the mirror cut to size was the perfect addition to the top.
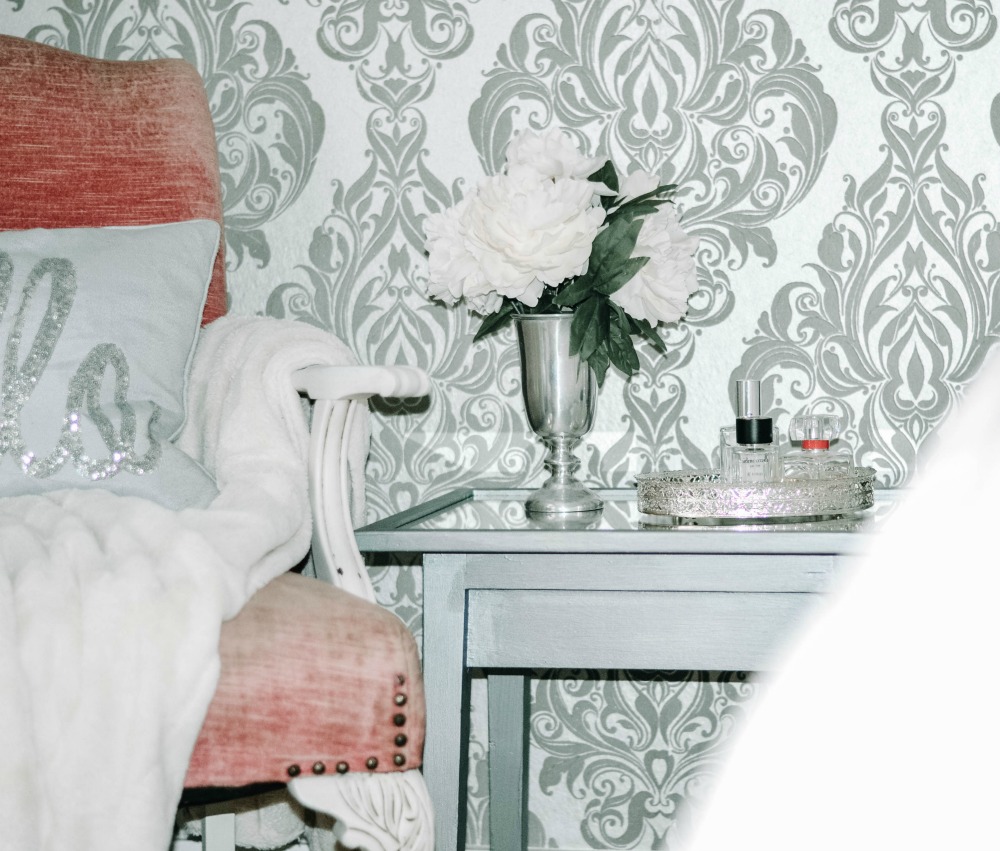
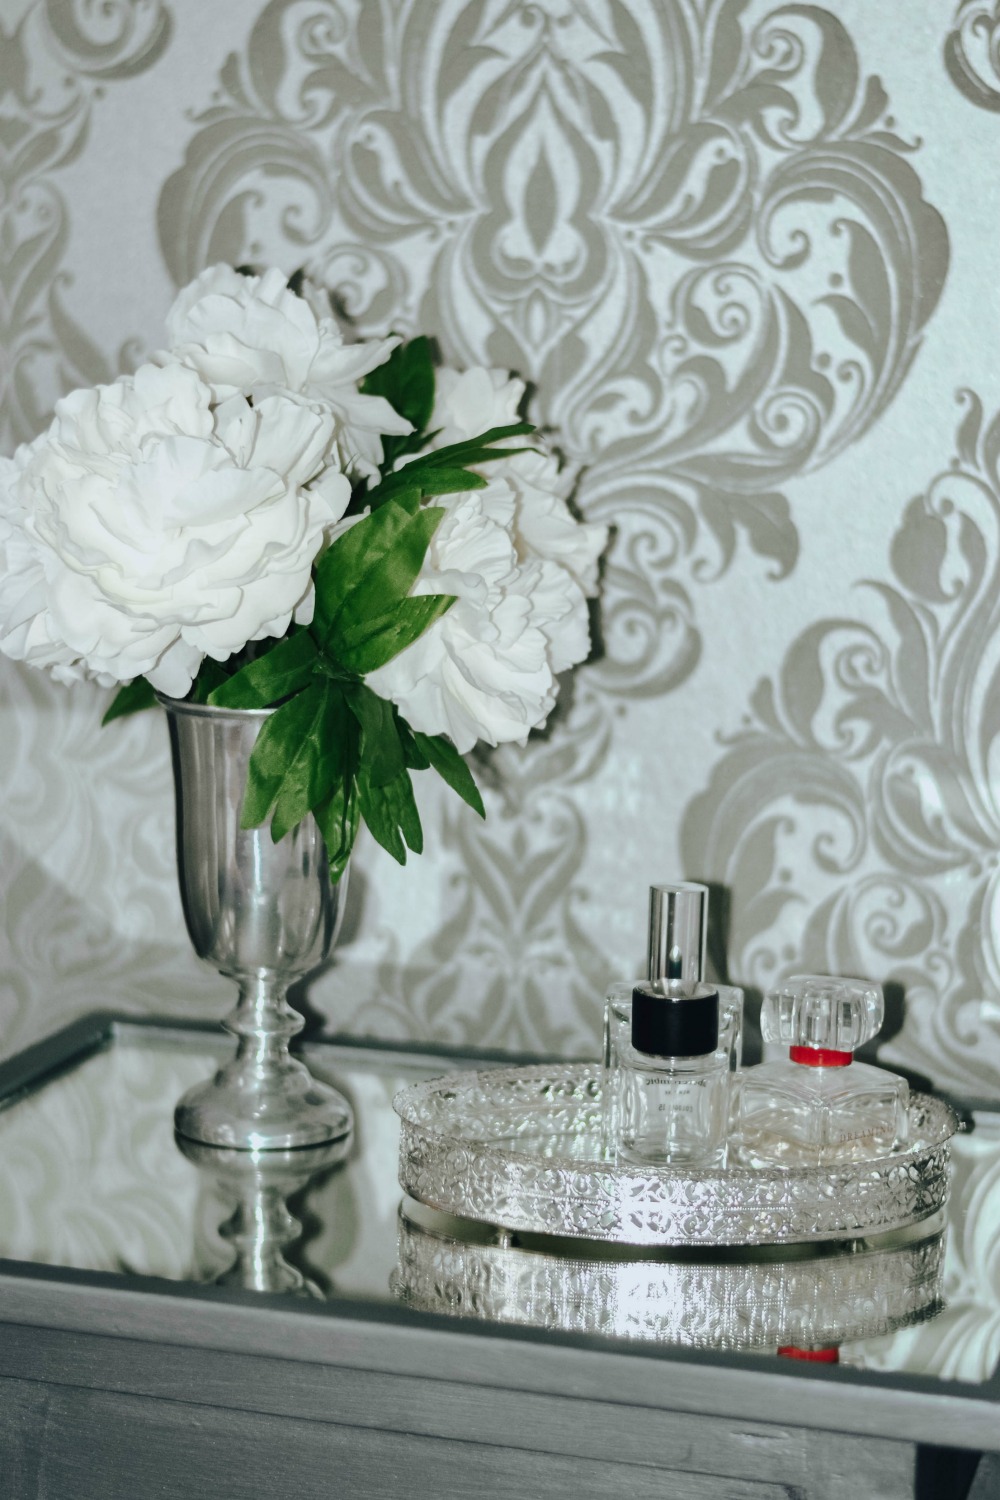
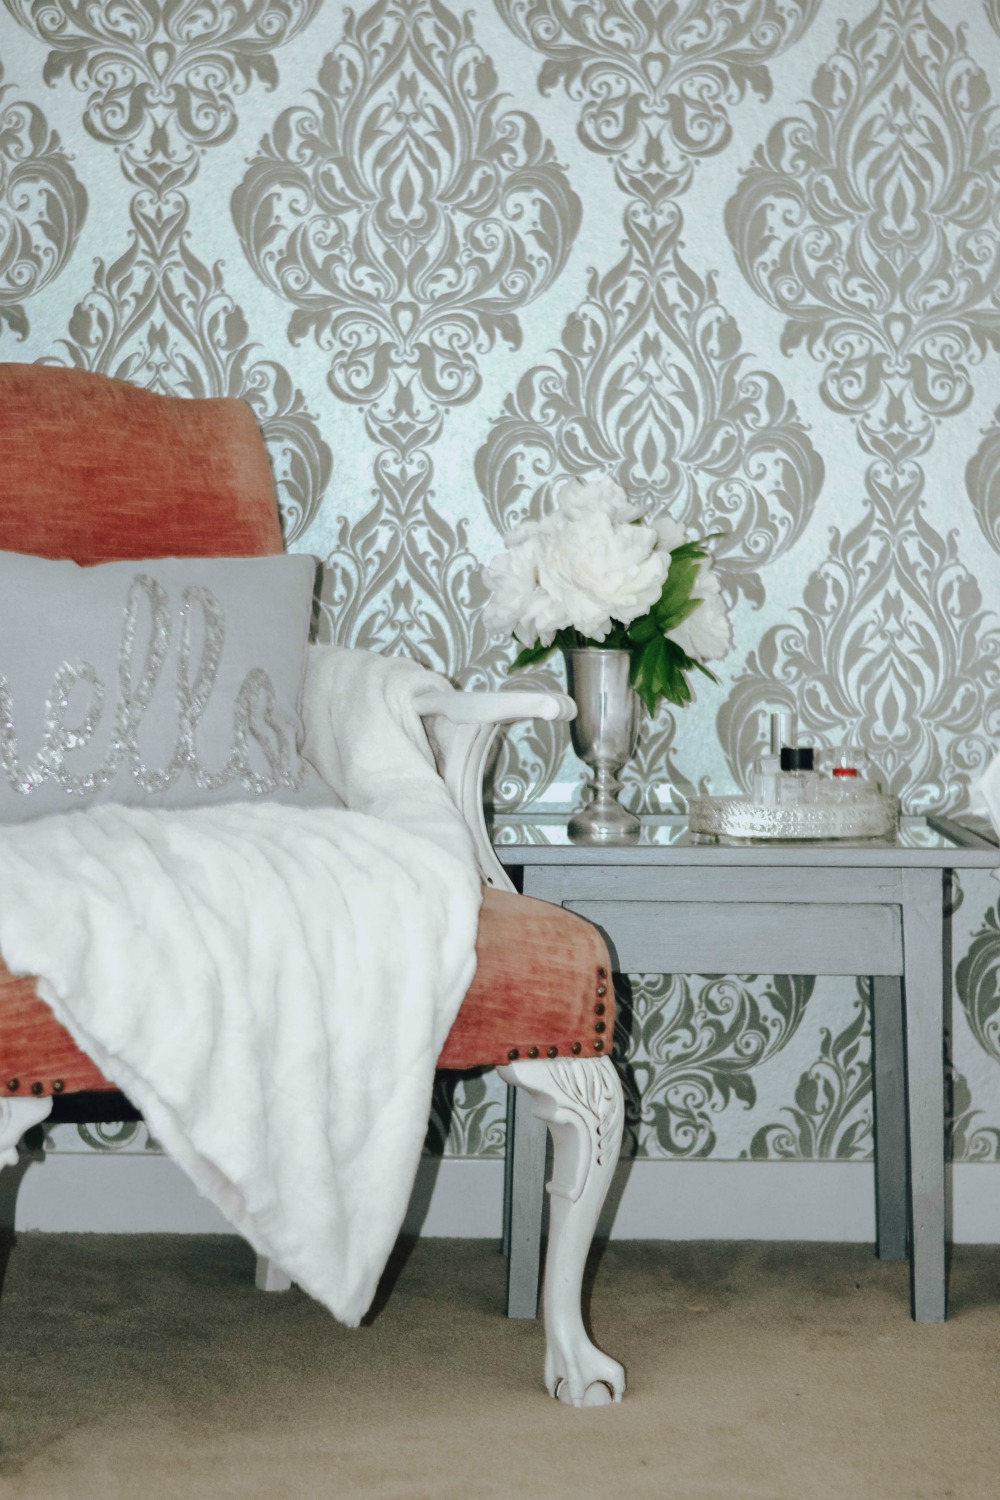
I love how it reflects the wallpaper and all the pretty things on top of the table.








No comments
Post a Comment