This post may contain affiliate links. Please read our privacy policy.
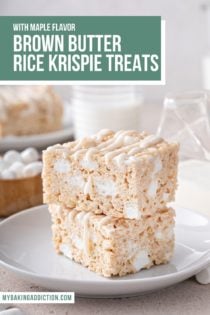
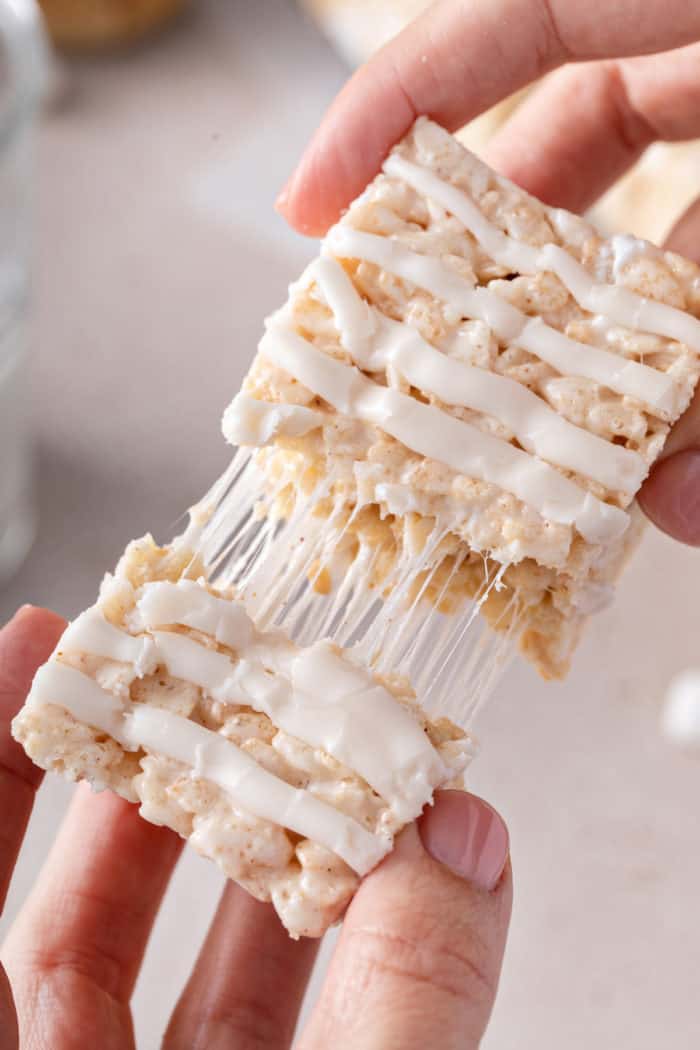
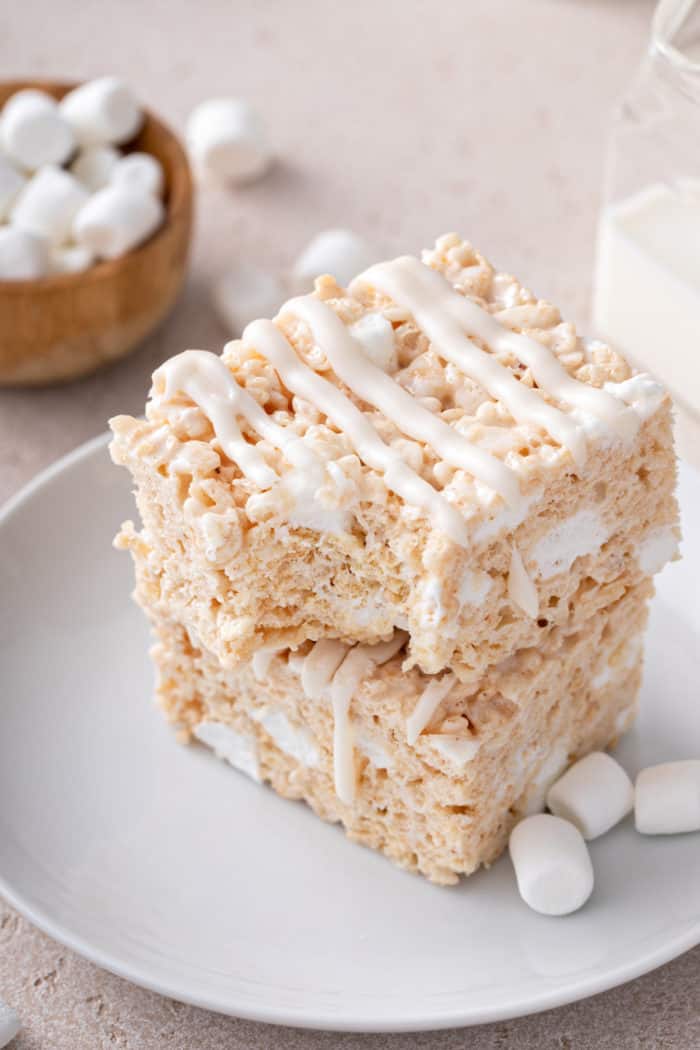
Brown butter rice krispie treats take your favorite marshmallow treats to the next level with brown butter and maple flavors for a fall-themed treat that is as easy as can be.
This post contains affiliate links.
I don’t know about you, but I love seeing nostalgic childhood treats recreated at bakeries.
Of course, I love treating myself to a fancy macaron or chocolate croissant because, let’s be honest, I might be a baker but those are high-maintenance recipes that aren’t coming out of my kitchen on the regular.
But I really enjoy seeing delicious goodies inspired by childhood favorites at bakeries. Things like oatmeal cream pies or cereal milk ice cream that remind you of your favorite childhood sweets, but taken to a whole new level.
Recently, I spotted brown butter rice krispie treats at a local bakery. They were super thick and gooey and just eyeing them in the bakery case had me craving rice krispie treats for days afterwards.
They were everything I loved about classic rice krispie treats as a kid but made even better. Hello, brown butter.
BAKERY-WORTHY BROWN BUTTER RICE KRISPIE TREATS
Just like the ones I saw at the bakery, these brown butter rice krispie treats are like the cereal treats we all grew up with, taken to a whole new, more sophisticated level.
When I was recreating these, I decided that I wanted to go beyond brown butter and add a maple twist as well.
Yes, that’s right. Why stop with brown butter when you can combine brown butter with maple?
By using just a bit of maple extract, I was able to add a subtle maple flavor that pairs perfectly with the brown butter in these brown butter rice krispie treats.
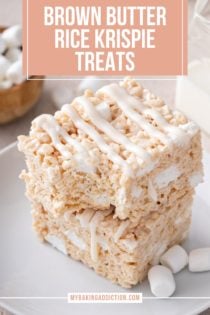
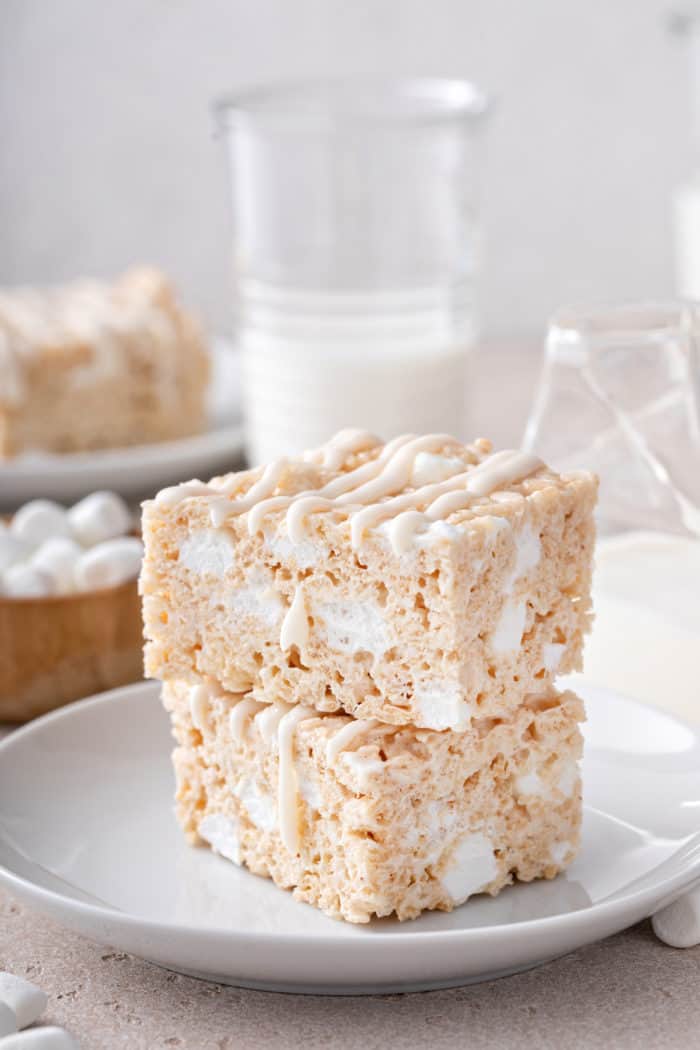
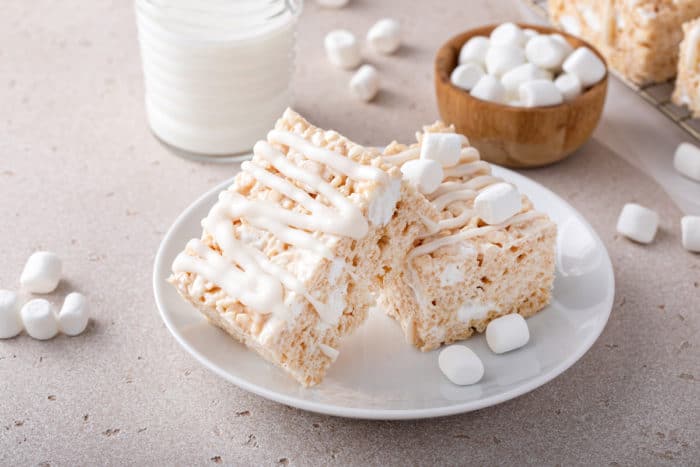
To make these treats even more decadent, I stirred in some extra mini marshmallows right at the end to get pockets of fluffy marshmallow, just like with my chocolate rice krispie treats.
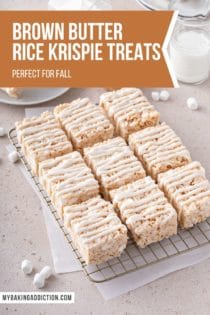
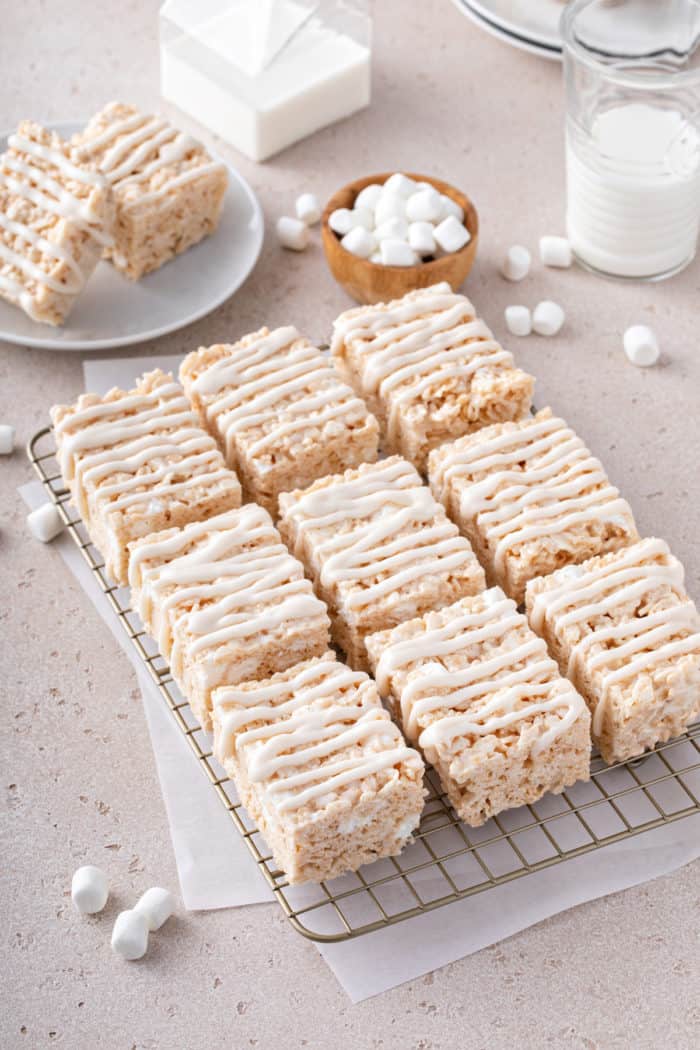
I also put them in a 9×9-inch pan so they’re twice as thick – just like you’d get them at a bakery.
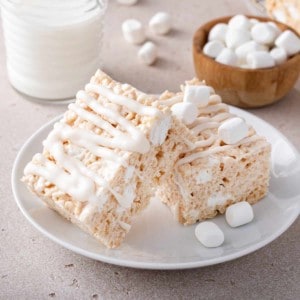
Finally, they’re topped with a super simple glaze. The glaze adds a sophisticated touch that totally makes these treats bakery-worthy.
HOW TO MAKE BROWN BUTTER RICE KRISPIE TREATS
These brown butter rice krispie treats may look and taste like they came from a bakery, but they’re one of the easiest recipes to make. You’ll want to make them over and over again all fall long!
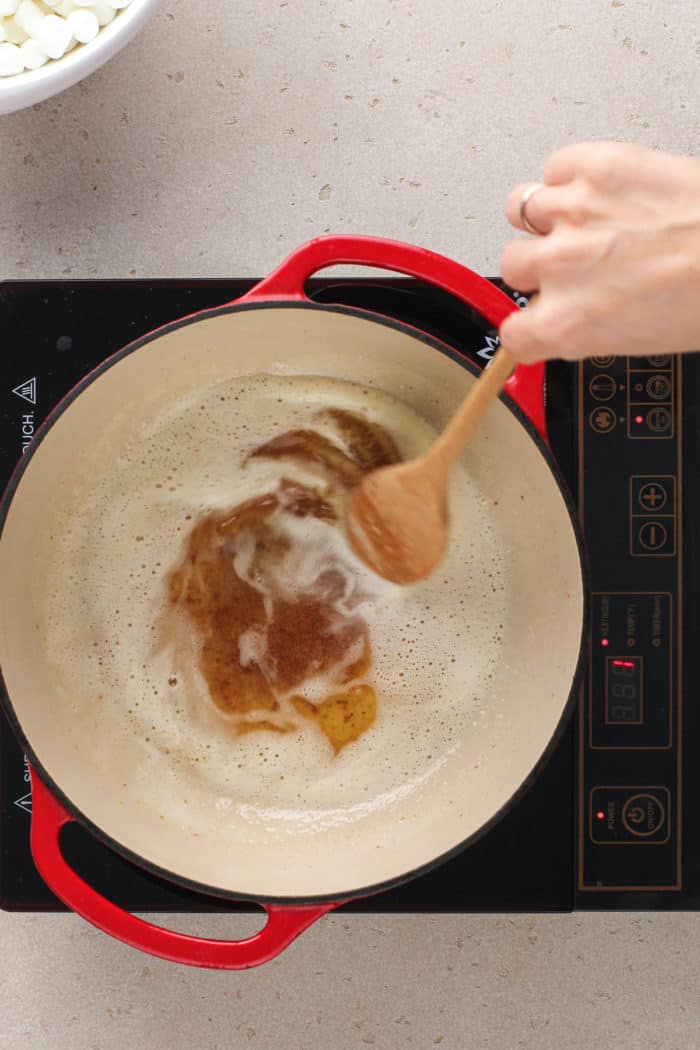
What is brown butter?
Brown butter is what you get when you brown the milk solids in butter. The solids fall to the bottom of the pan and the butter gives off a delightfully nutty aroma and flavor.
Browning butter is a simple trick that adds amazing flavor to your butter and takes it from a simple ingredient to a sauce all on its own.
Brown butter also adds a great flavor to all sorts of recipes that already use butter, such as hollandaise, chocolate chip cookies, or frosting.
I love brown butter in my brown butter chocolate chip cookies, brown butter maple nutmeg cookies, and brown butter blondies.
In brown butter rice krispie treats, the brown butter adds a warm nuttiness which pairs perfectly with the sweet marshmallows and maple extract. It’s a flavor combination that makes me think of fall every time.
If you have never made brown butter butter, don’t worry! I have a whole post that will teach you how to brown butter.
Are these rice krispie treats gluten free?
Even though you might not realize it, if you make your brown butter rice krispie treats with Kellog’s Rice Krispies, they won’t actually be gluten free!
The name-brand Rice Krispies that are made by Kellogg’s contain malt, which is made from barley, so they are not gluten free.
That said, you can find other brands of crispy rice cereal that are labeled as gluten free. Just be sure to check the label if you need your treats to be gluten free!
Marshmallows do not naturally contain gluten, but make sure to check the label closely if you need a brand that is certified gluten free so that you know it’s free of any cross contamination.
Making this recipe
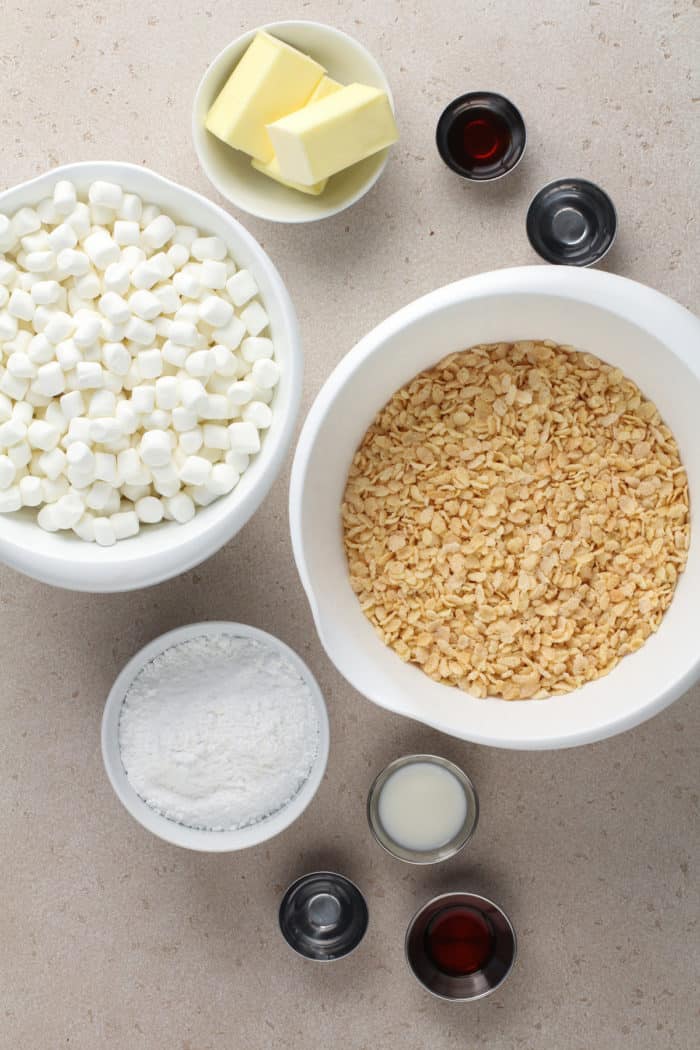
To make the treats themselves, you will need:
- ¾ cup (12 tablespoons) salted butter
- 2 (10 ounce) packages mini marshmallows, divided use
- ½ teaspoon vanilla extract
- ½ teaspoon maple extract (optional)
- 8 cups Rice Krispies cereal
Start by measuring out 2 cups of the marshmallows. This is what will get stirred in at the end, so set them aside for now.
Line a 9×9-inch cake pan with parchment paper or foil and spray with cooking spray. The treats are going to be super sticky, so lining and greasing the pan will make it easier to get them out after they set.
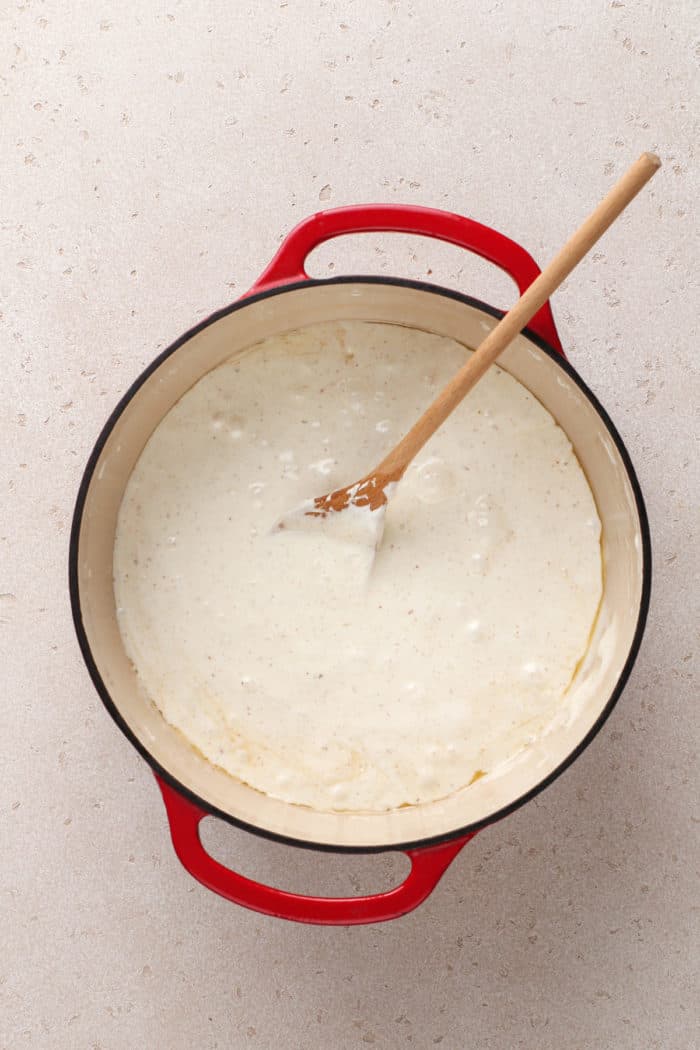
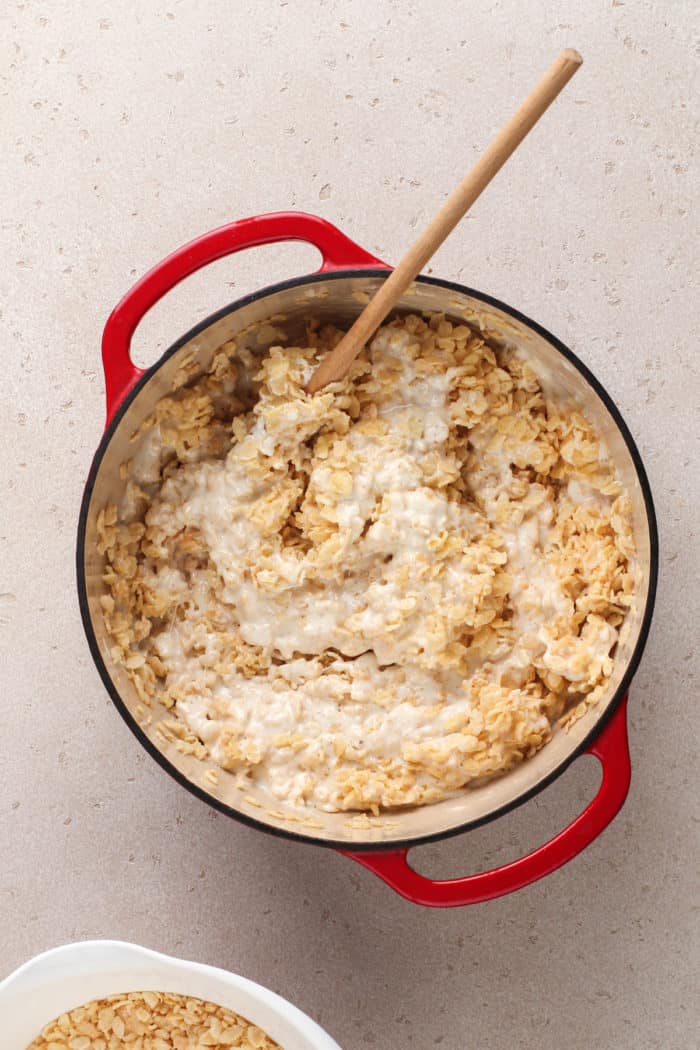
In a large Dutch oven, brown the butter over medium heat. Once the butter has browned, turn the heat to low and add the rest of the marshmallows. Stir this until the marshmallows are melted and well combined with the butter.
Take the pan off the heat and stir in the vanilla and maple extracts, then gradually add the cereal.
Once the cereal is well coated with the marshmallow mixture, fold in the reserved mini marshmallows. Some of them will melt a bit, but some will retain their shape. This is what we want!
Use a greased spatula to gently press the mixture into the prepared pan. I try not to press too firmly; I like my rice krispie treats to be nice and gooey.
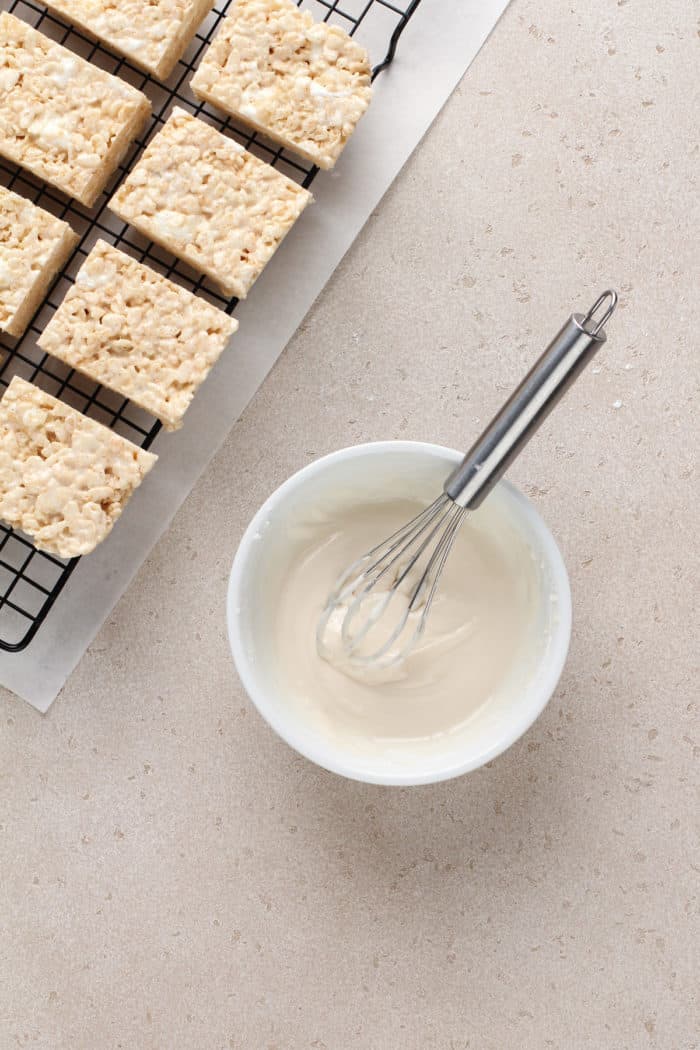
Once the treats cool, we can whisk together a simple icing.
Unlike my Halloween rice krispie treats that use a thick frosting, I opted for a thin maple icing for these brown butter rice krispie treats.
To make the icing, whisk together powdered sugar, maple extract and vanilla extract, and 1 tablespoon of milk. You can always add a bit more milk if you prefer a thinner consistency.
You can spread or drizzle the icing on top of the treats either before or after cutting them – it’s totally up to you!
STORAGE TIPS
Store brown butter rice krispie treats in an airtight container at room temperature. They will last for about a week!
If you remember the rice krispie treats of your childhood turning into hard bricks after a few days, don’t worry about that here. Because we didn’t pack the mixture down into the pan, they will stay nice and soft for several days!
You can technically freeze these krispie treats if you want to. Wrap each cooled treat in plastic wrap and store them in a zip-top freezer bag in the freezer for up to a month.
I would recommend avoiding the freezer if you want the treats to stay nice and soft, though. And they are so simple to whip up, you really can have brown butter rice krispie treats any time the craving strikes!
Brown Butter Rice Krispie Treats
Equipment
Ingredients
- ¾ cup salted butter 12 tablespoons
- 20 ounces mini marshmallows divided use
- ½ teaspoon pure vanilla extract
- ½ teaspoon maple extract optional
- 8 cups Rice Krispies cereal
For the icing:
- 1 cup powdered sugar
- ½ teaspoon pure vanilla extract
- ¼ teaspoon maple extract optional
- 1-2 tablespoons milk
Instructions
- Measure out 2 cups of the marshmallows; set aside.
- Line a 9 x 9-inch baking pan with parchment paper or foil and spray with nonstick cooking spray.
- In a large Dutch oven over medium heat, melt and brown the butter. (Instructions for how to brown butter.)
- Once the butter is brown and smells nutty, turn the heat to low and add the remaining mini marshmallows. Stir until the marshmallows are melted and the mixture is well combined.
- Remove from the heat and stir in the vanilla and maple extracts. Gradually add Rice Krispies cereal; stirring until well coated. Fold in the reserved 2 cups of marshmallows until thoroughly incorporated.
- Using a greased spatula, gently press the mixture into the prepared pan. Don’t push too firmly or you’ll lose a bit of the ooey-gooey factor that we’re looking for. Cool completely at room temperature.
- In a bowl, whisk together the powdered sugar, extracts, and 1 tablespoon of milk. Add additional milk as needed to reach desired consistency. Spread or drizzle the icing over the cooled Rice Krispie treats. Let set before cutting and serving.
Video
Nutrition
Nutrition information is automatically calculated, so should only be used as an approximation.


These are one of the most delicious treats I have ever tasted! The combination of brown butter and maple send basic rice krispie treats to a whole new level! Everyone in my family loved them. I can’t wait to make these again for our tailgate party.
So glad your family loved these, Margot! Thanks so much for stopping by and sharing your feedback. Happy baking!
Jamie
Thank you Jamie. I will try these out at home and if all goes well (I´m sure it will) I´ll teach this recipe in my classes. The kids are absolutely going to love them.
Thanks so much for stopping by, David! I appreciate you taking the time to comment. Happy Baking!
-Jamie
Brown butter just makes everything better. I can’t wait to locate these Campfire Maple Roasters to give my favorite no bake treats a new twist!
Thanks so much for stopping by, Lea! I appreciate you taking the time to comment. Happy Baking!
-Jamie
Amazing twist on a classic, nostalgic treat!
Thanks so much for stopping by, Liz! I appreciate you taking the time to comment. Happy Baking!
-Jamie
These look so delicious! Perfect for Halloween!
Thanks so much for stopping by, Natalie! I appreciate you taking the time to comment. Happy Baking!
-Jamie