This post may contain affiliate links. Please read our privacy policy.
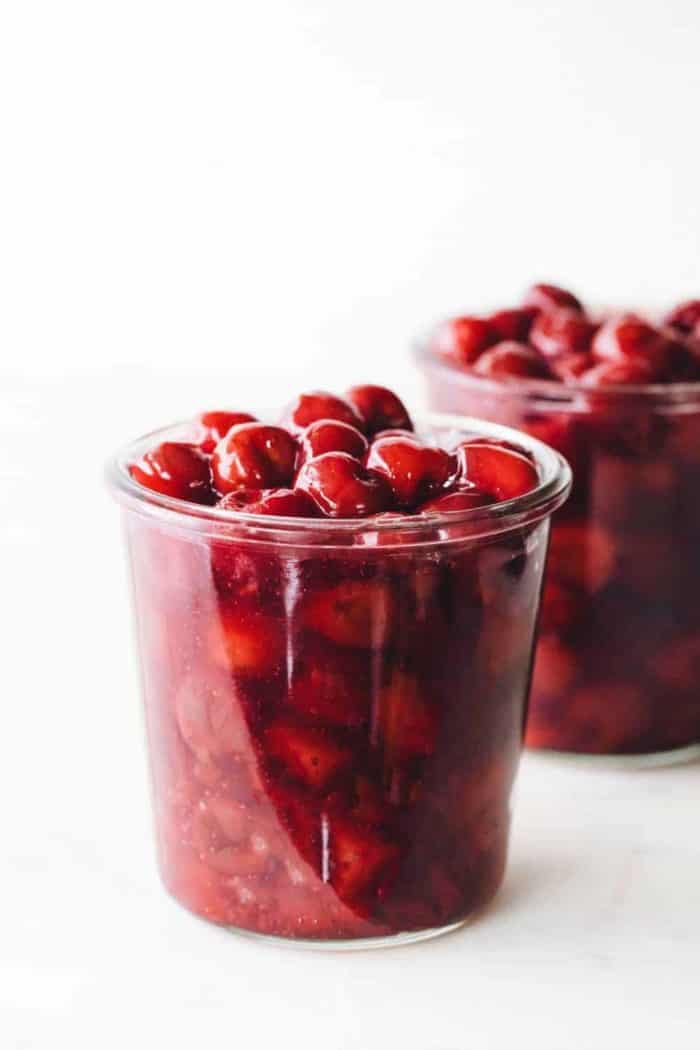
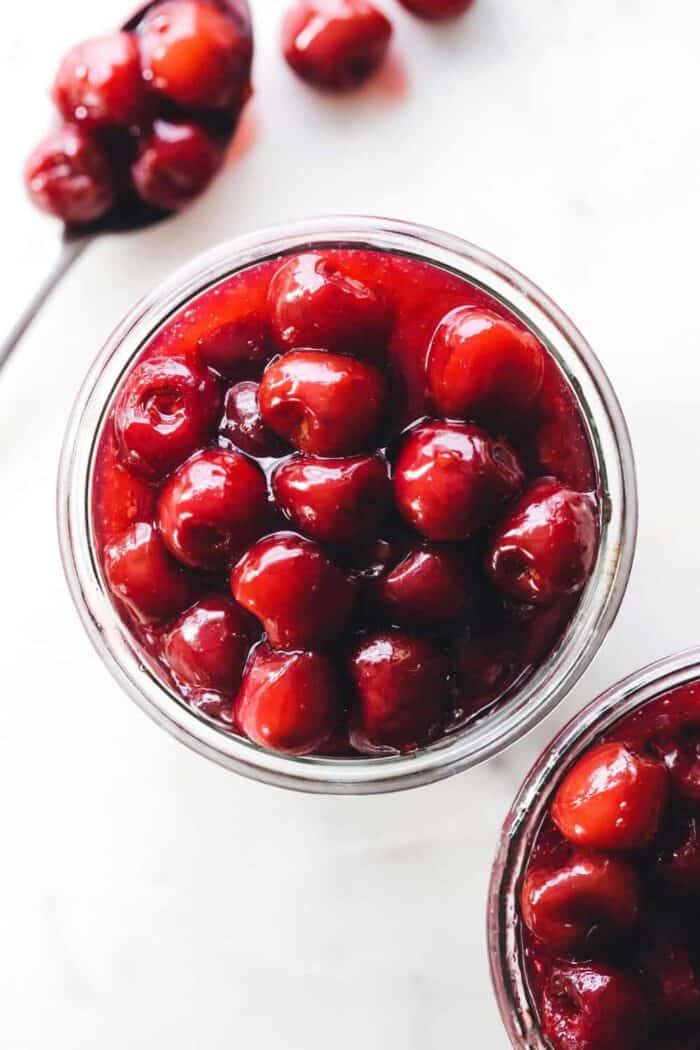
Homemade Cherry Pie Filling comes together in just a few minutes. Try a spoonful with your morning yogurt or spooned over a stack of fresh, crispy waffles for a delicious treat!
It’s that time of year when I start counting down the days until spring.
I know it’s only January. I don’t care, I am ready for warm weather and to not have to spend 11 hours bundling Elle every time we have to leave the house.
Moms with young kids, I know you feel me.
Even though I have months to wait until spring is here, luckily I can pretend it is nice outside by taking a stroll through the freezer section of the grocery store and grabbing bags of frozen strawberries, blueberries and cherries.
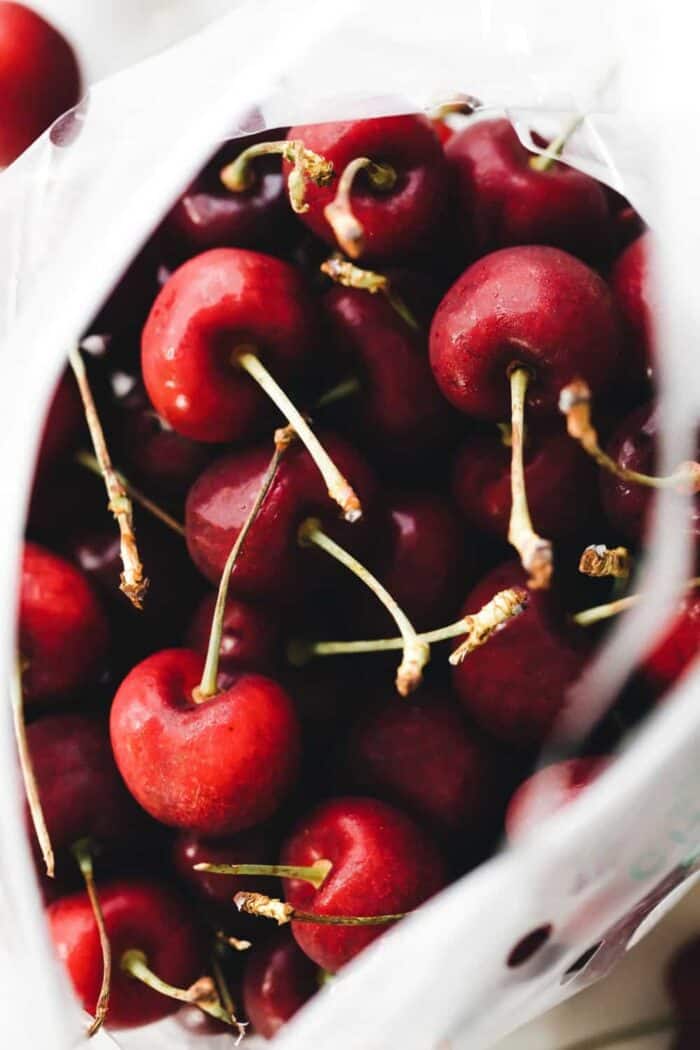
Cherries are one of Elle’s and my favorite fruits. Which can be evidenced by no less than 5 stained tanks and tiny red finger smudges on our light switch plates during the summer.
What I can I say, the girl can get down with some cherries.
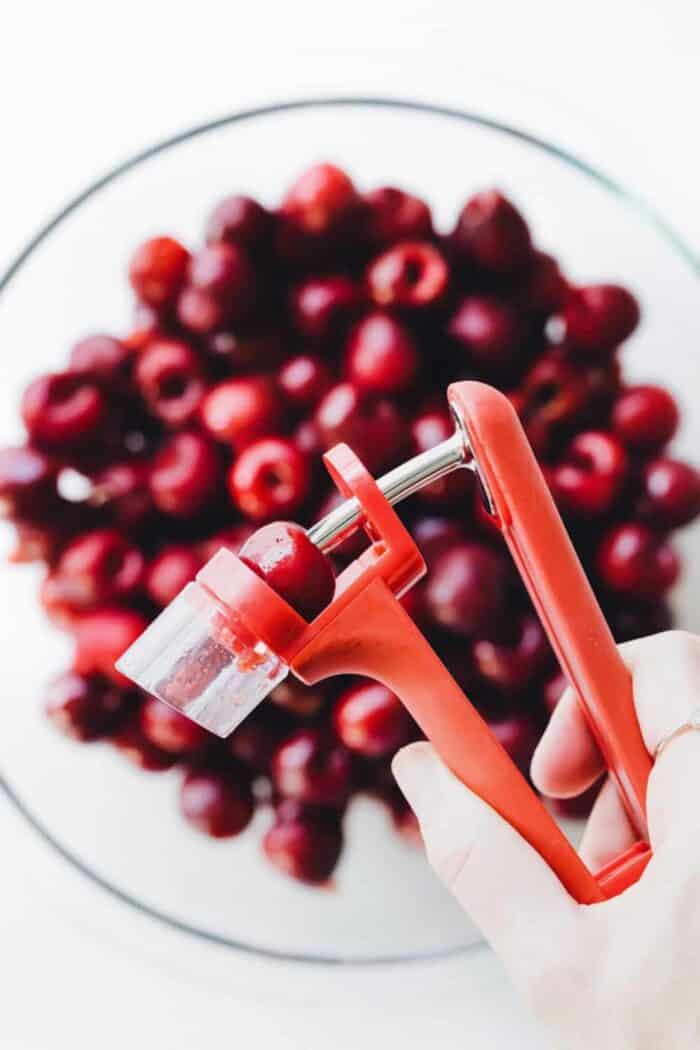
I’m one of those people that actually enjoys pitting cherries and a cherry pitter is one of the only unitaskers that I can actually get behind.
Well, they say you can pit olives with the tool too, but I am not much of an olive person unless they’re stuffed with some type of cheese.
I kind of think a pitter is necessary if you love to bake with fresh cherries. If you’ve ever tried to pit a cherry with a straw, you feel me.
Just be sure to wear an apron and not your favorite Madewell T because splattered cherry juice is no joke.
During the summer, Elle and I can often be found pitting as many as 5 pounds of cherries at a time. Some are for eating, some are for freezing, and the rest are for batches of homemade cherry pie filling.
MY FAVORITE HOMEMADE CHERRY PIE FILLING
I’ve been making my own cherry pie filling for years. In fact, I first shared this recipe back in 2011 – the post and photos have just gotten a few upgrades since then.
This cherry pie filling is super simple and only requires a handful of ingredients. And if you’re not into pitting cherries or fresh cherries aren’t in season, you can totally use frozen, pitted cherries from the market with great results.
Making this homemade cherry pie filling only takes about 20 minutes. That’s probably less time than it would take you to run to the store and buy a can of pie filling!
And, since you made your filling from scratch, you can definitely get away with using a store-bought pie crust if you want, ‘kay? Just sayin’.
HOW TO MAKE HOMEMADE CHERRY PIE FILLING
This is a totally simple recipe that you’ll find yourself making over and over again because it has so many uses. Let’s chat through how to make it.
Ingredients you’ll need
Cherries: This recipe uses sweet, not sour, cherries. You’ll need about 5-6 cups of pitted cherries, which comes out to around 2 ½ to 3 pounds.
Note that if you use sour cherries for this recipe, you’ll need to increase the amount of sugar since they are much more tart. I’d recommend starting with about ¾ cup of sugar and adding more to taste if desired.
Water: A bit of water helps get the filling started. As the cherries cook, they’ll release their juices which will add to the amount of liquid in the final pie filling.
Lemon juice: I like adding a bit of lemon juice to bring some brightness to the cherry pie filling.
Sugar: Of course we need some sugar for sweetness. We’ll use granulated sugar in this recipe.
Cornstarch: Cornstarch is my choice for thickening this pie filling.
Almond extract: This is optional, but I like adding a bit of almond extract to my cherry pie filling. Cherries and almonds go so well together, it just makes sense to me!

Making this recipe
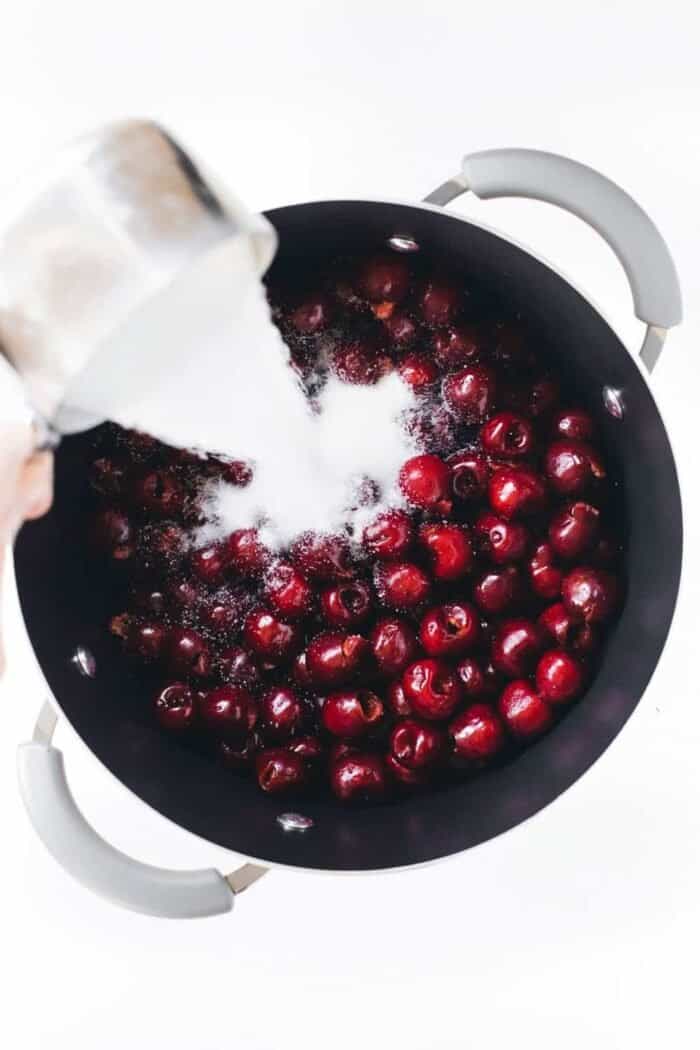
To make my homemade cherry pie filling, add all of the ingredients except for the almond extract to a saucepan over medium heat.
Bring the mixture to a boil, then reduce the heat to low and let the mixture cook for about 5-10 minutes, stirring frequently.
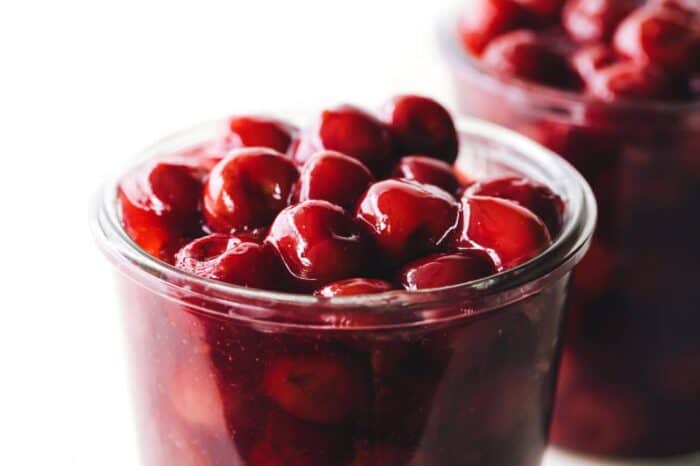
You’ll know the filling is done when it is thick, the cherries have released their juices, and the “goo” goes from being an opaque pinkish color to a clear, deep red color.
Remove the pie filling from the heat and stir in the almond extract.
Let the pie filling cool for a bit before using or storing.
USES
Making a pie with this filling
Obviously this cherry pie filling is great for homemade cherry pie. It’ll fill a 9-inch pie pan, so all you have to do is decide what kind of crust you’d like to use!
Grab your favorite double pie crust, whether it’s a homemade pie crust or your favorite store-bought crust, and line a 9-inch pie plate with it.
Add in the filling, then top with the rest of the pie crust and crimp the edges to seal. Cut some slits in the top for venting and bake at 425°F for about 45 minutes, or until the crust is golden.
Other uses
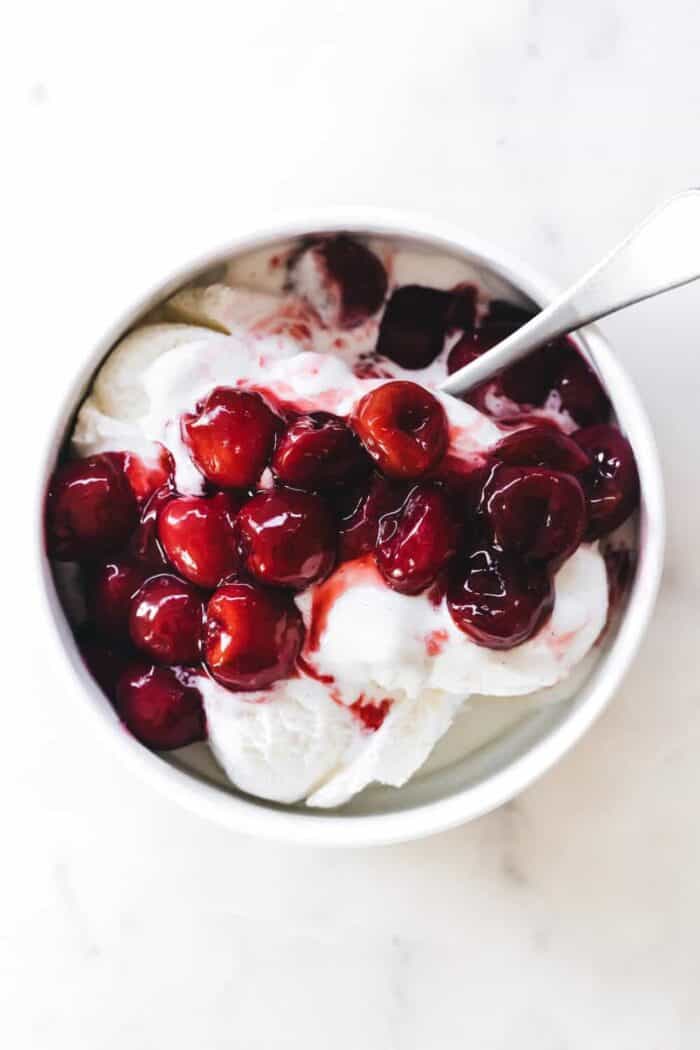
In addition to pie, this filling makes a killer cherry crisp, but it’s also amazing for topping yogurt parfaits, waffles, pancakes, ice cream – well, you get the idea.
Not to mention anything and everything cheesecake related: my nana’s easy cheesecake, cherry cheesecake cookies, cherry cheesecake cupcakes, and mini cherry almond cheesecakes.
What can I say, cherries and cheesecake go together even better than peas and carrots.
And don’t forget cherry turnovers and cherry hand pies! Who wouldn’t love a pie that you can carry in your hand?

STORAGE TIPS
Store cherry pie filling in an airtight container in the refrigerator for up to 3 days. That means you can make it the day before you plan to use it – perfect when you’re entertaining!
If you want to make a big batch and store it long-term, you’re in luck – my homemade cherry pie filling freezes beautifully for pies on request.
Place it in a zip-top freezer bag and you can freeze it flat. Keep it frozen for up to 3 months. Thaw it in the refrigerator overnight before using it as you like!
The stuff is delicious and I’m pretty certain you’re going to be making it any time you find fresh or frozen cherries at the store!
FAQs
Can you use frozen cherries?
Yes, you can substitute frozen pitted cherries for fresh. If using frozen, you will still need 5-6 cups, but they will come out to about 24-30 ounces since they are already pitted.
I do not thaw my cherries before making the filling – I simply toss them into the pot frozen. They will take a little longer to come to a boil, but I think that’s better than waiting for them to thaw before making the filling.
Can you substitute tapioca starch for cornstarch?
Tapioca starch (also known as tapioca flour) is a common substitute when folks have allergies to corn and cornstarch.
You can technically substitute tapioca starch in this recipe, but I only recommend doing so if you are experienced at using it as it can be pretty tricky.
Most advice will say you need twice as much tapioca starch as cornstarch in a recipe, but using 8 tablespoons (1/2 cup) of tapioca starch in this recipe makes the filling far too thick and gummy. I would use no more than 6 tablespoons if that’s a swap you need to make.
Can you freeze cherry pie filling?
This filling freezes great. Once it has cooled, I like to put it in a zip-top freezer bag – this allows me to lay it flat to freeze, which saves lots of space.
Freeze for up to 3 months. Let it thaw in the refrigerator overnight and then you can use as you like!
Homemade Cherry Pie Filling
Equipment
Ingredients
- 5 to 6 cups fresh pitted cherries about 2 1/2 to 3 pounds
- ½ cup water
- 2 tablespoons freshly squeezed lemon juice
- ⅔ cup granulated sugar
- 4 tablespoons cornstarch
- ¼ teaspoon almond extract optional
Instructions
- In a saucepan over medium heat, combine cherries, water, lemon juice, sugar and cornstarch.
- Bring to a boil; reduce heat to low and cook, stirring frequently, for about 5-10 minutes. You'll know the filling is done when it is thick, the cherries have released their juices, and the "goo" goes from being an opaque pinkish color to a clear, deep red color.
- If using, stir in almond extract. Cool slightly before using as a topping.
Video
Notes
- If using sour cherries, you will need to adjust the amount of sugar. I’d recommend starting about ¾ cup and working your way up if more sweetness is needed.
- Refrigerate leftover fresh cherry pie filling in a sealed container for up to 3 days.
- Feel free to swap frozen pitted cherries for the fresh cherries. There is no need to thaw them before making the filling.
- This recipe freezes beautifully.
- Makes enough to fill a 9-inch pie crust for a homemade cherry pie.
Nutrition
Nutrition information is automatically calculated, so should only be used as an approximation.


thank you it turn out like you said it taste great
Can’t wait to try this. I am going to make the Black Forest Cheesecake and this is the topping for it. No canned topping on this one. I love the new look of the page too.
Holy cow, this recipe was super easy to put together, and it was SO yummy! I used the filling to make mini pies, but honestly I could’ve easily had just the filling on its own, it was that good!! Next time I’m going to try it on top of a no-bake cheesecake… yum :) Thank you for this recipe!!
I am so happy to hear you enjoy this recipe! Thanks so much for stopping by and leaving your feedback!
-Jamie
I have never made any kind of pie before, but I have a cherry tree this year and needed to use the fruit. I think it’s also only fair to note that I am about as capable of a cook as a blind pilot. that being said, I needed to add quite a bit more water than called for, but boy did it turn out divine. I had to fight myself to not just eat it with a spoon. I am going to use this for pastries and a pie, as well as reserving a little bit for ice cream topping. I am so thrilled about this recipe.
I love hearing that, Angelina! Thanks so much for stopping by and sharing your feedback. Happy baking!
Jamie