Article summary
Git is a powerful tool that we love as developers. It’s also complicated. I consider the bare essentials of Git, the minimum set of features to be familiar with before we can be productive, to be all of this:
- local interaction: status, add, remove, commit, reset, checkout
- branch management: checkout, merge
- remote interaction: clone, fetch, push, pull
Once we’ve learned these basics well, we move onto advanced features and tricks.
Aliases
Aliases are abbreviations for Git command that we define ourselves. They’re good for shortening the commands that we use all the time. Instead of git status, we can configure an alias to let us type git st. Some people have a ton of these, but I like to keep it simple:
We can look at our shell history to check how often we use our aliases. The following command (on Mac/zsh) shows the 10 commands that I use the most:
Selective Staging
While we usually stage changes by giving a list of filenames to git add, sometimes that isn’t enough. Sometimes we want to stage only some of the changes we’ve made to a file. To accomplish this, we use git add -p (the p stands for patch). This patch option causes Git to divide changes into separate “hunks”, allowing us to specify interactively what we’d like to do with each hunk:
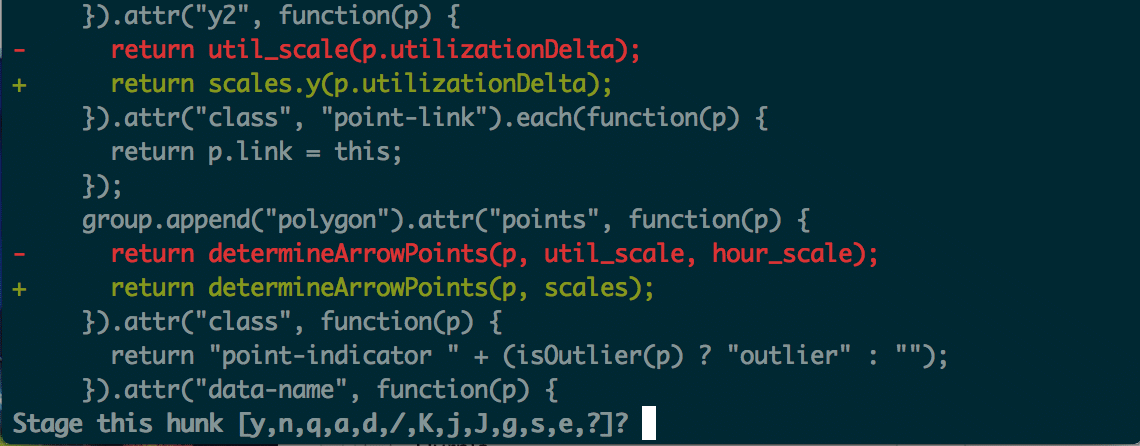
For each hunk, we’re given many options. We can stage the hunk or leave it unstaged. We can split it into smaller hunks or leave it undecided until later. Best of all, we’re given the option of manually editing the hunk. Choosing to manually edit a hunk can be tricky but provides the greatest level of control.
Interactive Rebasing
The basic rebase command takes a series of commits from a branch and replays them onto some other branch. It’s an alternative to merge that can result in a cleaner history.
Interactive rebasing gives us ways to manipulate the history of a branch. These manipulations can be really handy for cleaning up work we’ve done before we push it to a remote branch. For example, to make adjustments to the last five commits on our current branch, we can run, git rebase -i HEAD~5, and we might get a prompt like this:

Similar to when we commit, Git opens our default editor, and we modify it depending on how we want to proceed.
With interactive rebasing, the commits are always listed in chronological order. We can see in the comments a few of our options:
- Deleting a line will remove that commit from the history.
- Switching the order of the lines will switch the order of the commits.
- The default action to take for each commit is to “pick” it, or to leave it as is. We can change the action to take on any of the commits. These are the ones I find most useful:
- “reword” allows us to change the commit message.
- “fixup” squashes the changes of a commit into the previous commit and discards its message.
- “edit” interrupts the rebase, allowing us to make additional manual changes at that point in history.
Other Tips
- Quickly switch to the previously checked-out branch with
git checkout -. This is shorthand forgit checkout @{-1}. - Use a better log format. I have another alias,
git lg, which displays prettier, more useful log information as described here. - Use the
diff3style to more effectively resolve merge conflicts. In addition to your diff and the diff of the side that’s being merged into,diff3displays what the common ancestor contains.