Use transfer medium to do a Mod Podge photo transfer to fabric. This vintage pillow project is so easy and the results are pretty!
Skills Required: Intermediate. To transfer an image to fabric, I recommend having previous experience with photo transfer medium. This is because fabric is not forgiving and if you mess up, it’s permanent.

Hi there! It’s Shannon from Rosyscription again! After last month’s baby blocks, I thought I’d show you another fun Mod Podge photo craft I made for our daughter’s nursery. With this project you’ll learn how to do a Mod Podge photo transfer to fabric!
Did you know that it is really easy to make a custom pillow for your home with an image transfer? You can buy a plain pillow cover (or sew your own like I did with this easy envelope pillow tutorial) and decorate it in so many ways.
My new favorite approach to decorate a pillow is to transfer a graphic onto the fabric using Mod Podge Photo Transfer Medium. It makes the prettiest, vintage inspired home decor!
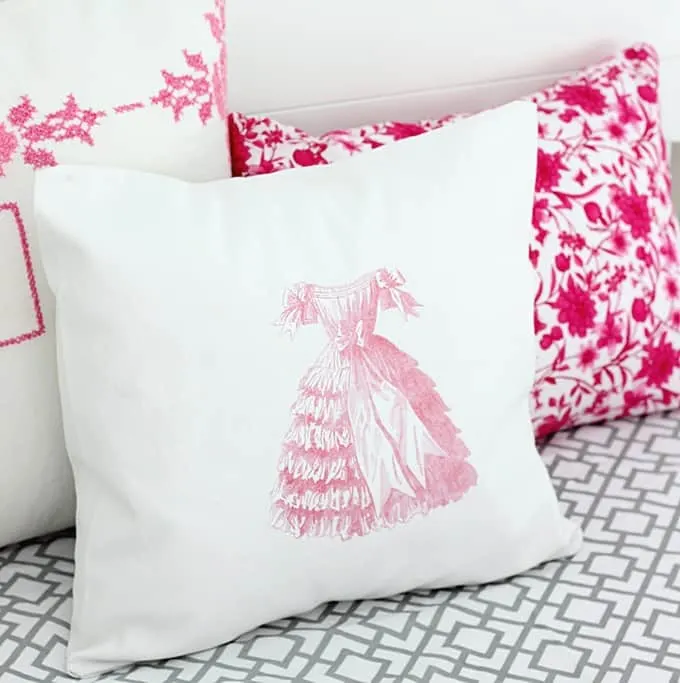
I found this adorable vintage dress image from The Graphic Fairy and knew it would coordinate with some of the other vintage elements that I planned for the nursery.
With a few simple steps, I was able to take that image and transfer it onto to my pillow. Let me show you how to make this Mod Podge photo craft below.
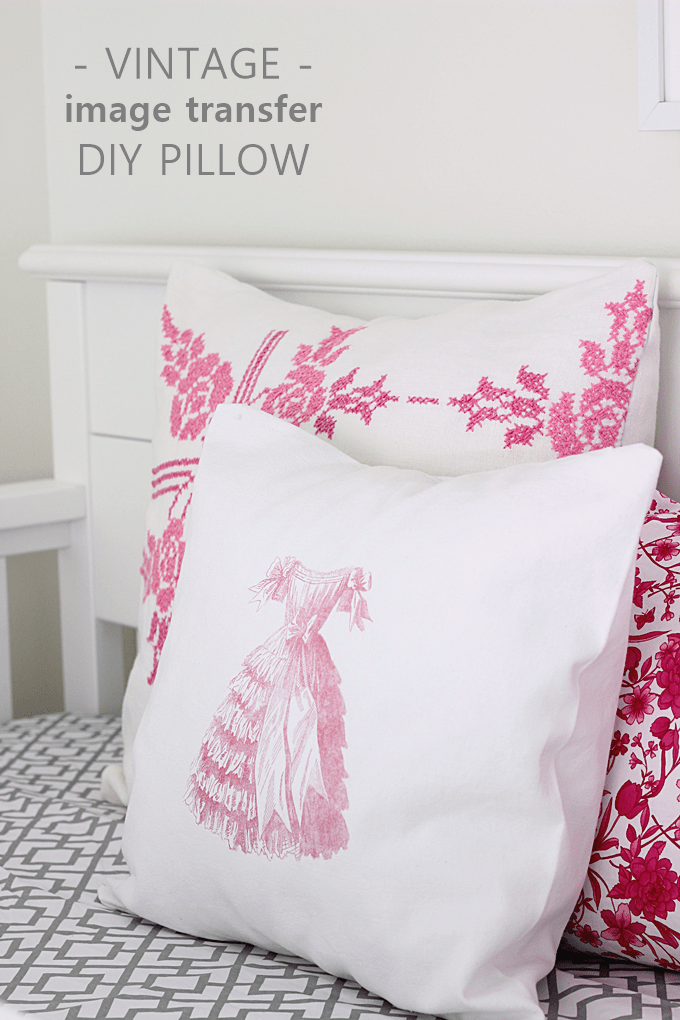
Photo Transfer to Fabric
Supplies needed:
- Plain, white pillow cover
- Mirror image photocopy of desired graphic
- Cutting mat
- Craft knife
- Brushes
- Wax paper
- Mod Podge Photo Transfer Medium
- Squeegee
- Sponge or rag
Print and Cut the Image
Get a photocopy of your desired image made. (It is important to use a photocopy of the image OR print it using a laser printer. Inkjet printer images will not work with this tutorial – they will bleed.)

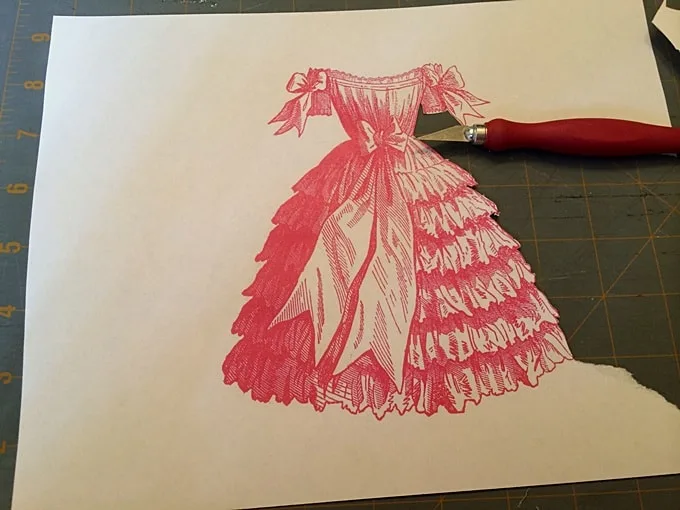
Use a craft knife and carefully cut out your image. Do your best to trim off any excess white around the edges, otherwise it will also transfer to the fabric.
Apply the Medium
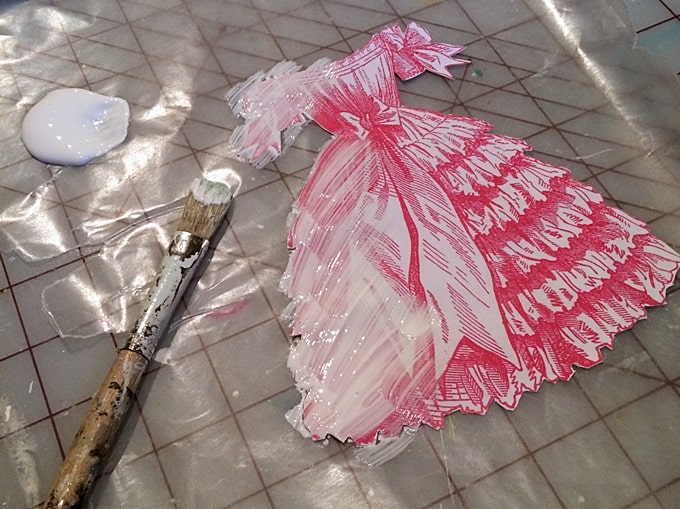
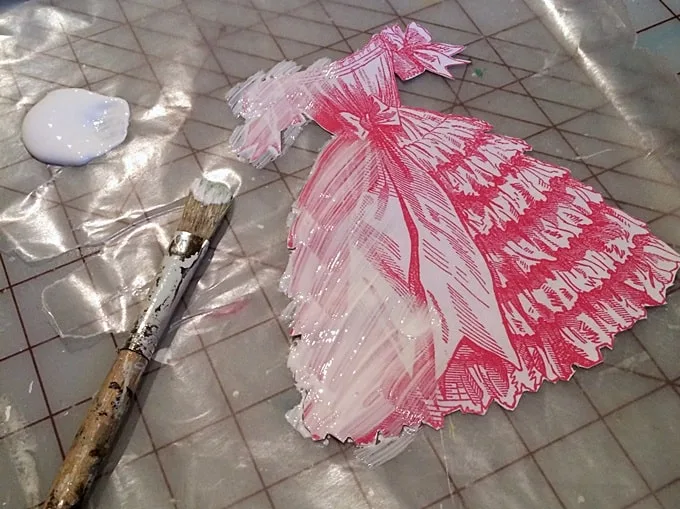
Protect your work space using wax paper. Also, lay a sheet of wax paper inside the pillow cover so that the back of the pillow cover is protected.
Brush a thick layer of transfer medium over the ink on your image. You want to use enough so that the image is obscured – just obscured. You don’t need to glob it on.
Press the Photo to Fabric
Lay the paper image side down on the fabric where you desire it.
Smooth out any bubbles in the glue using a squeegee and clean up any of the medium that extends beyond the paper. Allow the glue and paper to dry for 24 hours.
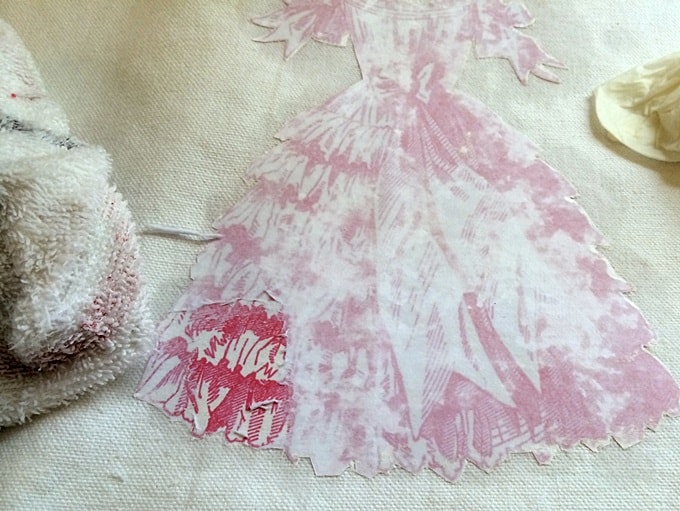
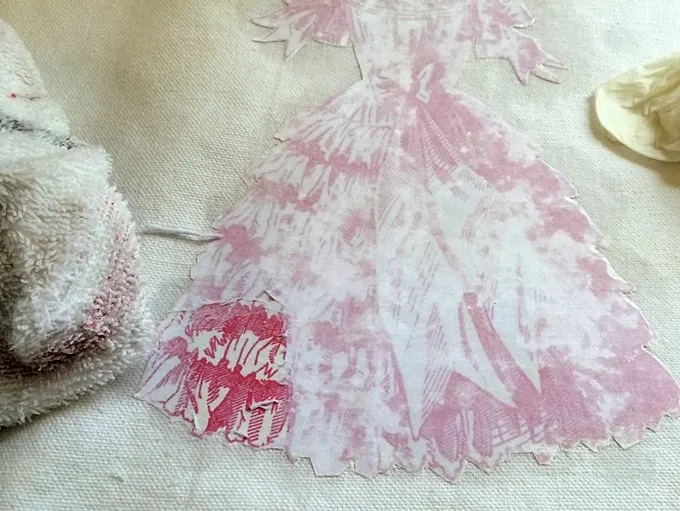
Remove the Paper
The final step of your Mod Podge photo transfer to fabric is to remove the paper. Using a damp rag, moisten the paper.
After about a minute, use a damp sponge or rag and gently rub the paper off in a circular motion to reveal the image below. The key is to work slowly and carefully so you do not tear or rub the image off.
Once all of the paper is rubbed off, you can add a pillow form inside your cover and enjoy your newly decorated pillow! The fabric cover can be washed cold and hung dry.
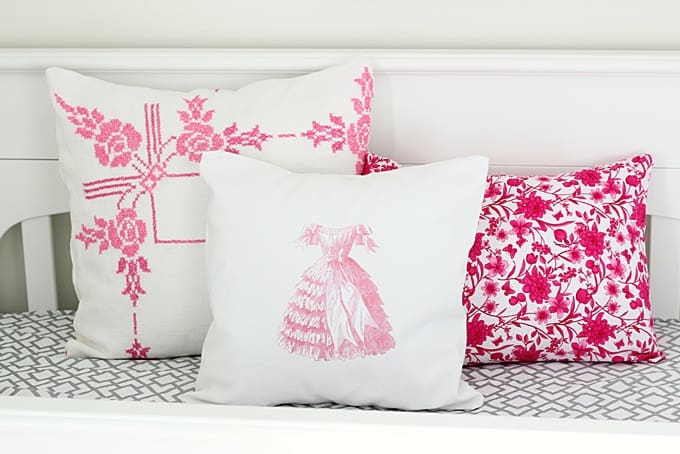
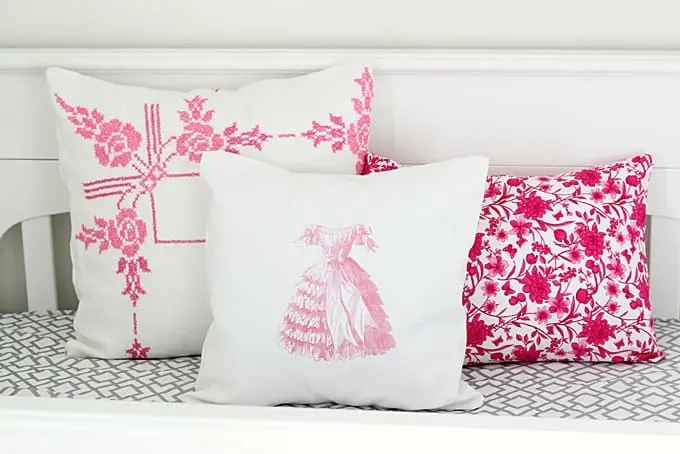
The little dress on the pillow is a sweet addition for our baby girl’s room. We plan to use the pillows as décor only and will pull them out of the crib when she is sleeping in there. I love how the dress image coordinates with the other pillows we have in her room.
Photo Transfer to Fabric
Learn how to transfer images to fabric using Mod Podge Photo Transfer Medium! You'll love the results.
Materials
- Plain, white pillow cover
- Mirror image photocopy of desired graphic
- Mod Podge Photo Transfer Medium
- Wax paper
Tools
- Cutting mat
- Craft knife
- Paintbrushes
- Squeegee
- Sponge or rag
Instructions
- Get a laserjet photocopy of the image you'd like to use in the correct size to fit your fabric.
- Use a craft knife and carefully cut out the image. Trim off any excess white around the edges, otherwise it will also transfer to the fabric.
- Protect the work space using wax paper. Also, lay a sheet of wax paper inside the pillow cover so that the back of the pillow cover is protected.
- Brush a thick layer of transfer medium over the image, and then lay the paper (glue-side down) on the fabric.
- Smooth out any bubbles in the glue using a squeegee and clean up any of the medium that extends beyond the paper.
- Allow the glue and paper to dry for 24 hours.
- Remove the paper. Using a damp rag, moisten the paper. After about a minute, use a damp sponge or rag and gently rub the paper off in a circular motion to reveal the image.
- Once all of the paper is rubbed off, let dry. Add a pillow form inside the cover.
Notes
The key to a successful photo transfer is to work slowly and carefully so you do not tear or rub the image off.
Now that you’ve learn the technique to transfer photo to fabric, I think you’ll also like these projects:
Adebayo Samuel
Saturday 11th of March 2023
Please am a chemistry student, my project topic is how to produce mold podge, I will be glad if you can help me with information on how to produce mold podge
Amy
Wednesday 15th of March 2023
Hi Adebayo! The Mod Podge formula is owned by Plaid Enterprises who produces the product. I would contact them further about your question: https://plaidonline.com/about/contact Thanks!
Karen
Friday 27th of January 2023
I am really interested in this
Victoria
Thursday 12th of January 2023
Please tell me the best printer for printing on Mod Pogr or directly on fabric. I'm desperate to buy one right now but need help. Thanks soooooo much. Victoria
Amy
Friday 13th of January 2023
Hi Victoria! I don't recommend using a printer to print on Mod Podge. Directly on fabric yes, and I just used my HP deskjet. I've also used an Epson so I think it works on a variety of machines!
Vandana Narang
Thursday 5th of August 2021
Is there any video available on how to transfer image on fabric
Amy
Saturday 7th of August 2021
Yes! Check this class out: https://www.youtube.com/watch?v=L0b3Yzos69I
Caroline Glover
Thursday 25th of February 2021
I would love to know what I can use to put a topcoat over my finished photo transfer project (onto a black canvas tote bag using "Mod Podge Photo Transfer Medium for Light or Dark Fabrics"). I would like to regain the "wet look" to give the colors a little more vibrancy but also still be able to wash the bag!
Caroline
Friday 26th of February 2021
Thank you very much!
Amy
Friday 26th of February 2021
Hi Caroline! You can use Mod Podge Fabric - however, it might remain slightly tacky. You might want to purchase a sealer like this for fabric: Then you can tape off the area and spray :) And then use it still for additional projects!