I love to buy, collect, save, and trade seed, but I have to admit that I do not go about it in a particularly organized fashion. While I am careful about where and how I store my seeds and I do have my own “it’s all in my head” system, it doesn’t exactly compare to some of the personal seed banks I have seen. I do not have Excel charts or lists of any kind that track what I have and when I got it. If I’m being honest, I often don’t realize I am out of a particular something or other unless I bother to check ahead of time. However, most years that moment doesn’t come until I am in the act of sowing. Whoops, guess I won’t be growing that this year. [Update: things have changed since I wrote this article and I do have a spreadsheet now, but just for the tomatoes.]
For this reason, it’s not uncommon for me to find packets in my stash that are older than I can remember. Most store-bought seeds have a “packed for” date on them, but I receive a lot of seed in trade, and some of those traders are even less organized than me. The seed of some plants last no more than a year or so. If I find an unmarked, rogue packet of onions or leeks I can be nearly certain that they are junk. Tomatoes seem to last forever, so if I find a packet of unknown origin that I’d like to grow, it’s worth spending the time to test its germination rate.
A germination test determines the viability of the seed — how many in a packet will reliably germinate. This is important because the window of opportunity to get some crops sown and growing can be short. I’ve lost the chance to grow a specific variety some years because I sowed and then waited on seed that wouldn’t grow.
Germination rate can also provide a gauge of a seed’s vigor. I explain what this is below.
How to Test for Germination Rate
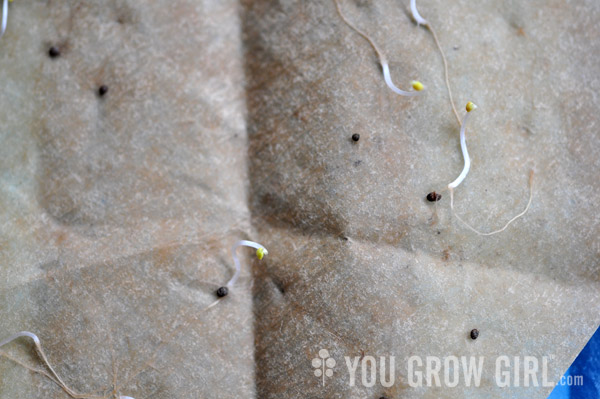
There are lots of ways to go about this. Some people use paper towels. I use coffee filters because I find it easier to see the germinated seeds and their roots should I opt to plant those that have germinated. Fragile roots and leaves tend to disappear in the pile of paper towels.
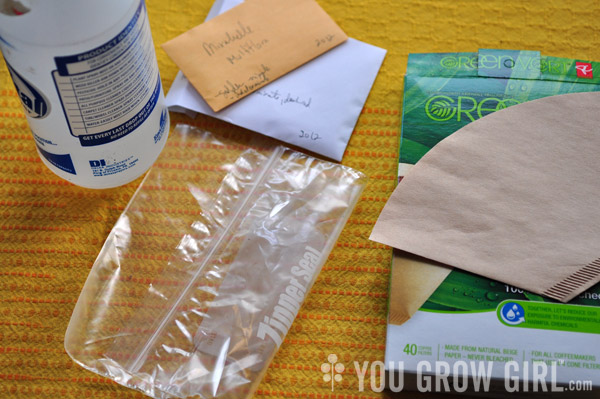
What You Need:
- Coffee filters
- Plastic baggies
- Water
- 10 Seeds (per test)
- Permanent marker
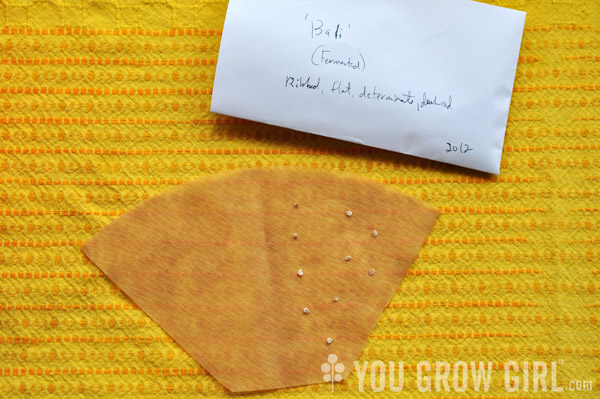
Cut or tear the coffee filter along the bottom and one side seam. Lightly moisten with water so that it is moist, but not sopping wet. I sometimes use a spray bottle but you can also just dip it into a bowl of water and squeeze it out.
Open the filter up flat and lay out 10 seeds on one half. You do not have to do 10 seeds at a time, but it makes figuring out the germination rate a heck of a lot easier. Spread the seeds out so that they aren’t touching. I do this so that there is less chance that their roots will become entangled should I decide to plant them up.
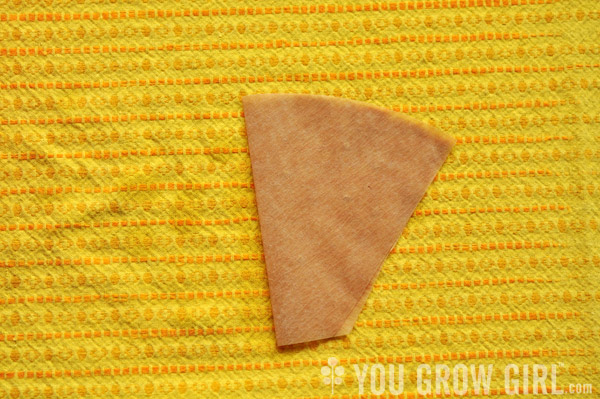
Fold the half of the coffee filter that does not have seeds over onto the side that does.
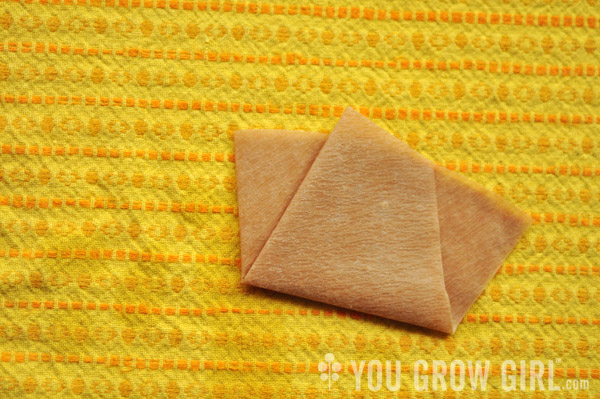
Fold the bottom half up.
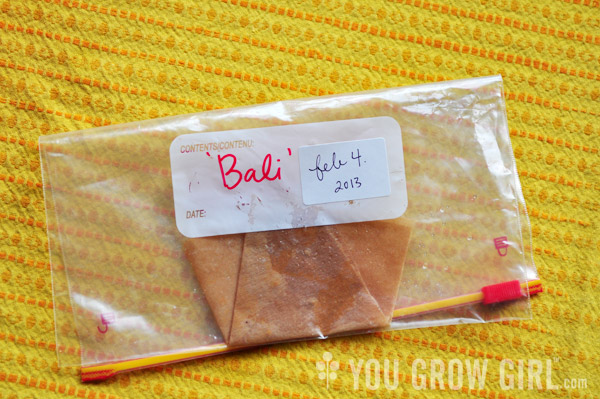
Place the moist and folded coffee filter inside a baggie and seal. Write the variety name and the date you started the test on the outside of the baggie. I write this onto sticker labels so I can reuse the baggies in further testing.
Place the sealed and labelled baggies in a warm place and check on them every few days to see whether germination has occurred. Some seeds may require more time. Some may also require light in order to germinate, or more heat.
Tip: The majority of the seeds I test do well in a kitchen or utility drawer that is used often. Otherwise I have a tendency to forget about them! I also put a sticky note on the front of the drawer as an added reminder to keep checking the seeds! Hot peppers tend to need more heat, so I keep them on top of a reliably warm (but not hot) appliance.
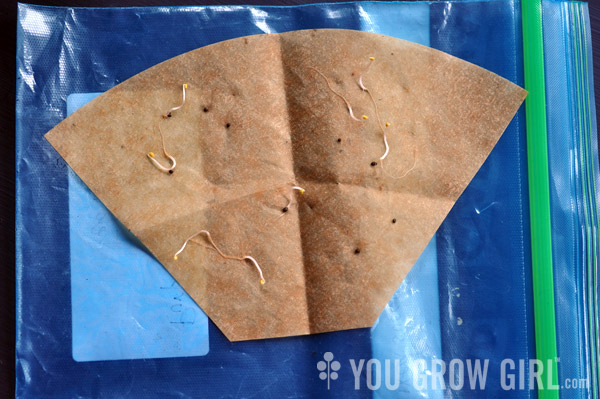
The rate is determined by the number of seeds out of 10 that have germinated. For example, 6 out of 10 seeds = 60% 3 out of 10 = 30% and so on.
You can go ahead and plant any seedling that have germinated into soil just as you would a seed. Don’t bother trying to remove the seedling from the paper — you risk damaging delicate roots. Instead, tear the paper around the plant. (Note: If your seedlings have browned roots like mine do in the above photo then I would not suggest planting them up. I left those too long and the roots were starting to rot.)
Loss of Vigor: Seeds that fall below 70% germination tend to suffer from a loss of vigor that will increase with each passing year. What this means is that even though many of them will still germinate, the seedlings that develop may not be healthy or develop into strong, vital plants. If the percentage isn’t too low you may decide to take a chance and see how the seedlings develop. It should be easy enough to determine which are suffering. However, if you’re planning to save seed from this plant for future crops then you may want to replace the seed now. Unhealthy plants beget unhealthy plants and since you’re going to the effort, it is worth it to start out with the best of the best.
Please note that some varieties suffer from a poor germination rate even when new and healthy, so it’s important to know your plant/variety.
Tip: I keep all of my seed testing equipment (including the used baggies) together with my seed saving equipment in one of the dollar store containers that I use for organizing seed. That way I have it on hand whenever I need it.
Great step by step!
This article was great. Especially liked, actually needed, the photos. Saved this so if I ever will need this. Thank you.