

- Like
- Digg
- Del
- Tumblr
- VKontakte
- Buffer
- Love This
- Odnoklassniki
- Meneame
- Blogger
- Amazon
- Yahoo Mail
- Gmail
- AOL
- Newsvine
- HackerNews
- Evernote
- MySpace
- Mail.ru
- Viadeo
- Line
- Comments
- Yummly
- SMS
- Viber
- Telegram
- Subscribe
- Skype
- Facebook Messenger
- Kakao
- LiveJournal
- Yammer
- Edgar
- Fintel
- Mix
- Instapaper
- Copy Link
EEME is a blog sponsor and we received this product free for the purpose of reviewing it. All opinions expressed are my personal, honest opinions. You can read my full disclosure policy for more details.
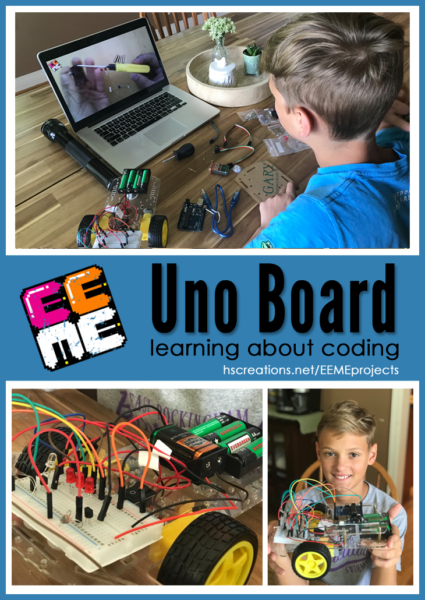
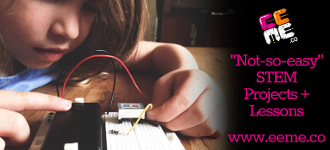
Just before the school year ended, we shared about Kaleb building Q the robot from EEME. We were then in the throes of packing for our European adventure and the day before we left, another box arrived from EEME for the Uno Board.
One thing that can be frustrating about other STEM projects is you build it and that’s the end – nothing more. With Q the Robot though, EEME has created a series of projects that build on the framework of what your child has already started. The base remains the same and children essentially add more brains and smarts to their robots.
That is a win-win!
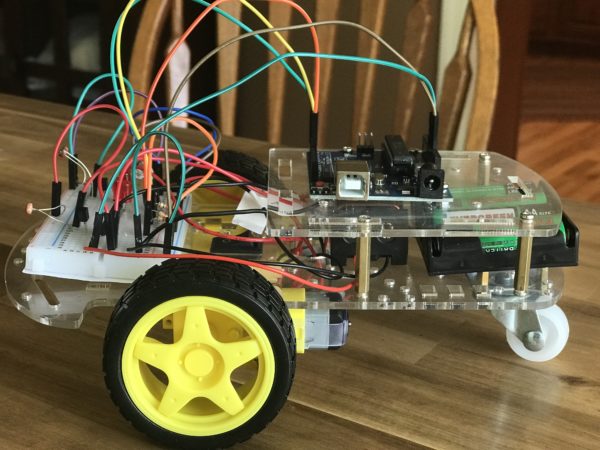
The Uno Board is not a stand-alone project – meaning you cannot purchase just the Uno Board and have your child work on it. Children start by building the Q the Robot project kit, a 3-wheeled robot who follows light. He is the first in a series of robotics projects from EEME – and there is no coding required to get started! Once completed, Q follows light around using two sensors, or photo resistors. When light is shined directly onto the sensors, Q turns to follow the light.
The kids “beef up” their robots with (and I quote, because I could never in a million years say this) “an Arduino-compatible UNO microcontroller board”. With the Uno Board, concepts covered include:
- Coding programs for the UNO board
- What a compiler does
- A coding language called C++
- What all those holes, pins on the UNO board do
- How UNO powers up
Adding the Uno Board
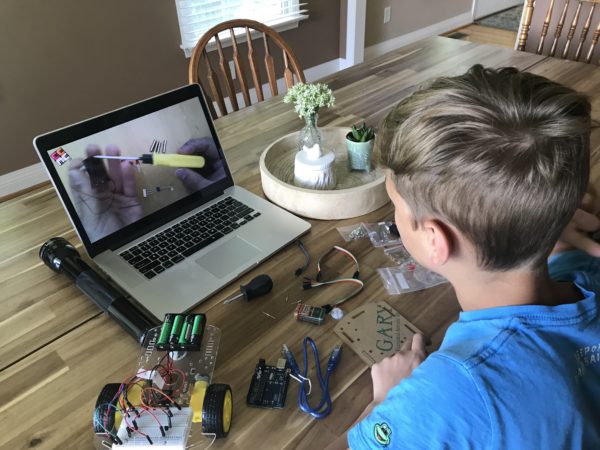
EEME has FREE online lessons (anyone can view these!), and this is where we went to begin our work with the Uno Board. The first several lessons covered the components we needed for the project (all included), safety, familiarizing ourselves with the projects, and getting the board connected to Q the robot for programming.
We divided the thirty video lessons for Uno Board into two segments over the course of two days. Each of the 30 videos range in length, but average time each day was a bit over an hour, taking us a almost 2.5 hours to complete the entire project.
There are some super tiny screws and pieces that will require a bit of patience at times – completely doable, but just a heads up. :)

One thing we had to do in the early stages was download some firmware to “test” and make sure our board was working correctly. This step took us a little bit of problem solving (all questions that were answered via their site), but because we had a Mac, we required a different patch for our test. Once we had that figured out, we were good to go!
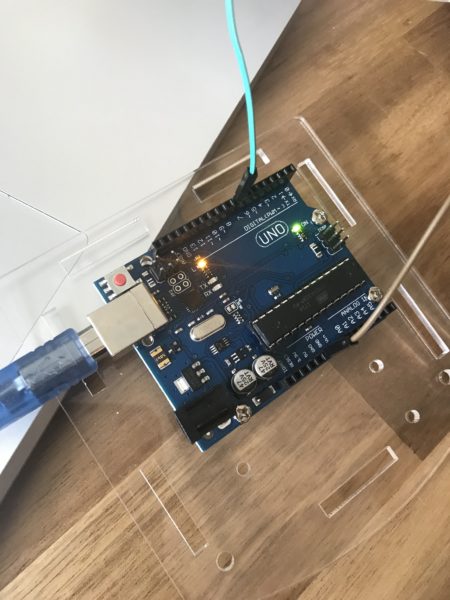
(The green light is a good thing.)
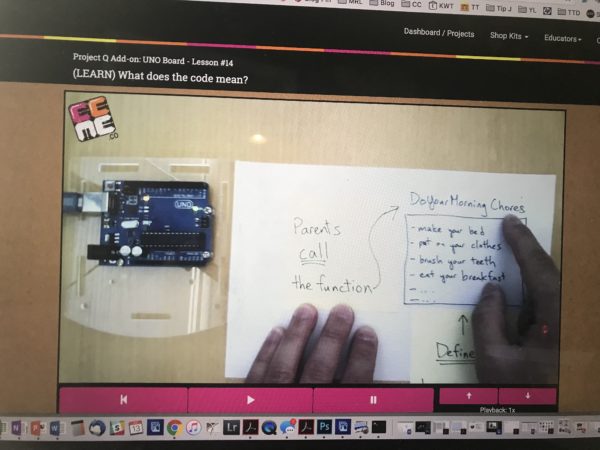
One thing to love about the video lessons is the way EEME dad ties in practical/real-life to help kids understand the terms. The above lesson is teaching about coding and broke it down by showing that coding is essentially giving kids the steps to a function. When parents ask you to work on morning chores (function), there are certain steps that define that function.
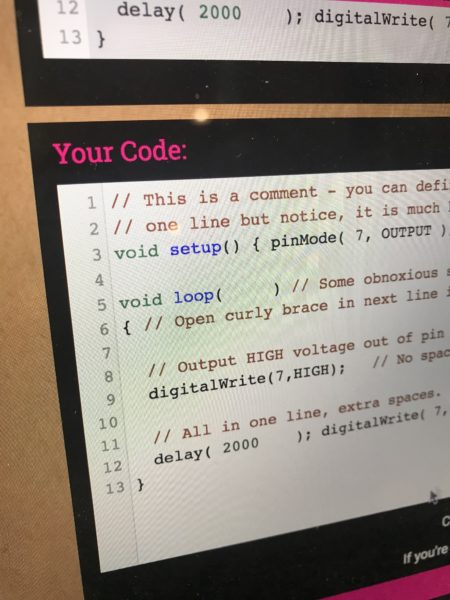
The hardest area for us was more the actual coding. In this section, I will admit that we bypassed a little bit, but only after Kaleb and I talked through the coding. For kids to learn and understand how the coding works, EEME recommends that kids type through the coding – it is provided in a box above and kids copy it line by line.
I 100% agree that we learn best by doing ourselves, but in this instance, Kaleb and I would go through it and I would have him point out the various functions. Because I had a broken arm at the time (and had limited use of the computer keyboard) and Kaleb struggles with typing, after we discussed the coding, we did copy/paste from the provided coding. For a few of them I would omit certain segments and have him point out where the errors were. That said, the program itself does recommend kids work through it step-by-step. We didn’t follow the directions. :)
Each time new coding is entered, there is an opportunity to test it to see what that specific coding does. Honestly, so fun.
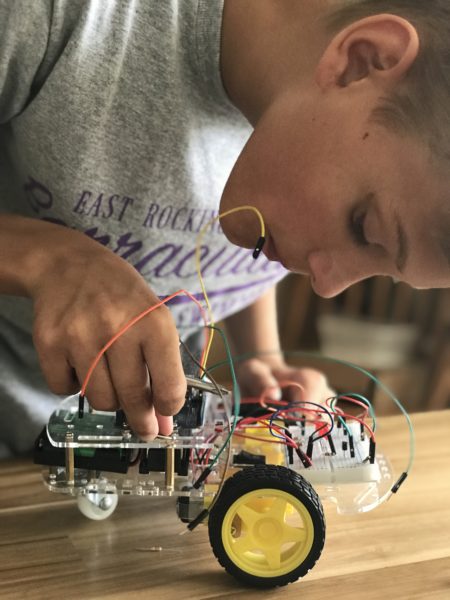
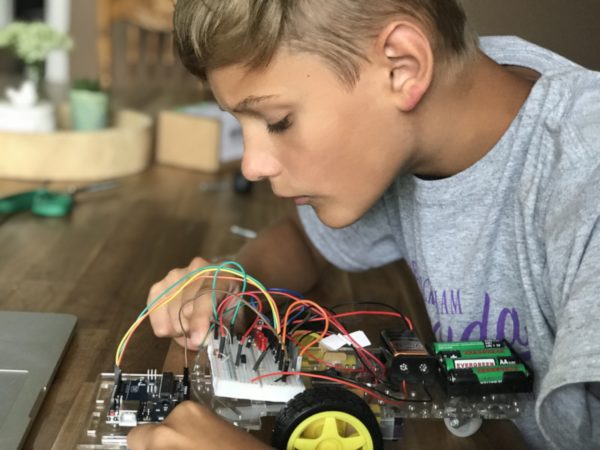
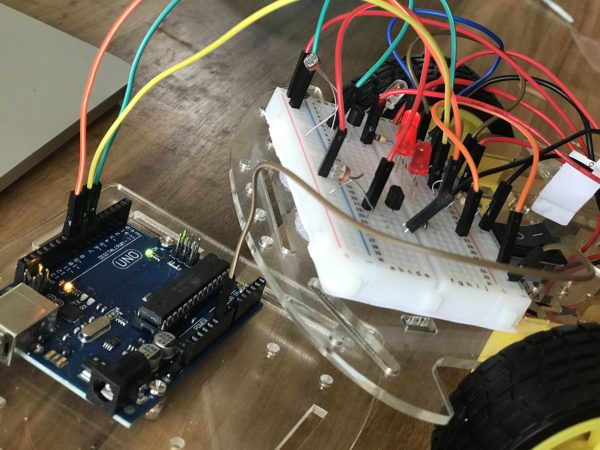
Once the coding was completed, Kaleb mounted the platform onto the top of Q the Robot. Prior to this point, the Uno Board was connected but off to the side.
This step was a little trickier at times because there are so many more wires now and he was trying to make sure everything stayed in place (he may have knocked one out by accident and had to backtrack to see how we had the wires connected).

After about two hours and 15 minutes total – the Uno Board was fully mounted and working!
And now – we’re ready to work on the next step with Q the Robot to make him even better!
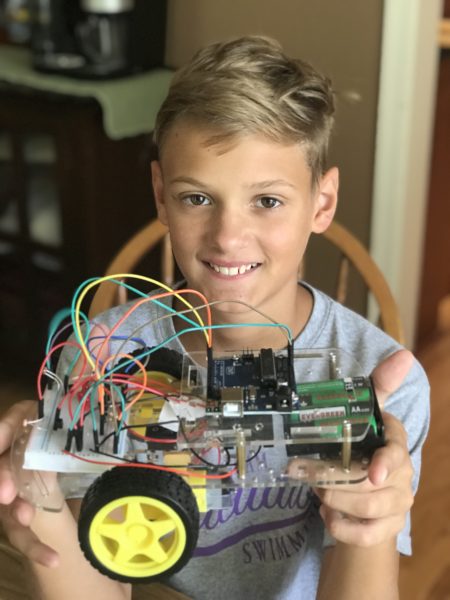
What I will say after this step – Kaleb is 11 and a bit of a perfectionist. He wants to have things done well and correctly, so there isn’t any rushing through. If something isn’t working right, he at times gets frustrated with himself, so I sat alongside for the lessons and helped him flip back through pictures we had taken to look and see how wires were connected if he accidentally unhooked something.
If our older son (age 13) were working on this, he would not need the 1:1 help (he might as for a hand occasionally), but much of that is also personality differences as well. It can be done and may need to be broken up into smaller chunks as well.
What Moms Need to Know…
- Everything’s included – parts, wires, batteries are included in all every kit
- No experience needed – the online lessons to mentor, guide, and teach your kid (seriously, this is a lovely thing)
- Safety first – no soldering required, low voltage projects (the mom in me rejoices)
Meanwhile, kids are learning solid concepts and being challenged by building projects using REAL components. They may make mistakes, but in doing so, they learn to review and discover what they can do to make it better and work correctly.
Perfect for ages 10+
Time Required: 2-2.5 hours
Parental involvement: varies based on child, but this one may require more assistance depending on your child’s keyboarding/typing skills since it does involve more detailed computer usage.
Start Learning With EEME
There are 3 ways to learn with EEME – FREE online lessons, their robotics kit series, and their electronics kit series.
- For free online lessons – families create a free account with EEME and use their web browser to interactively build and learn about electronics circuits.
2. Robotics series – The first kit of the series, Q the Robot, is a project where your child builds a 3-wheeled light-following autonomous robot. The online lessons associated with Q teach how robotics circuitry works.
You can purchase Q and additional add on kits here.
3. Electronics series – electronics kits are purchased as electronics kit monthly subscriptions. A new bite-sized kit ships every month complete with all the electronic components needed to build a new project.
Each month’s project builds on the previous month’s knowledge and interactive quizzes, questions reinforce kids’ understanding of the why’s and the how’s.
Learn more about the electronics monthly subscriptions here.
Be sure to take a look around the EEME site. If you have kids in the 7-10 range, they have a monthly subscription option where each project focuses on a different electronic concept, but otherwise – go for Q!
Past EEME Projects
We’ve worked on several other projects from EEME. If you’re interested in learning more about their monthly subscription program, be sure to check out the below posts for more information:
- Q the Robot (Kaleb’s project)
- Project DIY Light Display
- Project Genius Light
- Project Attraction – building an electromagnet
- Project Amp
- Project Tentacle
- Q the Robot (Zachary’s project)


 The printables shared on this site are FREE of charge unless otherwise noted, and you are welcome to download them for your personal and/or classroom use only. However, free or purchased printables are NOT to be reproduced, hosted, sold, shared, or stored on any other website or electronic retrieval system (such as Scribd or Google docs). My printables are copyright protected and I appreciate your help in keeping them that way.
If you download and use some of my printables and then blog about them, please provide a link back to my blog and let me know - I'd love to see how you are using them! Please be sure to link to the blog post or web page and not directly to the file itself. Thank you!
The printables shared on this site are FREE of charge unless otherwise noted, and you are welcome to download them for your personal and/or classroom use only. However, free or purchased printables are NOT to be reproduced, hosted, sold, shared, or stored on any other website or electronic retrieval system (such as Scribd or Google docs). My printables are copyright protected and I appreciate your help in keeping them that way.
If you download and use some of my printables and then blog about them, please provide a link back to my blog and let me know - I'd love to see how you are using them! Please be sure to link to the blog post or web page and not directly to the file itself. Thank you!
Leave a Comment