


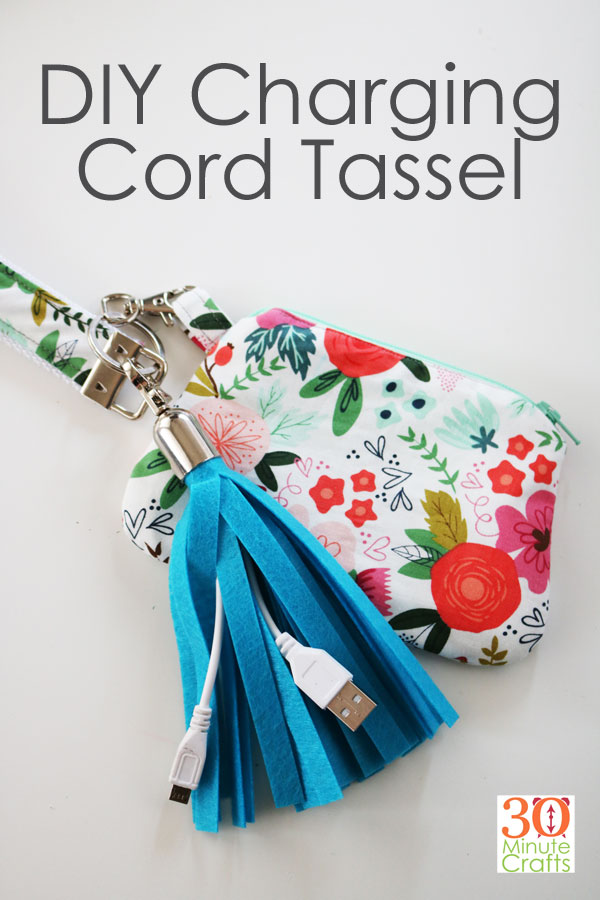
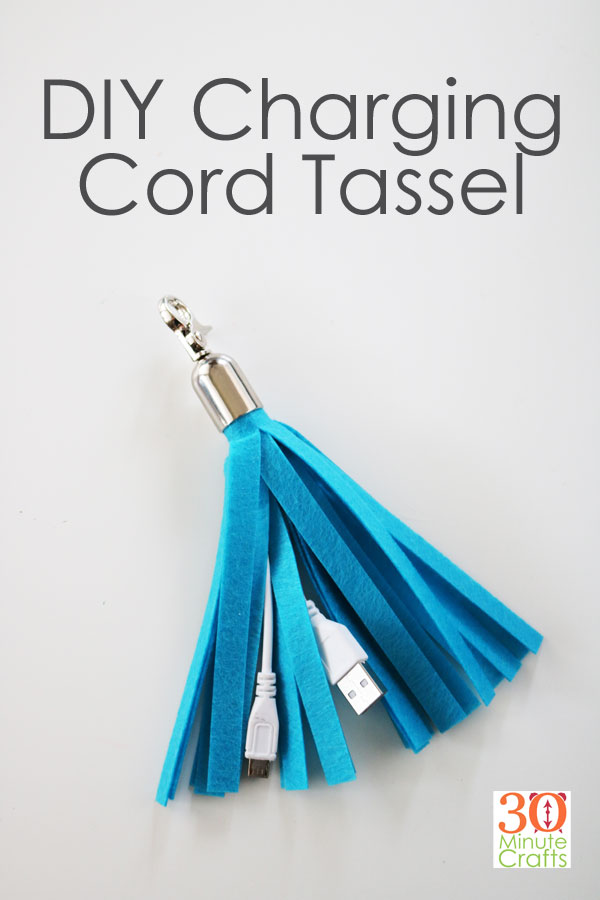
Have you ever found yourself in need of a charging cord, but without one handy? This has happened to me so many times! This DIY Charging Cord Tassel is a simple solution and decorative solution to a first-world problem.
This page contains affiliate links which help pay for this site at no additional cost to you.
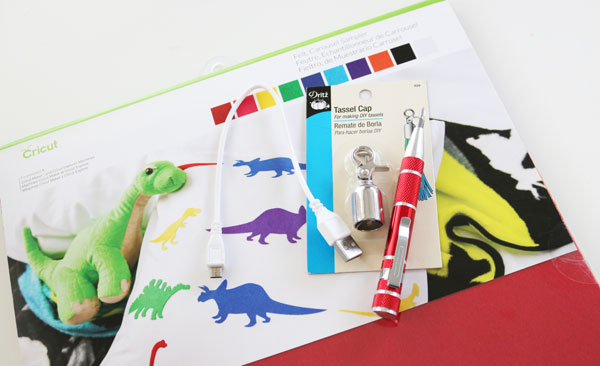
To make this DIY Charging Cord Tassel, you’ll need:
Short Charging Cord
Felt
Cricut Maker
Dritz Tassel Cap
Small Screwdriver
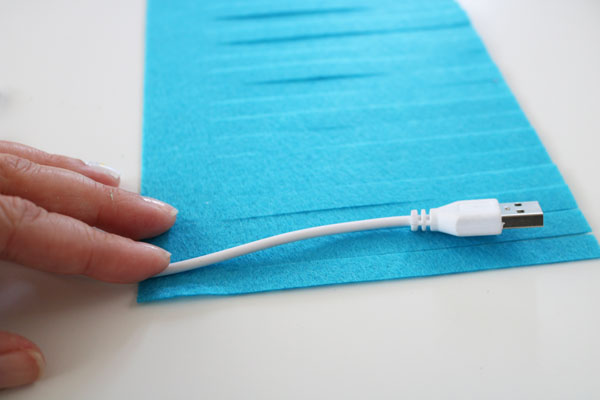
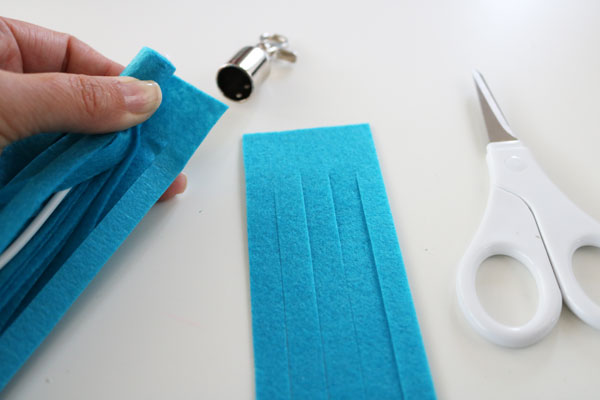
Use this Cricut Design Space file to cut the tassel.
Fold the cord in half to find the halfway point. Unfold. Place the halfway point on the top of the fringe.
Roll up. After you have rolled once or twice, fold the cord back in half, then keep rolling.
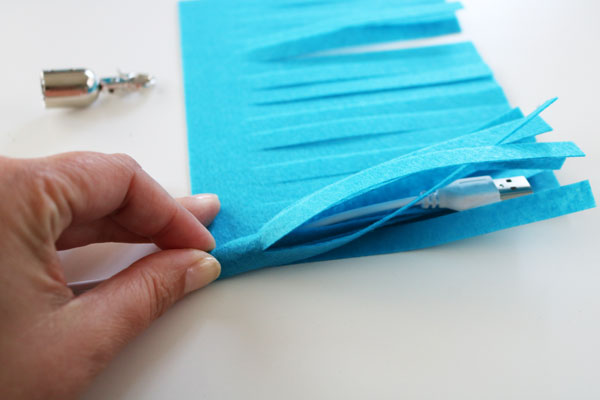
If the top gets to large to fit into the tassel cap, cut off any excess fringe.
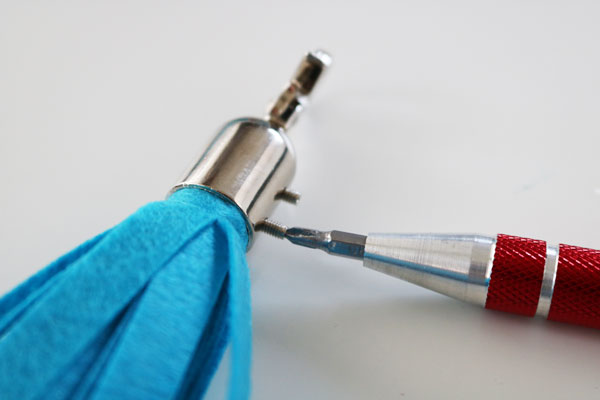
Insert into the Tassel Cap. Be careful to place the fold of the cord in line with the screws, so that the screws are inserted between the folded cords, and not into them. Then tighten the screws using the small screwdriver.
That’s it! You can now attach your USB Charging Tassel to the strap of your purse so that you always have a cord handy. Mine has already saved me more than once!


Oh my! How clever is that! Thanks for the idea.
Jan