


A couple months ago, we re-did the kids’ room to include lofted bunk beds. But they could no longer reach the light switch to turn out the light in their room! If you’ve spent any time around young kids, you know that the issue of turning lights on and off is of paramount importance. So, we decided a fun DIY solution was in order. I designed this DIY Bunk Bed Extended Light Switch so that my youngest could turn on and off the light switch while in the top bunk. But the light switch is still usable from the doorway. And, it is super simple to make!
This DIY Bunk Bed Light Switch is made from a sheet of Basswood, and is my final project for Craft Lightning Wood week. All week long my crafty friends and I have been sharing fast and fun craft projects that can be made with wood. Thanks so much to Angie from The Country Chic Cottage and Laura from Pet Scribbles for co-hosting with me. Be sure to scroll down to the bottom of the page to check out all the fun 13 minute or less wood crafts made by today’s crafty friends! 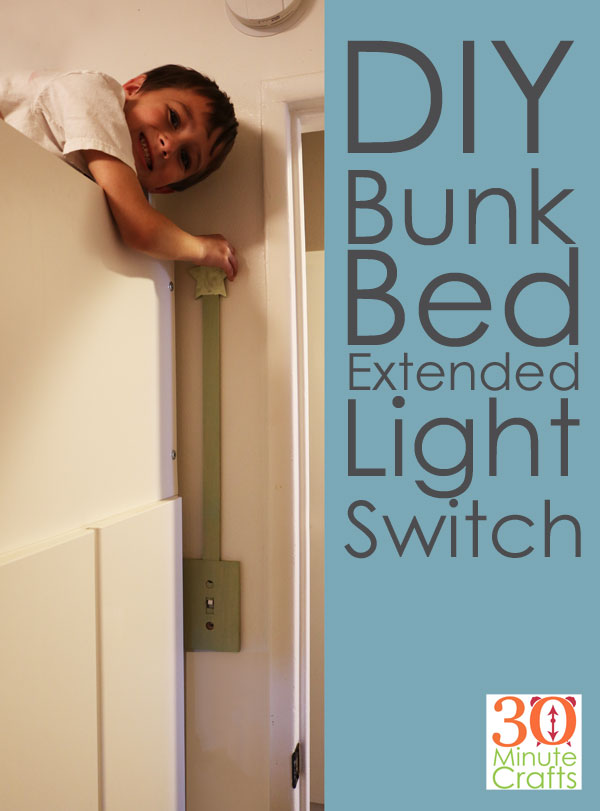
To make this DIY Bunk Bed Light Switch you’ll need:
Cricut Maker with Knife Blade
8″ x 12″ piece of 1/16″ Basswood
Glue
Clothespins
Drill with 5/32″ bit
Screwdriver
Light Switch Plate removed from wall
Pen
Paint (optional)
Glow in the dark paint (also optional)
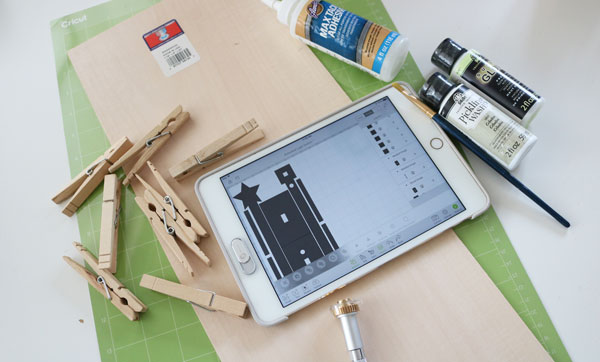
Use this cut file in Cricut Design Space to cut the pieces for the Bunk Bed Light Switch.
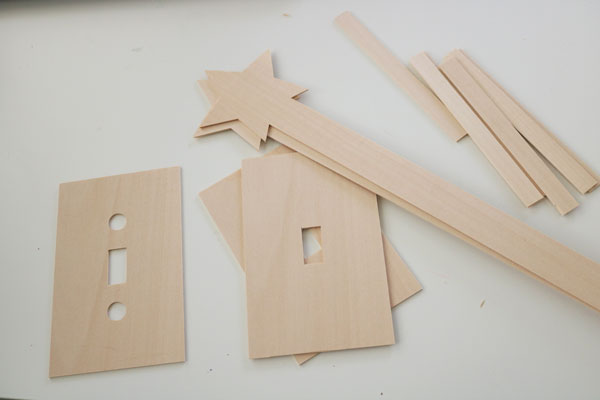
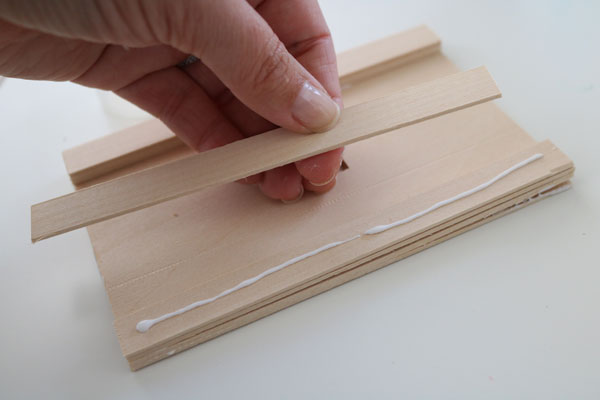
Glue together the matching face plate pieces.
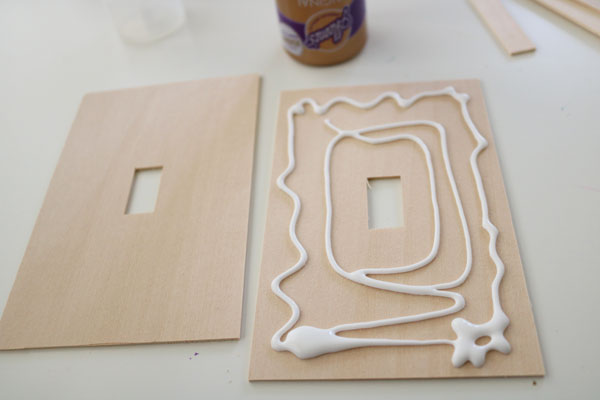
Secure with clothespins.
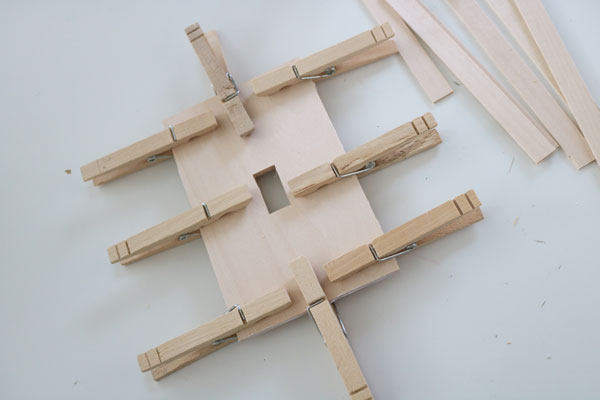
Do the same with the two long light switch pieces with the stars on the end.
Once the glue has set, glue the small rectangles and small squares in place. The rectangles go on the sides, and the small squares go at the top (these will keep the long pole from wiggling side-to-side).
Glue the front piece (with the circle holes) on. You’ll need to put the long pole in place first.
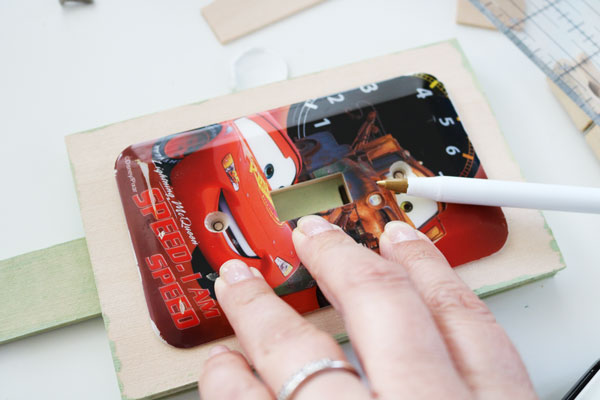
Use the old light switch plate to mark the screw holes.
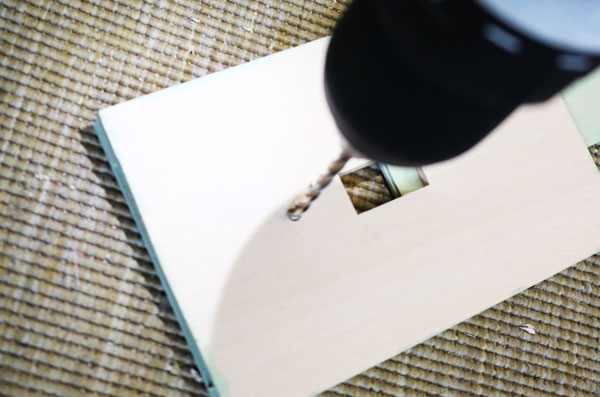
Drill the holes. Be careful as you go through the holes in the pole and in the front plate.
Paint as desired. I used glow in the dark paint on the star for a little extra fun.
You can use the same screws already in the switch to secure the new face plate to the wall.
Check out these other fast and fun crafts made with wood!
How fun is this farmhouse paper towel holder from Kati ad Houseful of Handmade.
I love this decorative serving tray from Jen at 100 Directions.
This DIY Wooden Frame Clock from Laura at Laura’s Crafty Life is perfect!
Blanca at Creativites Galore made this Patriotic Table Place Card.
Ann from Annmakes gets you all set for Father’s Day!
Over at See Lindsay, you’ll learn how to make the perfect cutlery for a mermaid party.
How fun is this great 15 minute craft from Katie Berry?
I’m loving this wooden craft from Niki Meiners.
Our Guest Co-host, Laura from Pet Scribbles made Sparkly Glitter Monogram Magnets.
Angie, my long-time Craft Lightning co-host from the Country Chic Cottage shows you how to make a wooden puzzle.


Leave a Comment