Sketch, a favorite user interface tool, added Symbol support a few years ago. Since then, I and many other designers at Atomic have heavily leveraged Symbols in our work.
In Sketch, a Symbol is an element that can be replicated, and all of the instances of the Symbol can be changed in one place (super handy!).
I am a firm believer in using Symbols, but they do bring some additional complexity. This is especially true since the release of nested Symbols and shared Libraries. Here are a few guidelines to follow when using Symbols.
1. Create a Naming Convention
Naming is critical to maintaining order when you have a slew of Symbols. The drop-down menu where you select a new instance of the Symbol in your document can get cluttered fast.
Once you have 10+ Symbols, adding some structure can reduce headaches. When Symbols are not well organized, it slows down the design process, and it’s frustrating to spend valuable time looking for the desired Symbol instead of actually designing.
You can group Symbols in the menu by adding a common name with a “/” between names, similar to the way you would with React Storybook. For instance, if you had a few button styles, you could name them: “buttons/button style 1,” “buttons/button style 2,” and “buttons/button style 3.” In this case, all three buttons would show up in the root directory called “buttons.” Convenient, right?
Notes:
- It’s good to review naming conventions with your team. Establishing a pattern for creating elements on a shared library helps keep things consistent across your project(s).
- If you’re using a shared library, store your Symbol document with fonts and other assets that are needed to open and use the Sketch doc.
2. Keep your Symbol’s Library In Order
When you create your first Symbol, a new page is added to your Sketch document. This becomes the home for your Sketch Symbols, and it can be spun out into a shared library where you can store all of your project’s Symbols. Every time you define a new Symbol, it will appear on the right of the last defined Symbol. If you’re not careful, your Symbol page or file can become unwieldy.
Grouping similar Symbols can help simplify things while you’re deep in design land. You can even take it one step further by using your Symbol document as a living style guide for your project. To do this, group similar elements like form elements or buttons, and add text labels to help define the visual hierarchy of the page.
Notes:
- Make sure you transfer newly created Symbols to your master Symbol doc if you are using a shared Symbols library.
- When you bring in an element from outside your project or document, remember to unlink it from the original Symbol it was created with.
3. Use Nested Symbols Properly
Nested Symbols allow us to create more complex Symbols or component-like elements. For example, you can create an iOS navbar where users can place the entire header in one instance of a Symbol. They can then edit the title, back button, and custom action buttons.
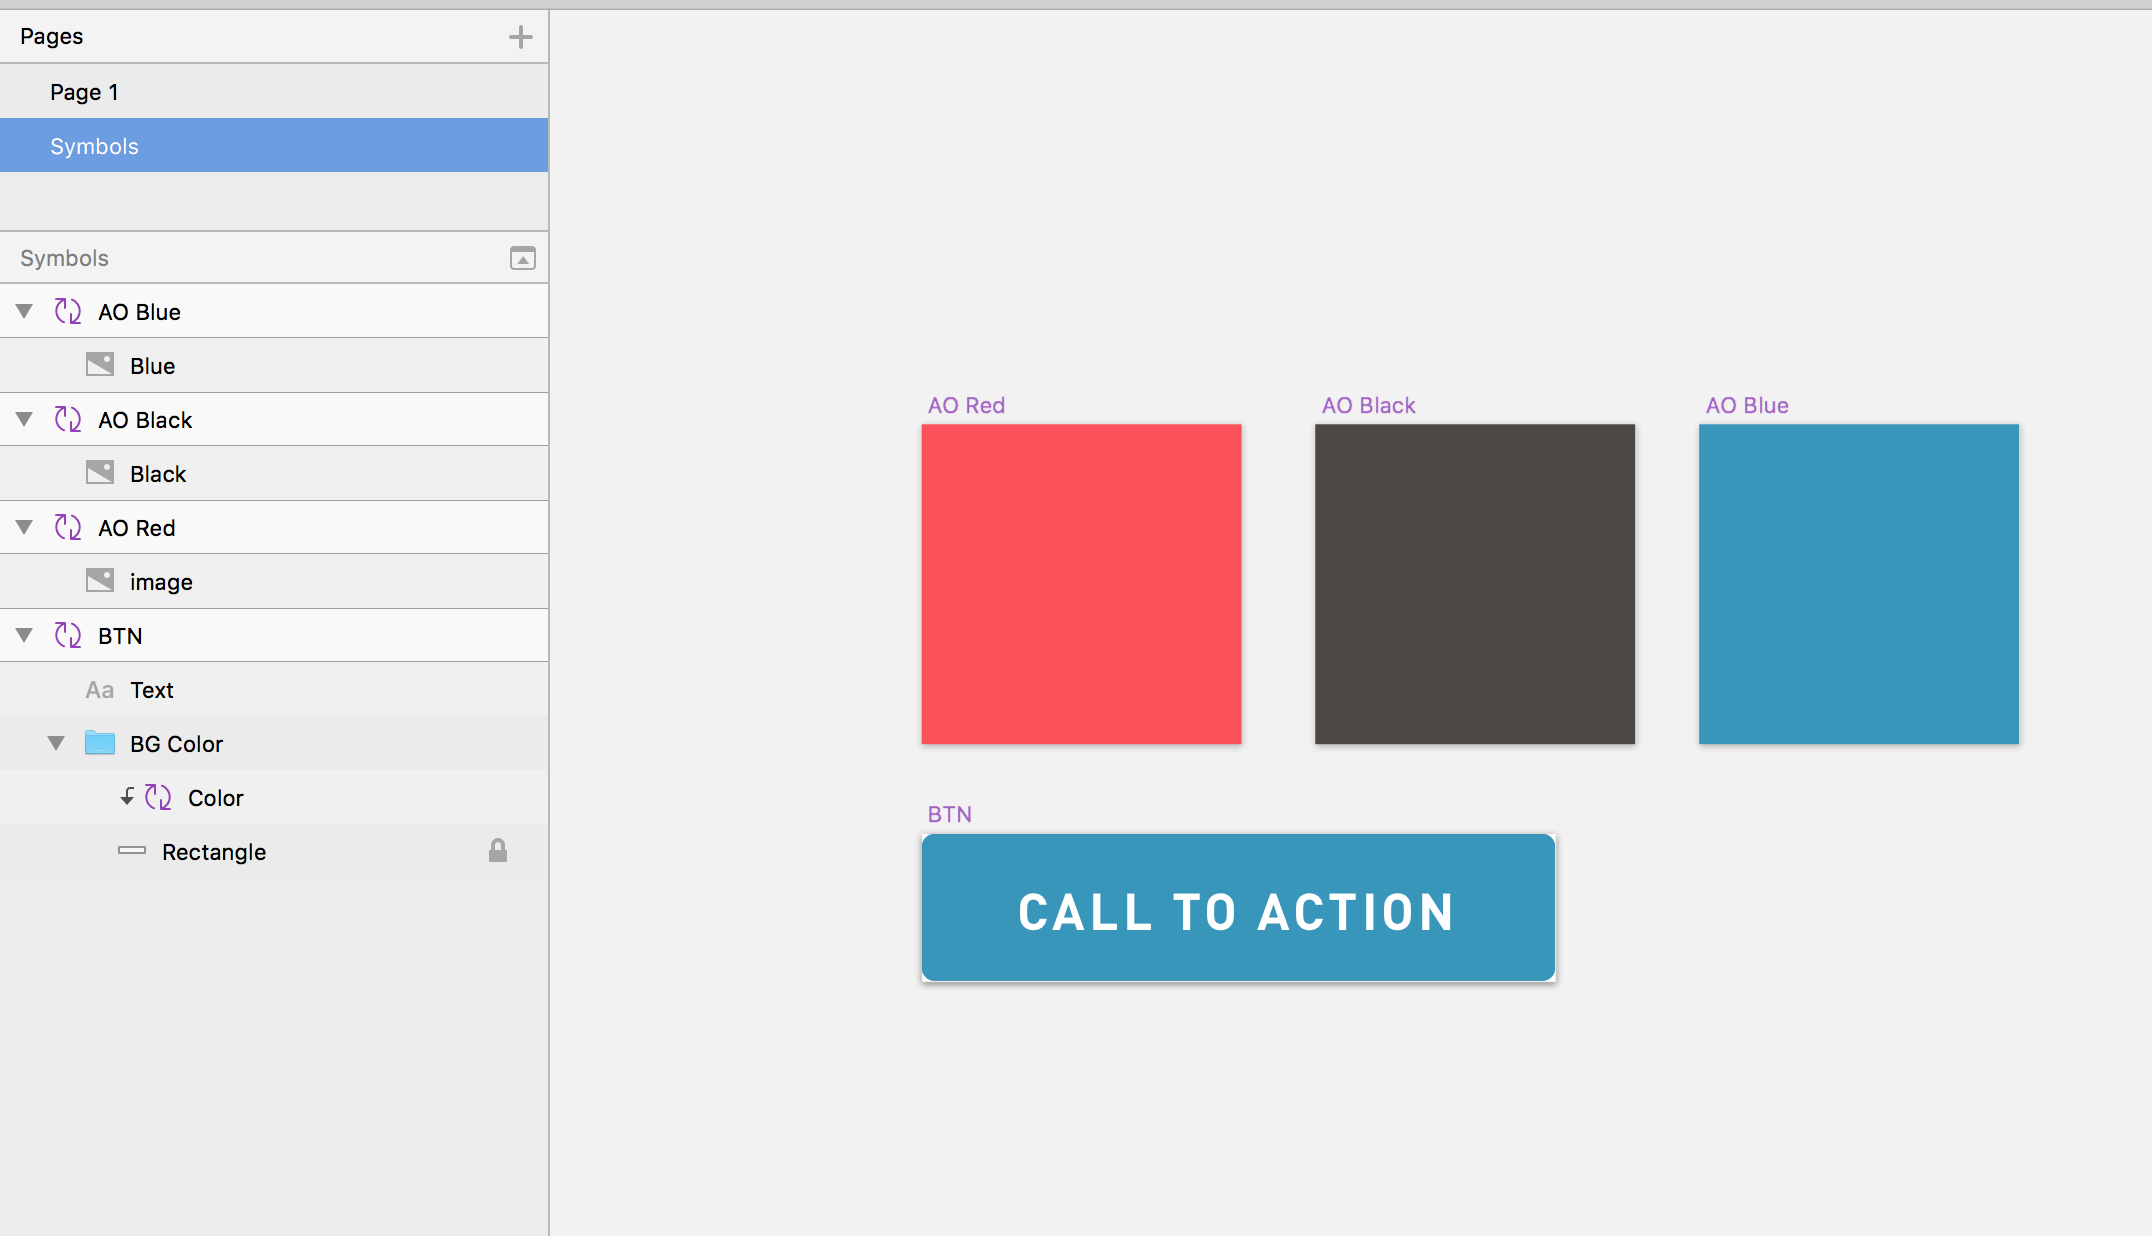
I have had a love/hate relationship with nested Symbols. On one hand, they can keep designs consistent across art boards or files on larger projects. Using our button example above, you might have a nested Symbol with a selector for button color and/or button icon. Nesting these options would allow the designer to select a button, edit the call to action text, select a color, and add an icon–all within the inspector.
However, nested Symbols can also take a lot of time to set up, maintain, use, or alter. On some smaller projects, the added complexity of setup could hinder rapid prototyping.
Where have you found success with Symbols in Sketch, and where have you run into challenges?