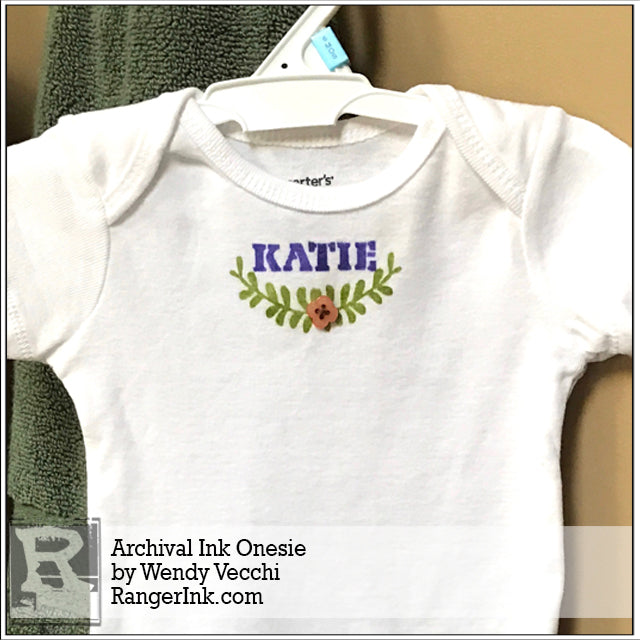
by Wendy Vecchi

Archival Ink Onesie by Wendy Vecchi
- Materials
- Instructions
- Archival Ink™ Designer Series: Wendy Vecchi : Violet, Leaf Green, Fern Green, Red Geranium, Cornflower Blue, Buttercup
- Tim Holtz® Distress Mixed Media Archival Ink Palette : Black Soot
- Ranger Mini Blending Tool
- Ranger Non-Stick Craft Sheet™
- Ranger Heat it™ Craft Tool
- Studio490 Wendy Vecchi : Select-a Stencil Upper Case
- Studio490 Wendy Vecchi : Create A Wreath
- Onesie
- Cardstock Scrap
- Button
- Thread
- Post-it Note or Painter
Instructions


Step 1: Place a cardstock scrap behind the area that will be stenciled. This will prevent ink being transferred thru the fabric to the back.

Step 2: Determine the center of the onesie and place a Post-it in place. This will be the GUIDELINE we use to keep the letters straight. Painter’s tape can also be used to create the straight line.

Step 3: Starting with the center letter “T,” line up the bottom of the T with the Post-it. Move the rotating window in place over the T. You’ll see that the area is masked off and the background is protected by the rotating window.

Step 4: Ink the Mini Blending Tool with Violet, then place the blending tool over the “T.” Twist and turn to add ink. The window was designed to be used with the Mini Blending Tool and it’s a perfect fit.

Step 5: Position the “I,” again, lining it up on the Post-it, as the guide. Move the rotating window in place & stencil the “I.”

Step 6: Continue with the “E.”

Step 7: Now moving to the left of the “T,” position the “A” and stencil.

Step 8: Position the “K” and stencil.
Position the bottom portion of the wreath stencil, centering it below “KATIE.”

Step 9: Mask off any areas outside the area to be stenciled with post-its. Good safety measure!
Stencil the wreath with Leaf Green.

Step 10: Use the Heat-It Tool to dry and heat set the Archival Ink. This makes it permanent and washable. You could IRON, but that’s a 4 letter word here. The Heat-It tool is quick and easy!

Step 11: Sew a button on to accent the wreath.

Stencil the name, following the steps as above. Make sure to use Archival Ink. I switched it up and used a different ink color for each letter. This time I added his birthdate below the name, using the numbers from the inner circle of the stencil. They’re stenciled with Black Soot Archival.
Tips:


