Learn how to use Mod Podge to create a watercolor resist! This is such a cool effect to add to art projects and mixed media.

It’s been a loooo-ng time since I’ve done anything with watercolor. I took a lot of art classes in middle school and high school, and it was one of my favorite mediums at the time – I loved playing with it!
So much in fact that I created a huge picture of tulips using various watercolor techniques that my mom had framed and still hangs in her house today.
When I see that picture, I have fond memories of watercolor and have always imagined that one day I’d pick it up again. Well, recently I got the chance.
Let me start from the beginning!
I was recently selected to be a Michaels Maker, which is pretty exciting – it’s Michaels Stores team of 50 creative bloggers who have been assembled to “fuel your creativity” through various projects. One of our very first responsibilities was to check out some Creativebug classes.
I’ve heard about online craft classes but never had a chance to experience them until now. As you can imagine based on the beginning of this blog post, I tried Beginning Watercolor!
Mod Podge and Watercolor
Before we get started, you might have a few questions about Mod Podge over watercolor. Or under it. I’ve got some answers to the most commonly asked questions below!
Can you use Mod Podge to seal watercolor?
Yes, you can. You’ll want to wait for the watercolor to dry for several hours before applying Mod Podge on top.
Will Mod Podge smear watercolor?
Not generally, but don’t brush back and forth too many times on one layer – or you do run the risk. Mod Podge is waterbase so you’ll reactivate the water color if you do that.
Can you seal watercolor paintings with Mod Podge?
Yes, you can. Let the painting dry for several hours before applying Mod Podge. Paint on one thin layer without brushing back and forth too many times. Let dry and then paint on another layer if desired.
Now that we’ve gotten those questions out of the way, I want to jump back into my class!

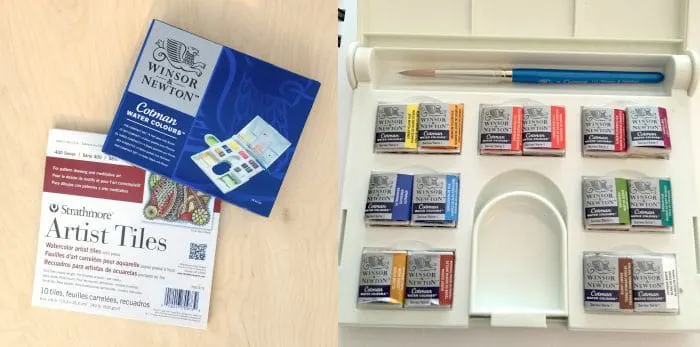
I purchased my supplies for class and I have to say, I was ready to rock. Watercolors are just so pretty, don’t you think? I wasn’t sure what to expect because I wasn’t familiar with the instructor Yao’s work, but man – she’s truly amazing.
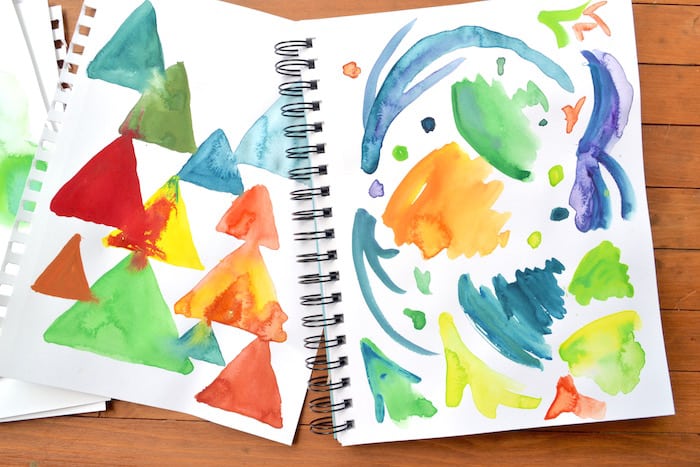
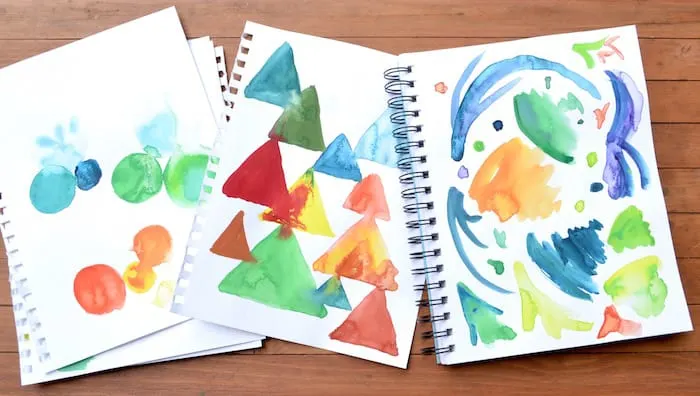
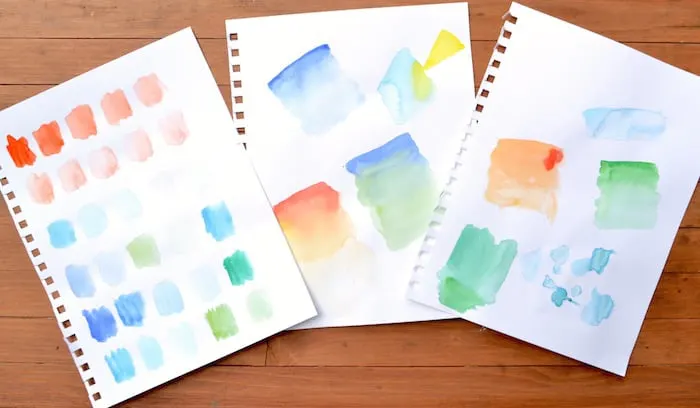
I’ll let you know my favorite part of her teaching method right away: she encourages experimentation. There’s no “wrong” way to watercolor. The whole idea of her class is to learn but also have a great time doing it. So I did:

DIY Watercolor Resist
I experimented with all of the techniques in her videos and was having a blast. It was then that I remembered something I’d heard about before but had never tried myself: using Mod Podge as a watercolor resist.
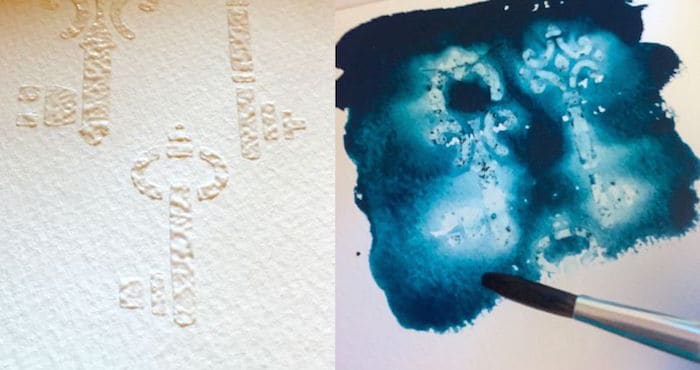
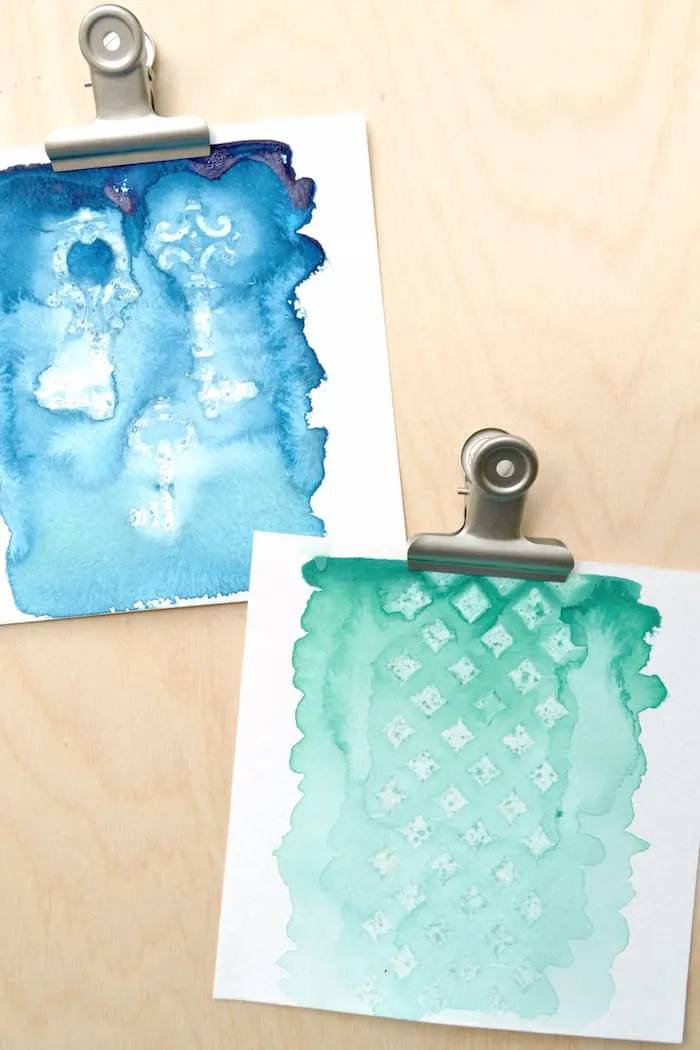
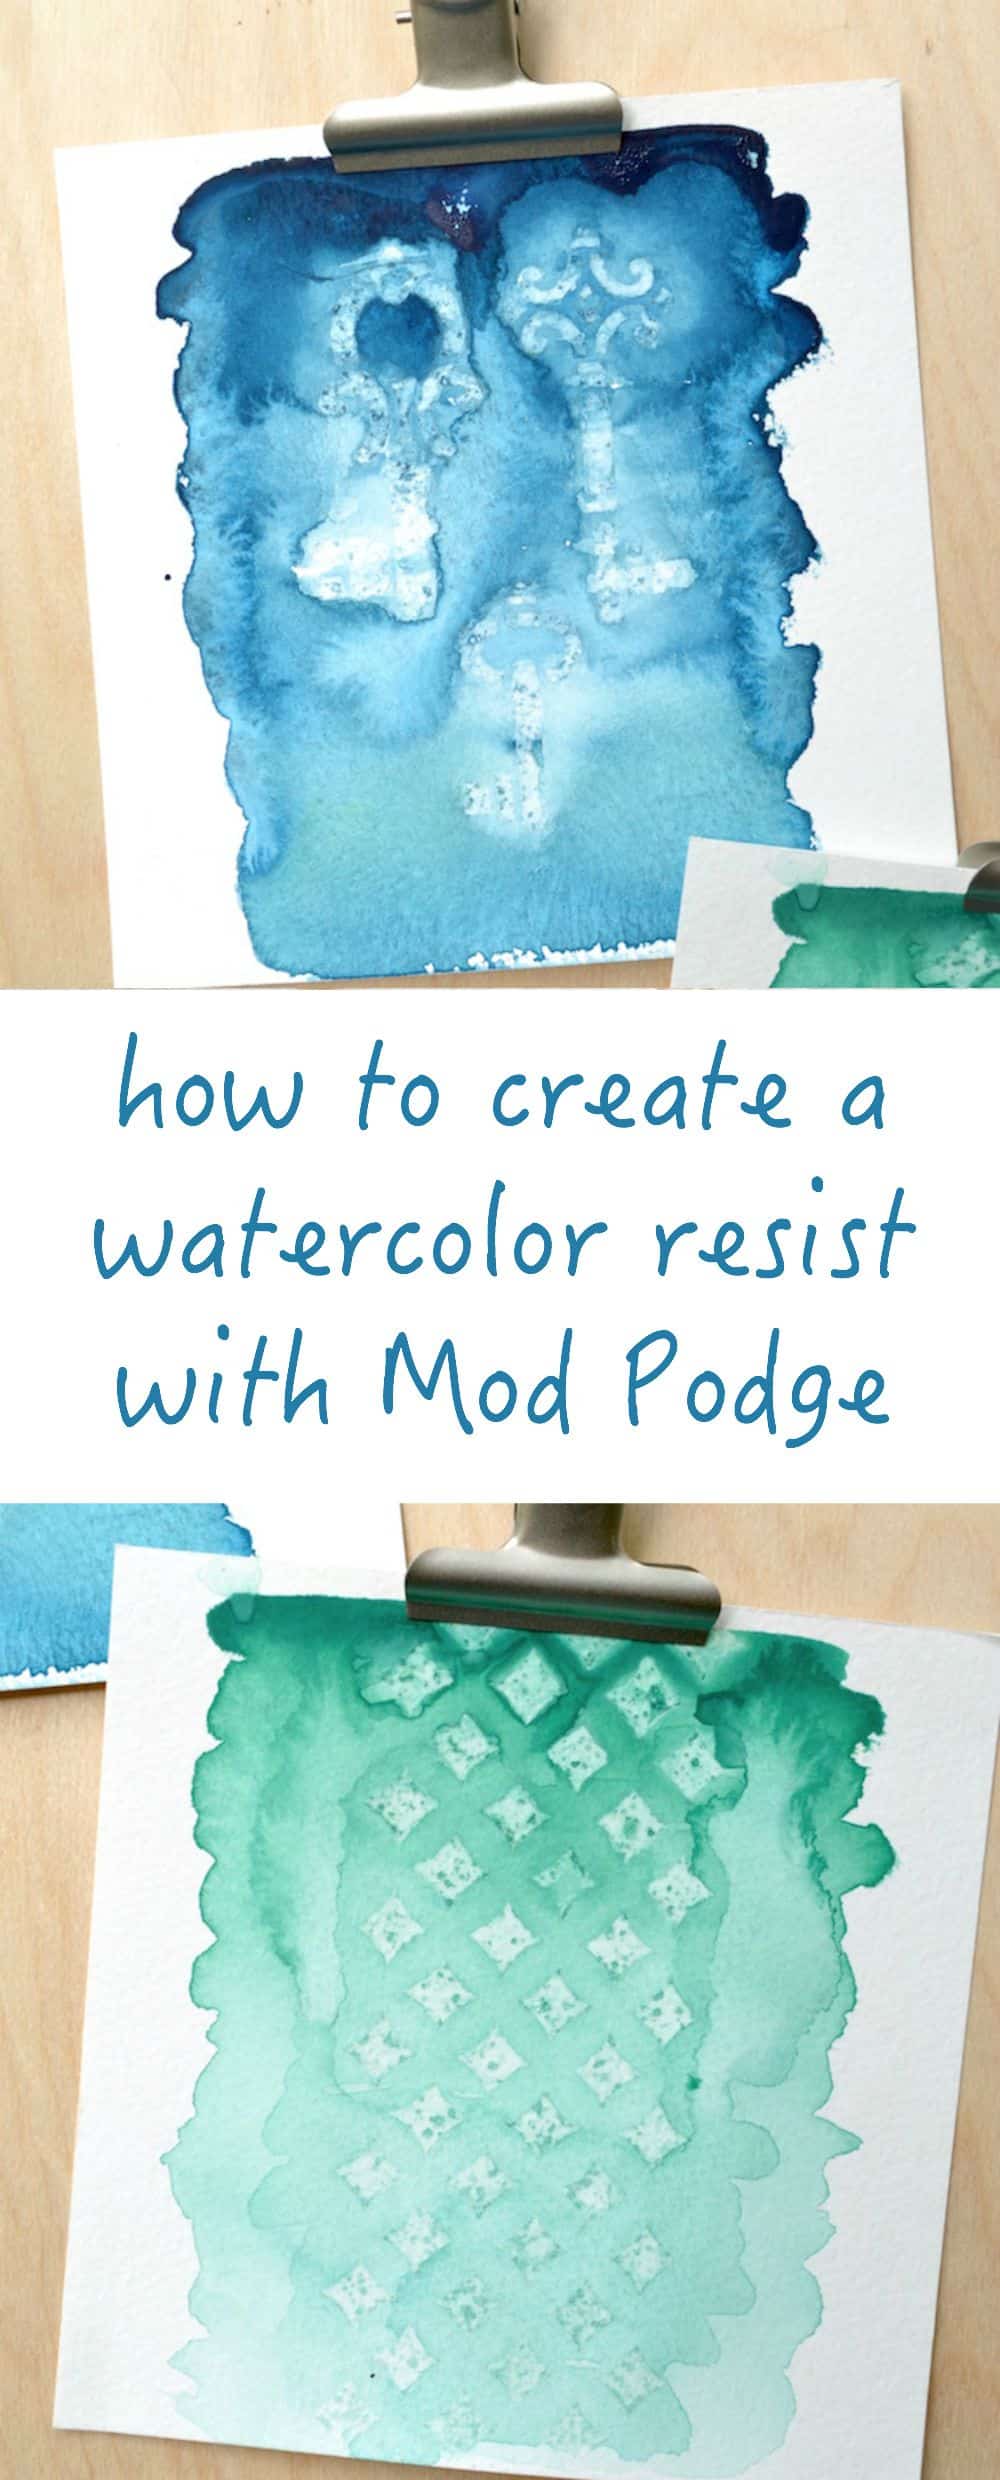
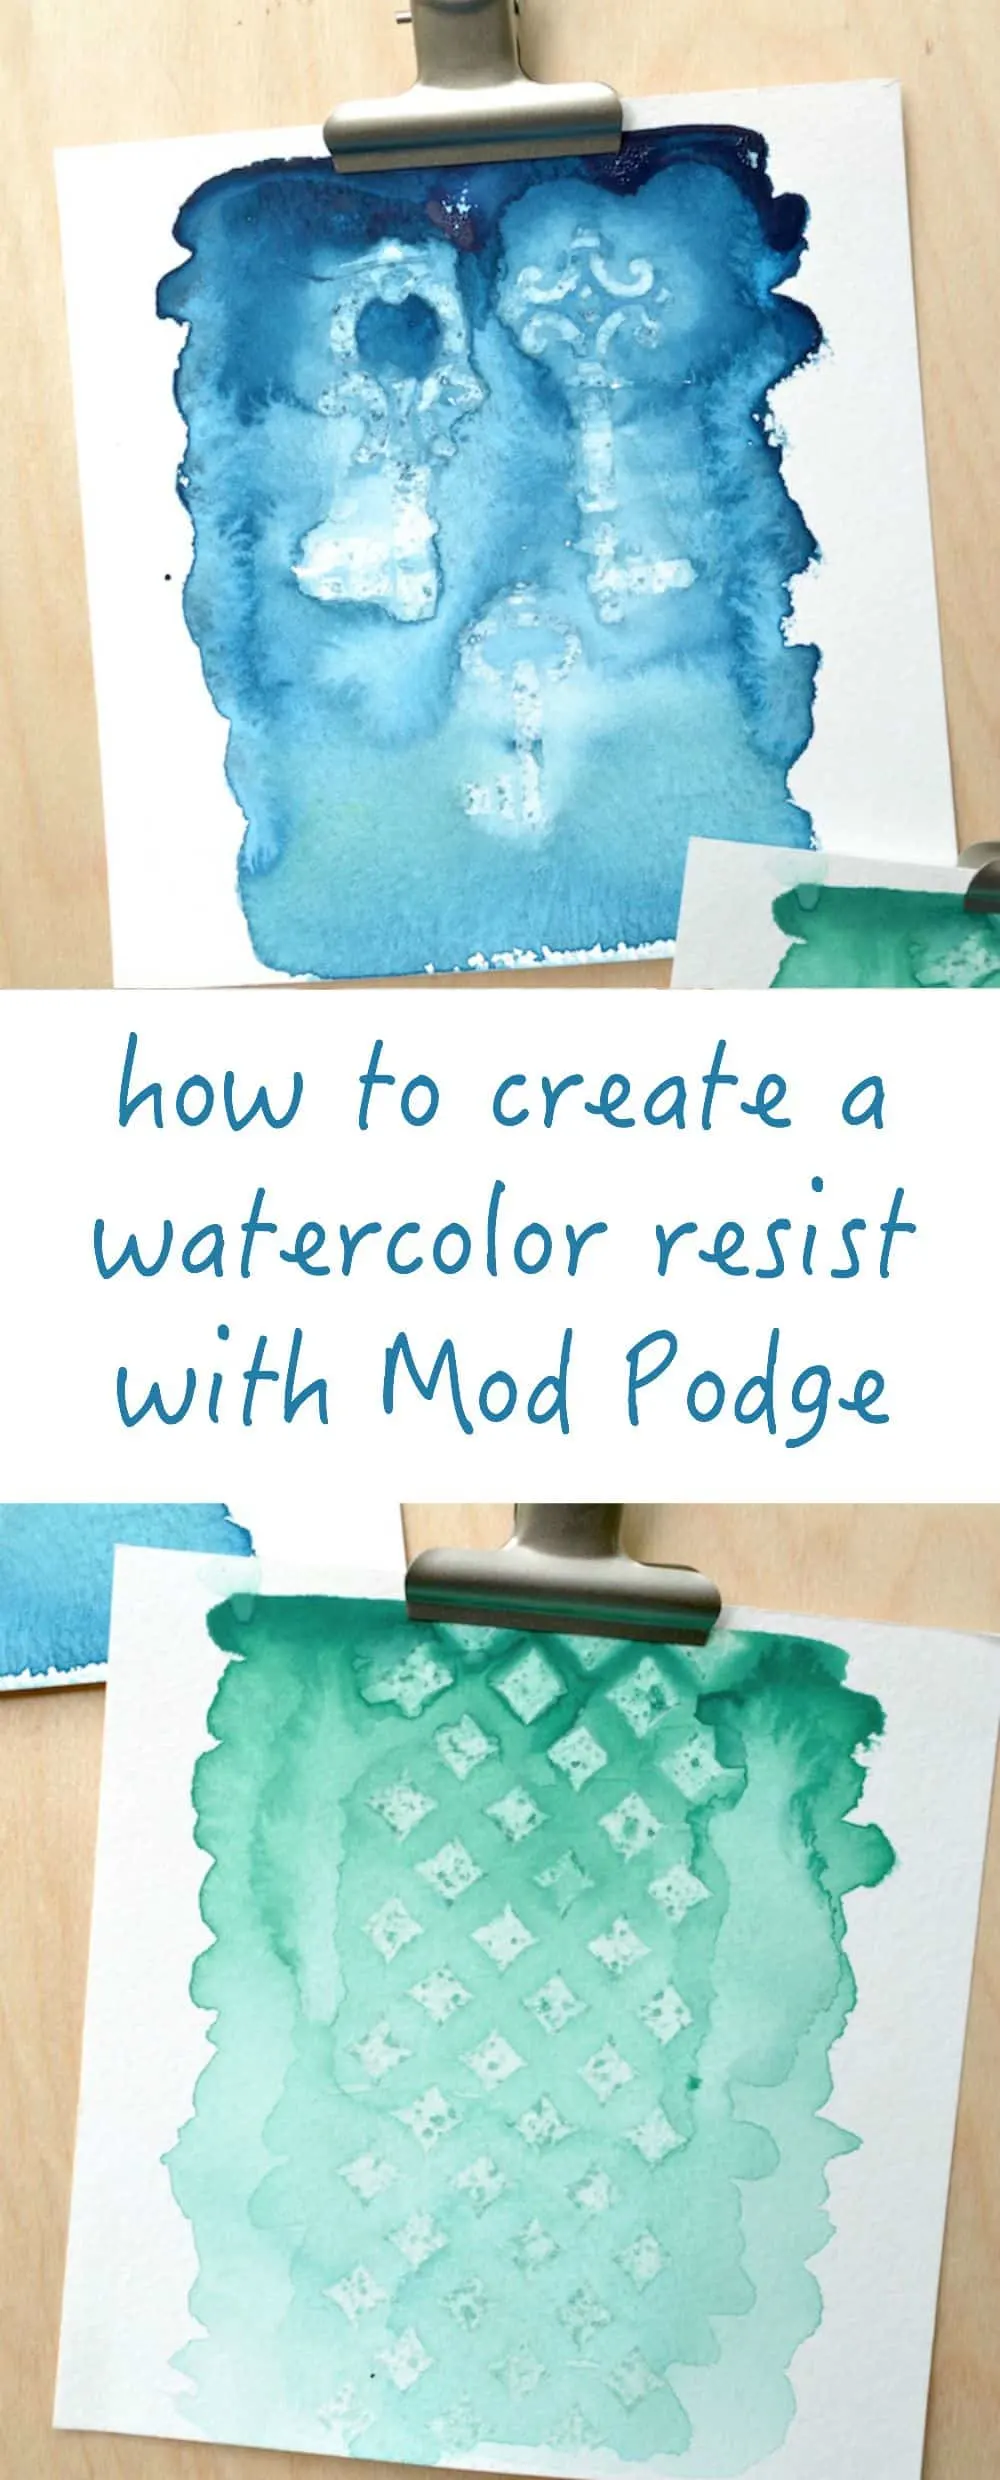
Have you heard of this? I feel like Yao’s encouragement through the screen gave me the Podgeables to try it. So I busted out the watercolor pad, and one of my Mod Podge Rocks stencils. I smoothed the stencil down, and then I added Mod Podge Gloss to the stencil with a spouncer:
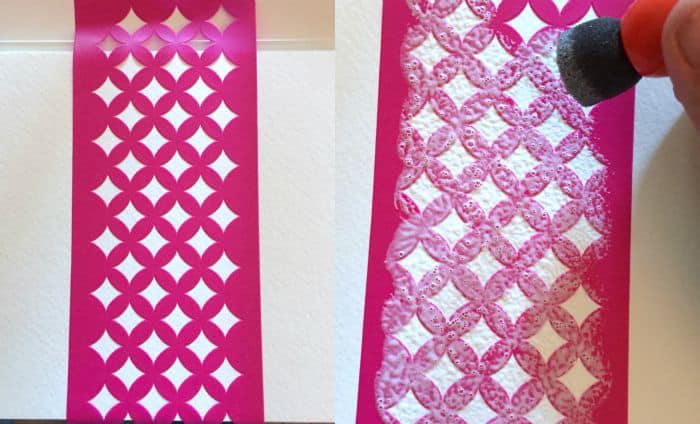
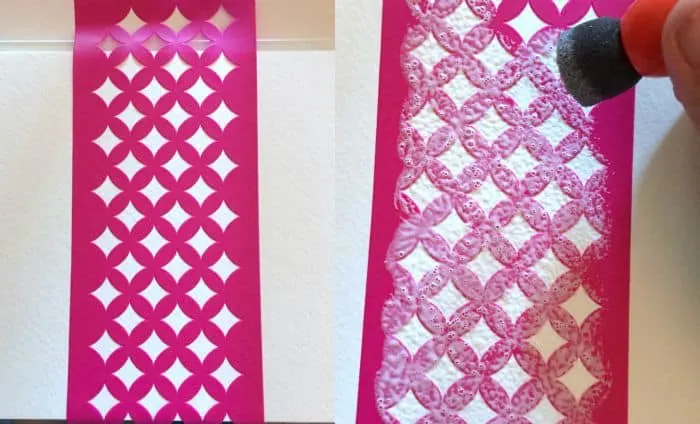
And then I peeled the stencil off immediately (and washed it), and was left with this drying on the watercolor paper:
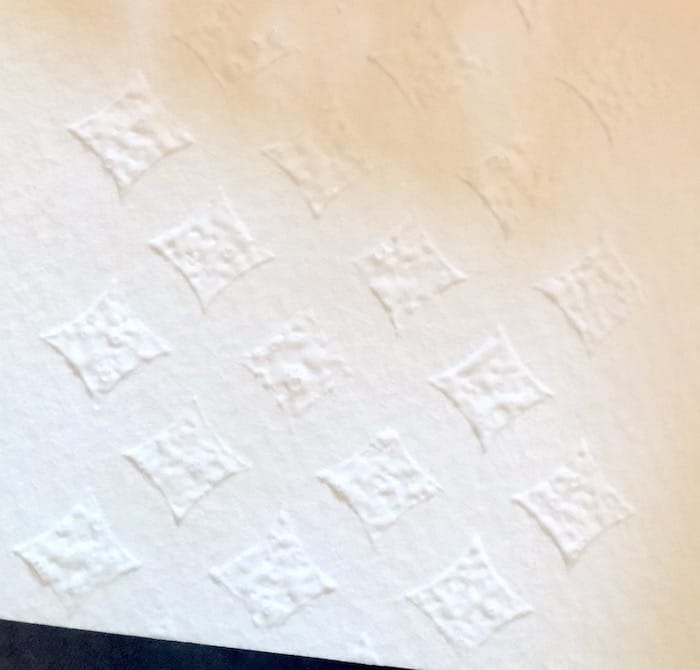
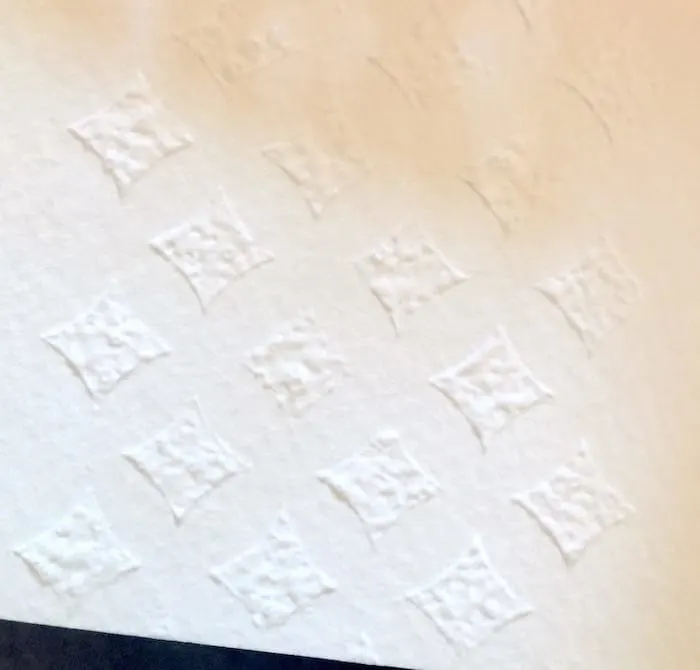
Set this aside until it’s completely dry.

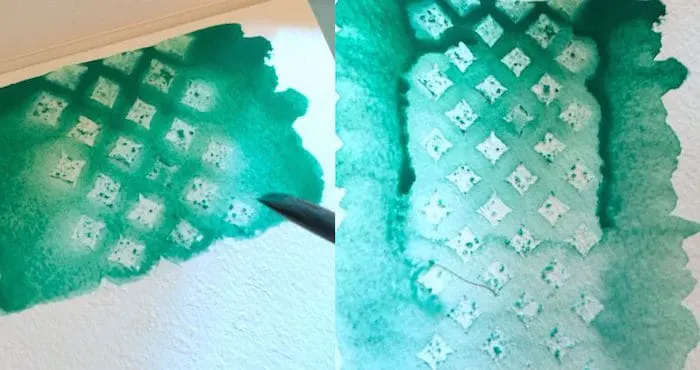
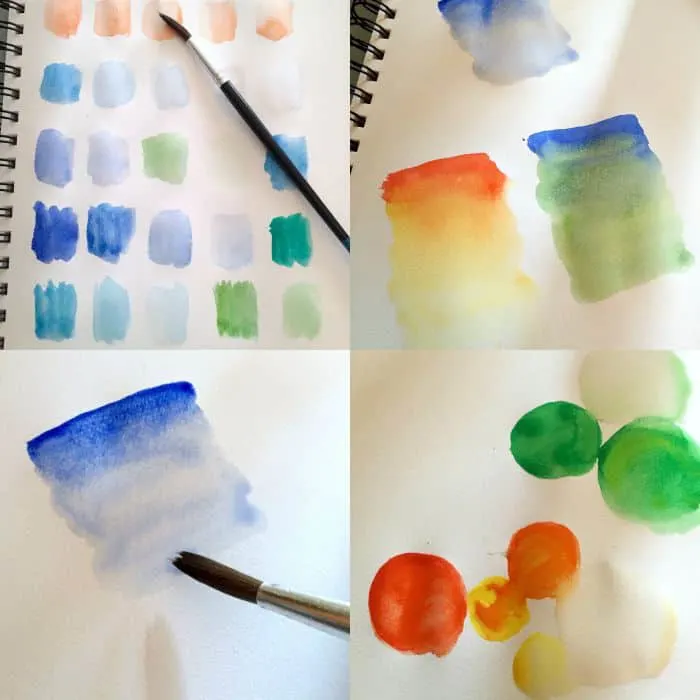
Then it’s time to play! I started with one of the first techniques Yao taught. I mixed a fun blue/green shade and added a vibrant swipe of watercolor at the top of my paper.
Instead of dipping my brush in more paint, I dipped it in water and continued to paint down the page, so that the effect was more of an ombre.
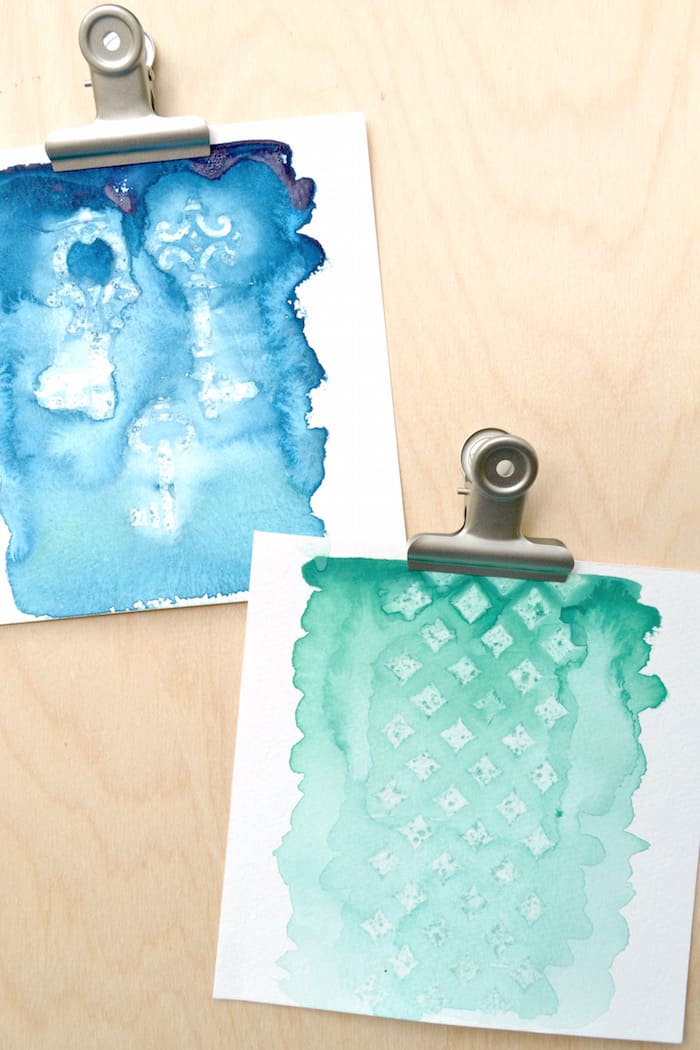
And you can see – the Mod Podge resists the watercolor, providing a unique design and texture to the page!

So then I did it with my key stencil and the bright blue . . . and I REALLY love how this one turned out. I even left some of the blue/green in the brush as Yao suggested to see what would happen. No judgements. And it turned out so cool!
So here are the results . . . .


But then I couldn’t help myself and took it one step further.


I found these cool photo clips at Michaels.


And I added them to my watercolor pages. And BAM – unique wall art in a matter of minutes!
So let’s review. I took the Creativebug class. And I learned some cool techniques.


And after that, I felt inspired and decided to take it a step further and made my own wall art using Mod Podge as a resist.
Now I think you should take the Creativebug class and try it yourself! If you enjoyed this craft idea, I’d love for you to check out these other ideas:
Jasmine
Tuesday 21st of March 2023
Super idea!! Love learning how versatile Mod Podge is. Thank you for sharing.
Cheers, Jasmine
Lesli Clark
Friday 26th of March 2021
Love this idea! Thank you!
Nikki
Friday 7th of August 2015
I love this idea for making my own Project Life filler cards- so many possibilities!
nora lawton
Tuesday 4th of August 2015
i still not getting info. on using mod podge i love painting rocks thanks
Paige
Monday 3rd of August 2015
These look so pretty! I've pretty much done nothing with mod podge or water color, but these are so beautiful! I'll have to try it soon!
Paige https://www.thehappyflammily.com/